
How to Plan an ARPS Panel: A Practical Guide for 2026
Table of Contents Show
How to Plan an ARPS Panel: Choosing and Testing Your Idea
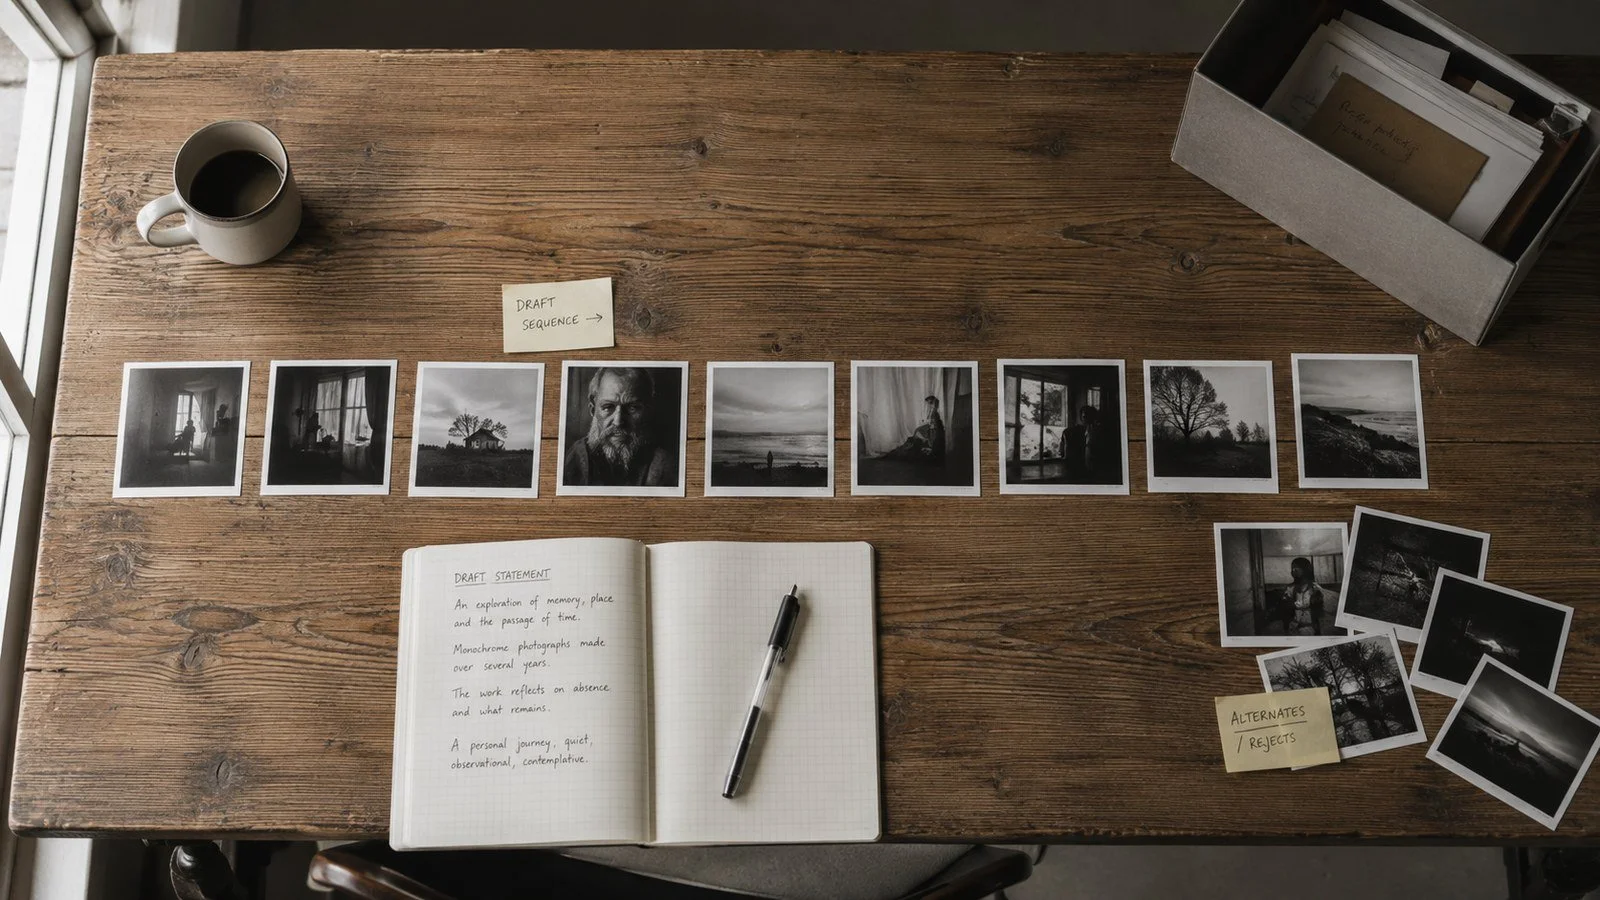
Most photographers who fall short at Associate level do not fail in the field, and they do not fail on technique. They fail months earlier, at a desk, by skipping the planning stage — or by treating planning as image selection rather than as the real intellectual work of the distinction. The Associate of the Royal Photographic Society asks for a cohesive body of work with a clear purpose and an individual voice. That body of work cannot be assembled from a back catalogue of strong single images. It has to be planned.
This article is about the stage that comes before you build the panel: deciding whether the Associate is the right step for you, choosing a genre, defining what your panel is actually about, and testing whether your idea is feasible before you commit a year of your photography to it. If you have already settled your concept and want the panel-building method itself — image selection, sequencing, the hanging plan, the iterative review — that is covered separately in my case study on building a successful RPS panel. Plan first; build second.
Is the Associate the right step for you?
The Royal Photographic Society offers three levels of Distinction — Licentiate, Associate and Fellowship. The Associate is the second level, and the Society itself describes it as a significant step up from the Licentiate. Where the Licentiate asks you to demonstrate competence across camera work, visual awareness, technical quality and presentation, the Associate asks for something different in kind: a body of work that demonstrates high technical ability, comprehensive knowledge of a chosen genre, and an individual approach. It is recommended, though not mandatory, that you hold the Licentiate before applying.
That word — individual — is the heart of it. The Associate is not a harder version of the Licentiate. The Licentiate rewards range; the Associate rewards depth and a recognisable point of view within a single defined genre. The most common reason capable photographers stall at Associate is that they approach it with Licentiate thinking: they assemble fifteen strong images instead of planning one coherent body of work with a thesis behind it.
The Associate suits you if you are looking for a genuine creative challenge rather than a credential — if you want to be pushed to define what you are trying to say and then say it consistently across fifteen images. It is the right route when you have a genre you genuinely return to, and an idea within it that you can articulate in a sentence or two. It is probably not the right route yet if you are still finding your range, or if you cannot yet name what your work is about. In that case, broadening and deepening your portfolio first — through structured monthly projects, for example — is the better use of the next few months.
What an ARPS panel actually asks for
Before you can plan a panel, you need to know precisely what it is assessed against. An Associate submission is a body of fifteen images, presented in one of three formats: fifteen mounted prints, fifteen digital images projected in numeric order, or a book containing fifteen images. You choose one format; you cannot mix them. Whichever you choose, the submission is assessed against five published criteria:
A Statement of Intent that defines the purpose of the work and identifies its aims and objectives.
A cohesive body of work that depicts and communicates those aims and objectives.
A body of work that communicates an individual’s vision and understanding.
A high level of technical ability, using techniques and photographic practices appropriate to the subject.
An appropriate and high level of understanding of craft and artistic presentation.
Read those five criteria carefully and a pattern emerges. Only one of them — the fourth — is about technical ability, and even that is framed as technique “appropriate to the subject” rather than technical excellence for its own sake. The other four are about purpose, cohesion, voice and presentation. This is why planning matters more than shooting: the panel succeeds or fails mostly on decisions you make before and between shoots, not on any single exposure.
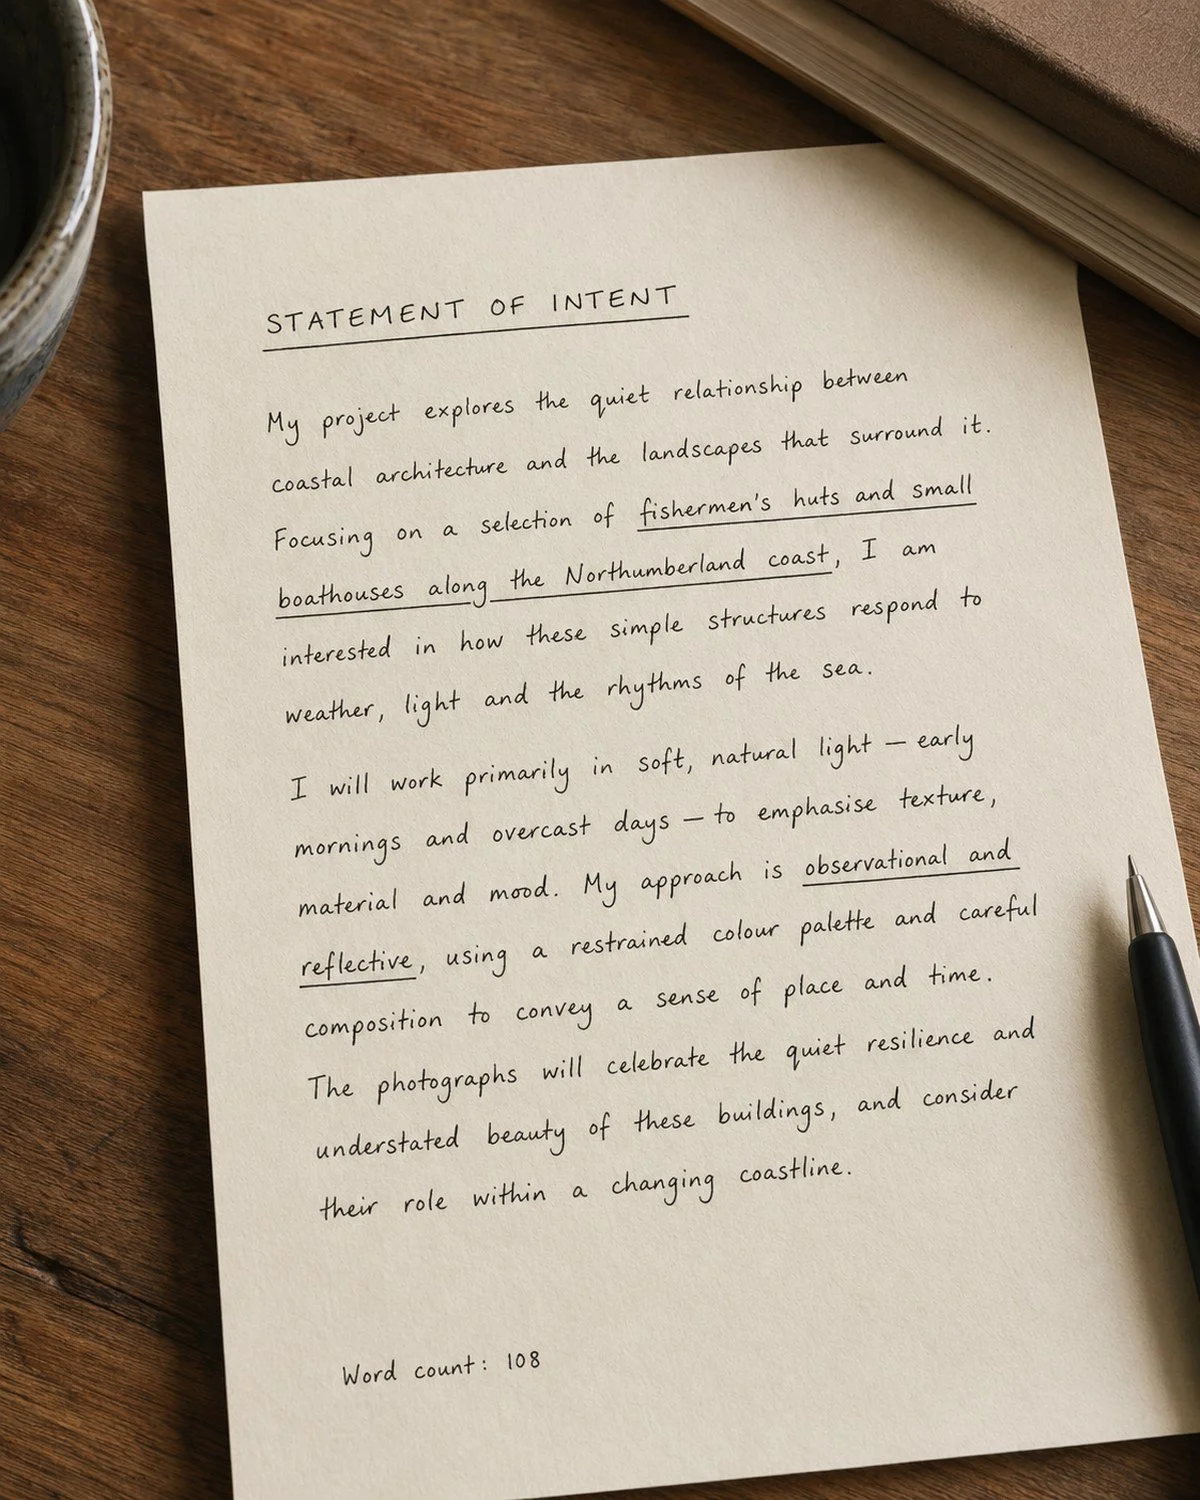
The Statement of Intent runs through everything. It defines the purpose of the work in a maximum of 150 words for most genres (300 words for Contemporary), and it must not include technical information. At the assessment the Statement is read out before the panel is examined, and every image is then judged on whether it serves the aims you set yourself. A vague Statement gives the assessors nothing to measure your images against; a specific one frames the whole submission. You write the final version last — but you need a working version from the very start of planning, because it is the test every candidate image has to pass.
Why the planning stage is the real work
It is tempting to think of planning as a quick decision — pick a subject, start shooting, sort it out later. In practice, planning is feasibility-testing, and it is far cheaper to do it properly on paper than to discover halfway through a year of shooting that your idea never held together.
A well-planned panel answers four questions before any new images are made. What is this body of work about, in one or two sentences? Which genre does it sit in, and does it stay inside that genre’s definition? Do you have, or can you realistically make, fifteen images that genuinely serve that idea — not fourteen plus one that nearly fits? And can you do all of that within a sensible timescale? If any of those answers is shaky, it is much better to refine or rethink now than to find out at an Advisory Day, or worse, at the assessment.
Planning is also where honesty is least expensive. At the planning stage you can drop an idea that excites you but cannot sustain fifteen cohesive images, and lose nothing but an afternoon. Drop it later and you lose months. The discipline the Associate really tests — the willingness to be ruthless about what serves the panel — starts here, not in the edit.
Choosing your genre
Associate submissions are assessed by genre, by assessors with specific knowledge of that genre. Choosing the right genre is therefore not an afterthought; it determines who judges your work and against which additional requirements. The Royal Photographic Society publishes genre definitions, and your panel must sit clearly within one of them.
The genres most landscape, travel and applied photographers will consider are Applied, Documentary, Landscape, Natural History, Travel and Visual Art, alongside Contemporary. Each has a precise definition. Landscape, for instance, is photography that illustrates and interprets the earth’s habitats, from the remotest wilderness to urban environs — and it explicitly remains within the “art of seeing” and the eyewitness tradition. More extreme creative techniques such as multiple exposures, deliberate camera movement, complex collage and image blending are more likely to be assessed as Visual Art. Travel photography is defined far more simply as photography that communicates a sense of place — and, usefully, it need not be of distant or foreign lands; it may start at home.
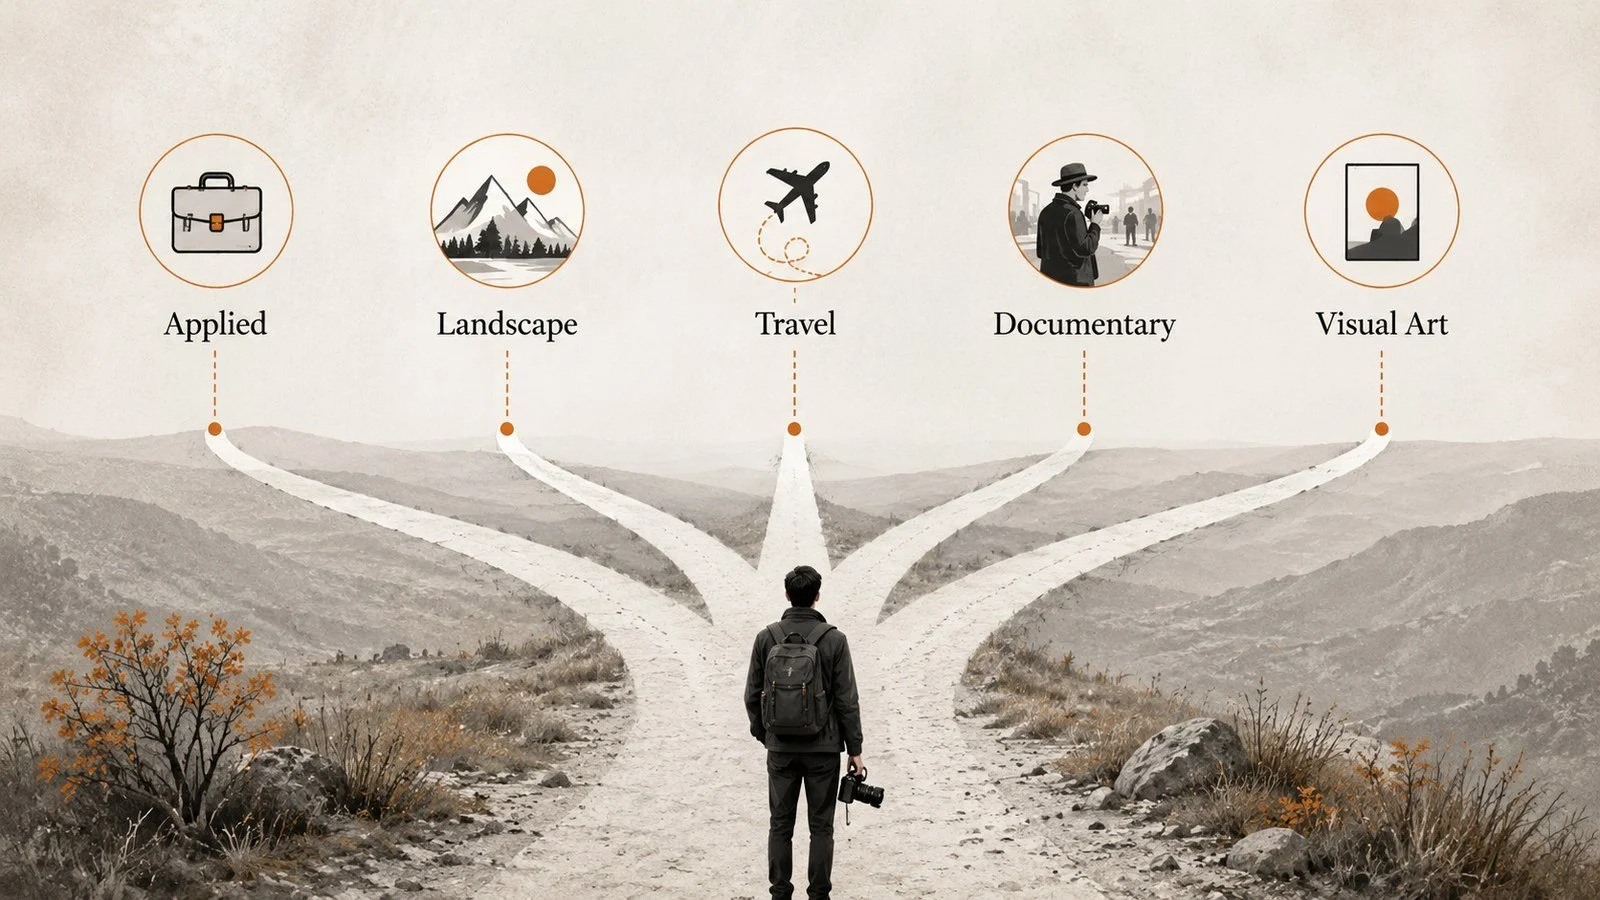
The genre boundary matters because a panel that drifts across two genres satisfies neither. An architectural or heritage photographer, for example, has a genuine choice to make: a body of work produced for a stated purpose may sit in Applied Photography, while an interpretive body of work about place and structure may sit in Landscape. Deciding that early — and reading the relevant genre definition in full — keeps the whole panel honest. The table below summarises the main genres; the official definitions, with their additional criteria, are in the Royal Photographic Society’s genre guide.
Defining your intent
Once you have a genre, the next planning task is your thesis: a clear, specific statement of what the panel is about. Not “my best landscape work” — that is a portfolio, not a panel. A thesis names a focused territory and a way of seeing it. “The changing light of the North Pennine moors across a single winter.” “The working architecture of England’s historic market towns.” “Quiet water in upland woodland.” Each of those could carry fifteen cohesive images and could be defended in front of a panel.
The test is simple. Read your thesis aloud. If it could describe any competent photographer’s work in that genre, it is not specific enough. If it describes something only you, with your access and your interests, would make, it is close. This thesis becomes the basis of your Statement of Intent — remembering the Statement is capped at 150 words for most genres, must avoid technical detail, and must carry a word count beneath it. You will rewrite the Statement several times as the panel develops; what matters at the planning stage is having a working version honest enough to test images against.
Choosing subject matter and building a location list
With a thesis in place, planning becomes practical. Three lists are worth building before you commit.
First, your subject matter: the specific places, structures, conditions or themes that belong inside the thesis, and — just as important — the ones that do not. A panel about upland winter light does not include a summer coastal image, however strong. Naming what is out is as useful as naming what is in.
Second, a location and access list. Panels almost always need new, targeted images to fill gaps, so the locations you choose must be ones you can realistically reach and, crucially, revisit. A location that only works in one set of conditions, two hundred miles away, is a weak foundation for a coherent body of work. Photographers working in a defined local genre — an architectural photographer documenting nearby historic towns, for example — often have a real advantage here, because access and repeat visits are straightforward.
Third, an inventory of what you already have. Pull every existing image that might genuinely serve the thesis. This is not your final panel; it is raw material that tells you how far along you really are and where the gaps sit. Most candidates discover they have perhaps half a panel of genuinely cohesive images and a clear list of what still needs making.

Testing whether your idea is feasible
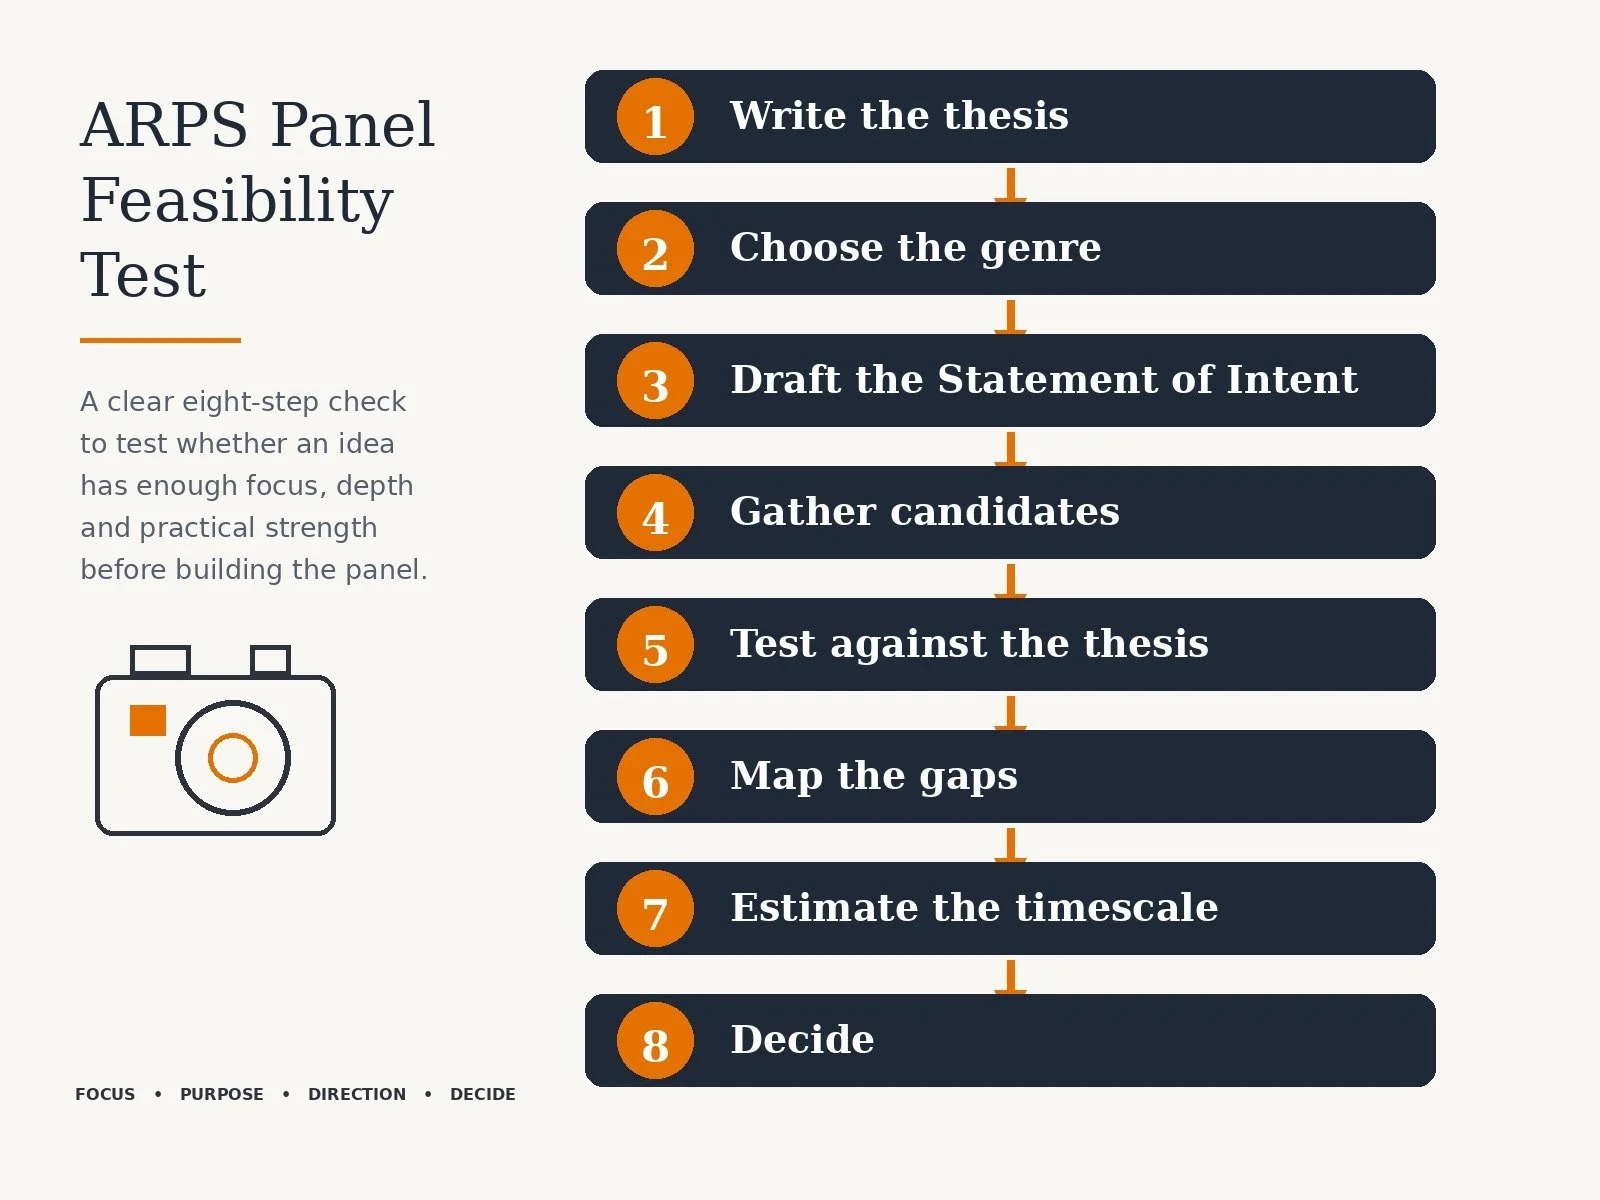
Planning ends with a deliberate feasibility test. The point is to reach an honest decision — proceed, refine, or rethink — before you invest a year of effort. Work through it in order; do not skip to the shooting.
Common mistakes at the planning stage
A handful of mistakes account for most stalled Associate attempts, and every one of them is a planning failure rather than a shooting failure.
Portfolio thinking instead of panel thinking. Assembling fifteen strong individual images and hoping they cohere. The Associate assesses the body of work as a whole; a panel needs a thesis the images serve, not a gallery of greatest hits.
A genre that is too wide. “Landscape” is not a thesis. A panel that wanders across coast, mountain, woodland and city in fifteen images shows range, which is a Licentiate virtue, not the depth the Associate asks for.
Shooting before the thesis exists. Going out to “get some panel images” with no defined intent produces material that pulls in several directions and cannot be rescued by editing.
Writing the Statement of Intent first and treating it as fixed. The Statement should be drafted early as a working tool and rewritten to match the panel that actually emerges. A Statement written once and defended forever forces weak images into the panel to fit it.
Underestimating the new images needed. Most candidates assume their existing work is closer to a panel than it is. Plan for targeted new shoots from the start, and choose locations you can revisit accordingly.
Drifting outside the genre definition. Reaching for multiple exposures or heavy blending in a Landscape panel, for example, can move the work into Visual Art territory and confuse the assessment. Stay inside the definition you have chosen.
How the Associate compares with the Licentiate
If you hold the Licentiate, it helps to be clear about exactly what changes at Associate level — because the change is one of kind, not just degree. The table below sets the two side by side.
Where to read the official requirements
This article is a planning guide; it is not a substitute for the Royal Photographic Society’s own published requirements, which are the authority on criteria, formats and submission rules and are updated periodically. Before you commit to a plan, read the current official documents in full.
Key Takeaways
The Associate is a step up in kind, not degree: it rewards depth and an individual voice within one defined genre, where the Licentiate rewards range.
Of the five Associate criteria, only one is about technical ability — the rest concern purpose, cohesion, voice and presentation. Planning is the real work.
Choose your genre deliberately and read its definition in full; a panel that drifts between genres satisfies neither.
Build a specific thesis before you shoot. If it could describe any competent photographer’s work, it is not specific enough.
Plan for targeted new images and choose locations you can revisit; most candidates have less of a cohesive panel than they assume.
End planning with an honest feasibility decision — proceed, refine or rethink — before committing a year of work.
Conclusion and Summary
An Associate panel is won or lost in the planning. The photographers who succeed are not necessarily the most technically gifted; they are the ones who decided early what their body of work was about, chose a genre and stayed inside it, and tested their idea honestly before committing to it. Defining intent, choosing subject matter, building a realistic location list and running a genuine feasibility check are not preliminaries to the real work — they are the work.
If you have a thesis you believe in and have tested it through the steps above, the next stage is building the panel itself: selecting and sequencing the images, designing the hanging plan, and refining the Statement of Intent through an iterative review. If you would value structured guidance through either stage — the planning or the building — that is exactly what my RPS distinctions mentoring is built around. Most clients begin with a block of six one-hour Zoom sessions taken across six to twelve months, with more added as the panel develops; the mentoring is independent and not officially accredited by the Royal Photographic Society, and the advice is based on my own experience holding both the Licentiate and Associate distinctions and mentoring others through the process. Wherever you are in the journey, plan first — the panel that follows will be far stronger for it.