
Photography Composition Rules: A Guide to Better Choices
Updated 6 Oct 2026
LESSON 26 · INTENTION
Start with what made you stop
Photography composition rules give you ways to explore a scene. Before choosing one, notice what draws your attention and what you want the photograph to communicate.
It might be a person, a relationship between shapes, a quality of light or a feeling you cannot yet put into words.
Your position, timing and framing can help preserve that response. Try a compositional technique when it serves the photograph, then compare the result. A grid can suggest a placement; your judgement determines whether that placement works.
Three things to take from this lesson
Notice what matters
Begin with what you see and feel. A clear object can provide a starting point, but atmosphere, space and ambiguity can also give a photograph its purpose.
Explore your choices
Use thirds, symmetry, visual pathways and other techniques to test different arrangements. Look at what each choice contributes to this particular image.
Compare and explain
Ask which version better expresses what caught your attention, and why. A centred, spacious or deliberately unbalanced photograph can be the strongest choice.
Academy Composition Framework · Lesson 26
Where this lesson fits
Notice what draws your attention, recognise what you want to communicate, then choose the tools that support it.
SEE → FEEL → TECHNIQUE
- Intention · this lesson
- Restraint
- Observation
- Judgement
Intention
What am I trying to communicate?
Your focus in Lesson 26: explore composition tools as choices. Compare their effects and judge whether they support what matters in your photograph.
Video 1 · Intention
The series groups these three lessons together:
- 26 — Composition Rules · you are here
- 27 — Framing — choose what belongs within the frame.
- 29 — Leading Lines — explore connections and visual pathways.
The four themes work together throughout photography. Return to any of them when it helps you reconsider a choice. The Academy’s numbered lesson route stays the same.
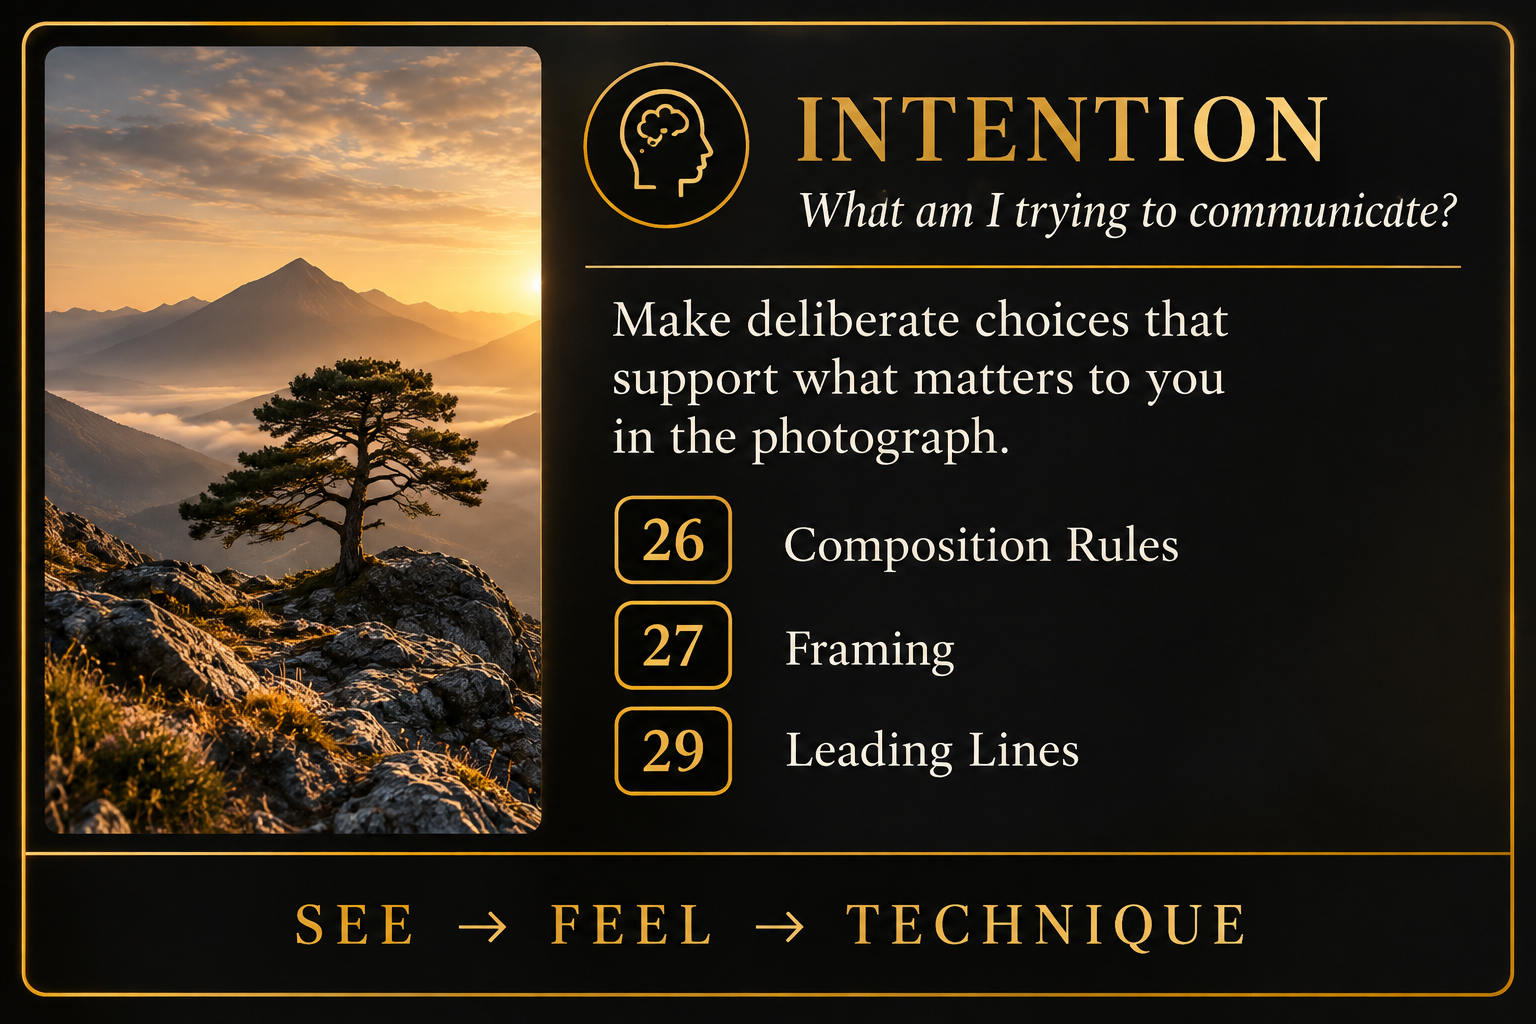
Table of Contents Show
⏱️ CHAPTERS
00:00 - Introduction: Composition with Intention
01:15 - Lesson 26: Mastering Composition Rules
02:02 - Starting with What Caught Your Attention
02:38 - Rule of Thirds & Subject Placement
03:21 - Understanding Visual Weight & Balance
04:05 - Creating Depth with Layers & Viewpoint
04:40 - Rules as Tools to Compare, Not a Checklist
05:09 - Lesson 27: What Is Framing in Photography?
05:36 - Subject Emphasis vs Context & Story
06:03 - Checking All Four Edges of the Frame
06:51 - Balance & The Half-Closed Eyes Technique
07:11 - When to Simplify vs When to Keep Complexity
07:46 - Lesson 29: Leading Lines & Visual Pathways
08:34 - Directional Lines: Diagonals, Curves & Converging
09:18 - Horizontal vs Vertical Lines
09:48 - Implied Pathways: Gaze, Gesture & Sub-Frames
10:28 - 3 Rules for Purposeful Visual Pathways
11:16 - Common Myths About Leading Lines
12:37 - Summary: Stop Applying Rules, Start Making Choices
UNDERSTANDING COMPOSITION
What composition helps you express
Composition is how the elements within a photograph relate to one another and to the edges of the frame. Your viewpoint, distance and timing affect those relationships, alongside the light and the space you include.
These choices influence what someone notices and how the photograph feels. A small figure surrounded by open space might suggest solitude or scale. A tighter view of the same figure might bring attention to expression or gesture. Compare what each arrangement communicates.
Recognise your intention
Begin with what caught your attention. You might want to preserve the stillness of a scene, the tension between two shapes or a fleeting interaction. That response gives you something to work towards as you explore the frame.
You do not need a polished explanation before taking a photograph. Make an initial frame, look at what it contains and let that help clarify what matters. Observation and intention can develop as you work.
Use techniques to test a possibility
If a curve first attracted you, explore a viewpoint that makes its shape apparent. If the quiet space between two objects matters, check whether your framing preserves it. The techniques below give you options for making those decisions.
Ask as you compose:
What does this choice contribute to the photograph?
Further reading: In Most photography teaching has it backwards, I explain why seeing and intention come before camera decisions.
Essential Composition Techniques
CHOICES TO EXPLORE
A practical composition toolkit
Choose one approach that relates to what caught your attention. Compare the result with an alternative and decide what each version contributes.
Rule of thirds
Try placing an important element near a thirds line or intersection. Compare it with a central or edge placement. Notice how its relationship with the surrounding space changes.
Visual pathways
Notice lines, curves, light and repeated shapes that connect areas of the frame. They might suggest movement, depth or a relationship without ending at a single subject.
Framing
Explore what to include and exclude at all four edges. A doorway or branches can provide a frame within the frame when that extra structure contributes to the image.
Visual weight and balance
Look at which areas attract attention through brightness, colour, size or detail. Compare a settled arrangement with one that creates tension or deliberate dominance.
Symmetry and patterns
Explore the order created by mirrored forms or repetition. An interruption can shift attention; an unbroken pattern may better express rhythm, stillness or continuity.
Negative space
Compare a spacious view with a tighter one. Consider what the quieter areas express—perhaps scale, isolation or anticipation. There is no required proportion of space.
Layers and depth
Notice whether near and distant elements help describe the scene. Explore layers when depth matters, while allowing a flatter arrangement when shapes or surfaces interest you.
Viewpoint
Move higher, lower or to one side. Watch how shapes overlap and gaps open or close. Choose a position for the relationship it creates between the elements.
Subject and surroundings
Notice whether an element separates from or blends into its surroundings. Contrast can make it prominent; a subtle relationship may invite a slower look.
Filling the frame
Try a closer view when detail, gesture or texture matters. Compare it with a wider version to see whether losing the surroundings strengthens or weakens the photograph.
Edges and overlaps
Check where forms meet each other and the frame boundary. A small change of position may clarify a relationship. Keep a crop or overlap when it contributes to the image.
Triangles and groupings
Three points can suggest a triangular arrangement. Explore how spacing and grouping connect the elements. Even and odd numbers can both produce effective compositions.
PLACEMENT AND SPACE
Rule of Thirds
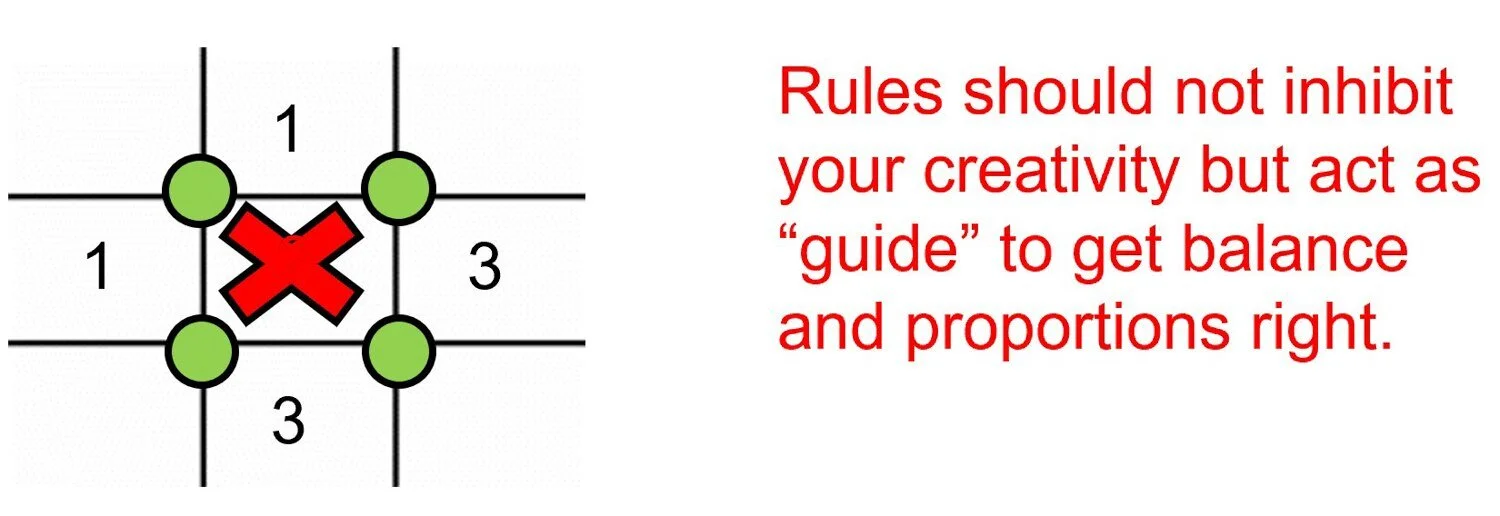
The rule of thirds divides the frame into nine equal rectangles using two horizontal and two vertical lines. Those lines and their four intersections suggest positions you can try for important elements.
Placing a tree near a vertical third, for example, leaves more space on one side. Consider what that space contains and how it relates to the tree. A central placement might better express symmetry or stillness; a position near an edge might create tension.
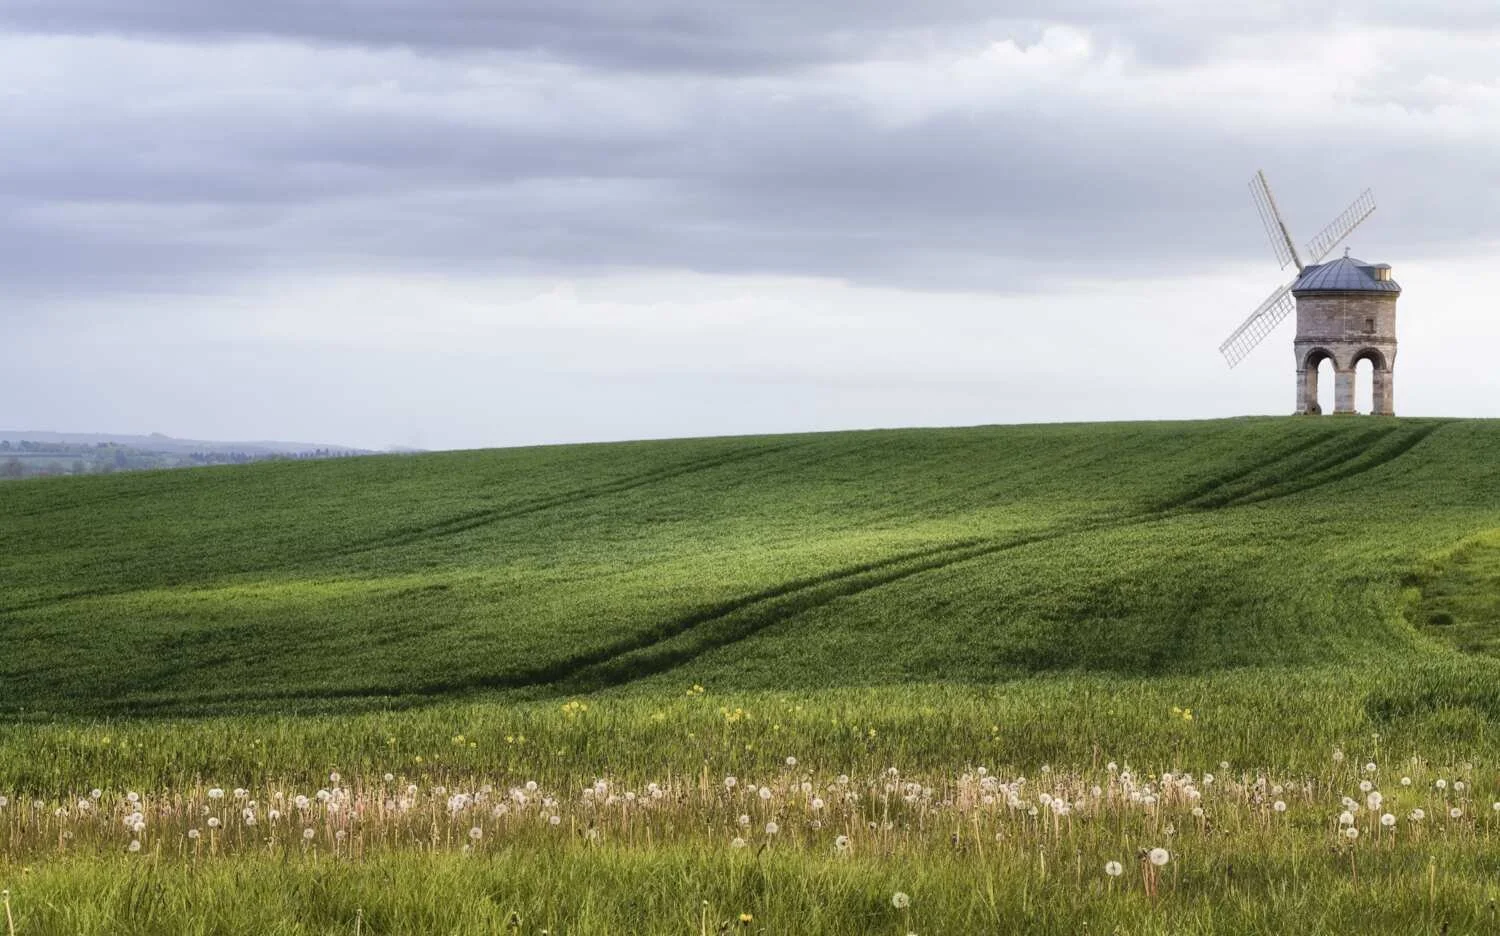
For a landscape, compare how much attention the sky and land deserve. A lower horizon gives more of the frame to the sky; a higher horizon gives more to the land. A central horizon may suit a reflection or an equal relationship between the two.
Use the grid as a reference while exploring. Review the whole photograph with the overlay switched off so you can judge the image itself.
CONNECTION AND MOVEMENT
Leading Lines (Visual Pathways)
Leading lines are visible lines that can suggest a direction through a photograph. A path, shoreline, wall or shadow may connect different parts of the frame or create a sense of depth.
Visual pathways is a broader way of thinking about those connections. Repeated shapes, patches of light and changes in colour can also encourage attention to move between areas, even when there is no continuous line.
A pathway might connect to a person or tree, disappear into mist, or continue beyond the frame. Consider what that movement contributes: it could suggest a journey, uncertainty, distance or a relationship between elements. Viewers may explore the photograph in different ways.
Explore this further in Lesson 29 — Leading Lines and Visual Pathways.

REPETITION AND RELATIONSHIPS
Symmetry and Patterns
Symmetry occurs when forms mirror one another across an axis or repeat around a centre. Reflections, buildings and natural structures can offer opportunities to explore it. Your position determines how closely those forms align within the frame.
Patterns arise through repeated shapes, colours, textures or intervals. They can suggest rhythm and continuity without being symmetrical. Look at the spacing between elements as well as the elements themselves.
An interruption may draw attention to a particular part of a pattern. An uninterrupted sequence may better express the repetition that first interested you. Consider how your framing strengthens that response.
DECISIONS AT ALL FOUR EDGES
Framing
Framing is deciding what appears within the photograph and where its boundaries fall. Moving your camera, changing your distance or choosing a different focal length alters what you include and how the elements relate.
Look around all four edges. A partial shape might suggest something continuing beyond the picture; an overlap might connect two elements or make their relationship harder to understand. Judge those effects against what matters in your photograph.
A doorway, window or branches can create a frame within the frame. This is one option within the broader practice of framing. Consider whether it adds useful context, depth or meaning, and how much attention it attracts.
Explore decisions about the whole frame in Lesson 27 — Framing.
Grab the 1-page Composition Rules Checklist
Download the printable A4 guide — rule of thirds, balance, leading lines, framing & more.
SPACE AND RELATIONSHIPS
Exploring Space and Depth
Using Negative Space
Negative space describes the quieter areas around or between elements that attract attention. It might be open sky, still water, shadow or a relatively plain surface. Its contribution depends on its relationship with the rest of the photograph.
Space can suggest isolation, scale, stillness or anticipation. The gap between two figures may carry meaning of its own. Look at its shape, tone and position as carefully as you would look at a more prominent element.
There is no required percentage of negative space. Compare a wider view with a tighter one and consider how the relationship changes. Keep the amount of space that supports what you want the photograph to express.
Explore this further in Lesson 30 — Negative Space.
Layering Elements for Depth
Near and distant elements can help a photograph convey depth. Overlapping forms, differences in apparent size and changes in detail can contribute to that sense of distance.
A foreground element may establish scale or connect the viewer with the scene. Consider whether it contributes enough to justify the attention it attracts. Sometimes a clearer view of the distant forms better expresses what interested you.
Foreground, middle ground and background are useful ways to describe a scene. Choose the layers that support your photograph. A flatter arrangement can work well when colour, shape, texture or repetition is the main interest.
WEIGHT AND TENSION
Balancing Visual Elements
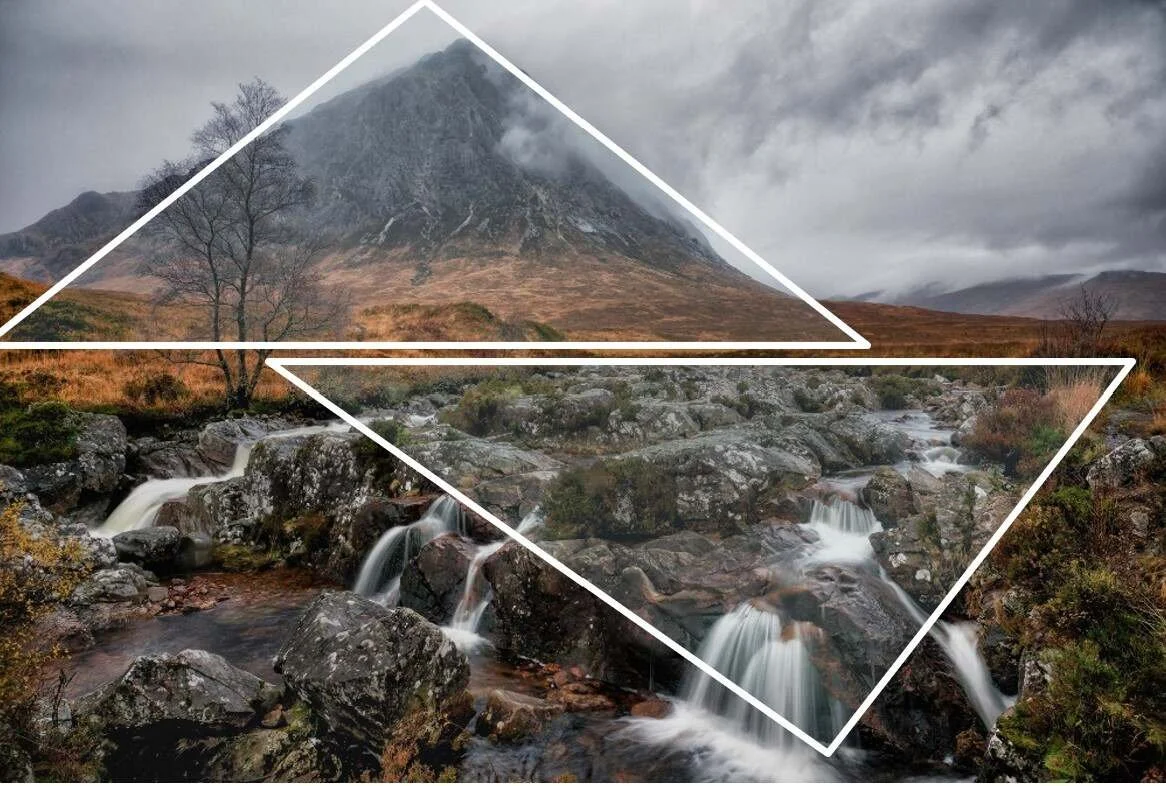
Visual weight describes how strongly an area attracts attention. Size, brightness, colour, contrast and detail can all contribute. Meaning matters too: a small face may attract more attention than a much larger area of plain background.
Balance concerns how those areas relate across the frame. A symmetrical arrangement may feel settled, while unequal weight may create tension or emphasise one part of the image. Consider which relationship supports your intention.
Before adding something to counter a prominent element, look at what the existing space contributes. Moving your viewpoint, excluding an element or allowing one area to dominate may produce the relationship you want.
Explore this further in Lesson 32 — Compositional Balance.
POSITION AND RELATIONSHIPS
Exploring Perspectives and Viewpoints
Your viewpoint determines how elements overlap, how much space appears between them and what sits behind them. A small move to one side can separate two shapes or bring them together. Raising or lowering the camera changes their relationship with the background.
Moving closer changes the apparent size of nearby elements relative to more distant ones. Changing focal length from the same position changes how much of the scene you include. Consider whether you need a different position, a different framing, or both.
Choose a viewpoint for what it helps you express. A low position might emphasise a nearby shape; a higher view might reveal a pattern or the space between elements. Look at the whole frame to judge whether the change strengthens the photograph.
REVIEW BEFORE ADJUSTING
Editing to Support the Photograph
Before moving a slider, identify what you want to preserve. Complete the sentence: “What I love about this picture is…” Then look for a specific issue that interferes with it. A successful photograph may need no further adjustment.
Compare each proposed change with the original. Keep it when it strengthens the photograph without losing something that matters. You can develop this approach further in Lesson 34 — Improving Composition.
Take one lesson back into the field: If the frame feels too tight, note how a wider view or different position could help next time. Cropping can change proportions, but it cannot recover the scene beyond the original frame.
PUT IT INTO PRACTICE
Improving Composition through Practice
Practise making a choice and explaining its effect. The exercises throughout this lesson offer different starting points. Choose one that addresses something you want to understand, then use the comparison below.
One scene, two versions
- Notice what interests you. Spend a moment looking at the scene. Identify a shape, relationship, quality of light or feeling you want to explore.
- Make your first photograph. Choose a position and framing that express your initial response. Check what appears at the edges as well as the main area of interest.
- Change one compositional choice. Try a different placement, viewpoint or amount of space. Keep the other choices as similar as practical so you can understand the effect of the change.
- Compare the photographs. Describe what each version communicates. Identify something visible in the image that explains your preference, such as a gap, overlap or relationship between light and dark.
- Choose your next step. Record one thing you would keep and one decision you want to explore on your next outing.
Learn from feedback
Ask another viewer what they notice first and how the photograph feels before explaining your intention. Their response can reveal something you overlooked or show that a choice communicates differently than you expected.
When someone suggests a change, identify the issue they are responding to. Compare their suggestion with your original and decide whether it helps the photograph. Accept or reject the change with a reason tied to what you want to preserve.
Build on what you discover
You can also practise individual techniques across several scenes to become familiar with their effects. Treat that as optional exploration. Review what you learned from the photographs, including the occasions when another approach worked better.
Revisit earlier work to recognise decisions you would now make differently. Choose a specific question to test, such as whether changing your height could clarify an overlap, and give yourself an opportunity to try it.
Further reading: YouTube can’t see your photographs explores how practice, feedback and review support learning.
COMMON QUESTIONS
Photography Composition Rules FAQs
What are the main composition rules in photography?
Commonly taught composition techniques include the rule of thirds, leading lines, symmetry, patterns, framing, balance and negative space. Each gives you an arrangement to explore. Choose according to what you want the photograph to express, then judge the effect in the actual image.
What are the seven rules of composition?
There is no single agreed list of seven composition rules. One common selection is thirds, leading lines, framing, symmetry, balance, negative space and repetition. Different guides group these techniques differently. Learning how they affect your photographs is more useful than memorising a particular list.
Which composition rule should a beginner learn first?
The rule of thirds is an accessible placement exercise. Begin by noticing what interests you, then compare placing it near a thirds line with placing it centrally. Look at how the surrounding space and relationships change. Explain which version better supports your intention.
Does a subject always need to be off-centre?
No. Central placement can support symmetry, directness or stillness. Off-centre placement changes the space around an element and its relationship with the rest of the frame. Try both where practical and compare their effect. Lesson 27 — Framing explores these choices further.
Should I fill the frame or leave negative space?
Choose according to what the surroundings contribute. A tight frame may emphasise detail or gesture. More space may express scale, isolation, stillness or context. Compare both versions rather than aiming for a fixed proportion. See Lesson 30 — Negative Space for more examples of this decision.
Do leading lines have to point towards the main subject?
No. A line may connect areas of the photograph, suggest depth, disappear into the distance or continue beyond the frame. Consider what that movement contributes to the image. In Lesson 29 — Leading Lines, visual pathways also include connections created by light, colour and repeated shapes.
Does every photograph need to look balanced?
A photograph can work through stability, tension or deliberate dominance. Look at how attention is distributed and whether that relationship supports your intention. Adding another element simply to equalise the frame may weaken it. Explore this in Lesson 32 — Compositional Balance.
How can I improve my photography composition?
Photograph one scene in two ways, changing one compositional choice. Compare what each version communicates and identify visible reasons for your preference. Ask another viewer what they notice, then decide what to test next. Lesson 34 — Improving Composition develops this review process.
Can cropping improve a photograph’s composition?
Cropping can change the frame’s boundaries, proportions and relationships. Compare a proposed crop with the original and check what it removes. Keep it when it strengthens the photograph’s meaning or feeling. Cropping cannot recover anything outside the original frame.
How do I know when to break a composition rule?
Compare the suggested arrangement with an alternative. If central placement, extra space or an uneven distribution of attention better expresses your intention, use it. Explain the choice through its effect on the photograph. The Photography Composition Framework connects these decisions through SEE → FEEL → TECHNIQUE.
Remember that your images are your unique experience and therefore it’s essential to ensure they are backed up.
Read my post on Safeguarding high-quality images using proper backups.