
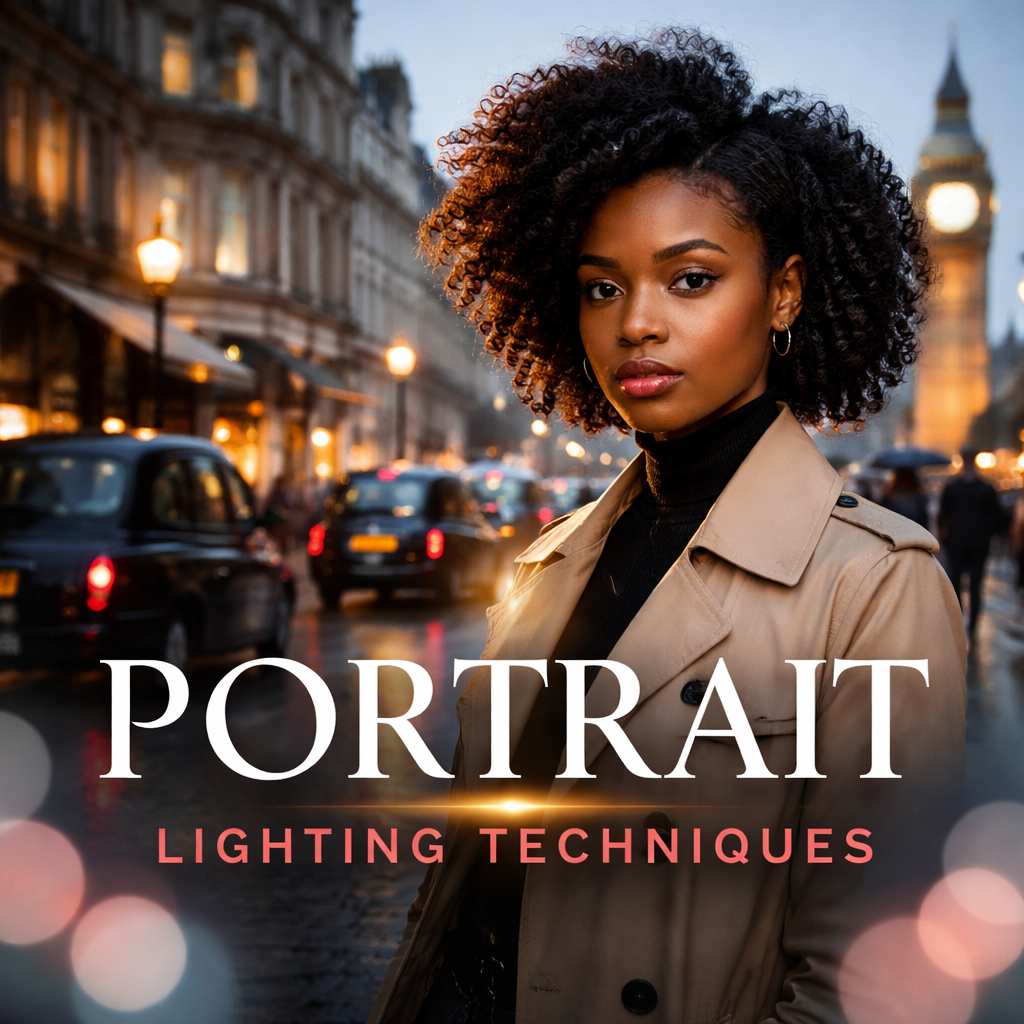
Portrait Lighting Techniques - Photographer's Complete Guide
Table of Contents Show
An analysis of 10 portrait lighting techniques across 4 sources reveals that the most gear‑intensive methods aren’t the most complex, and that key modifiers are omitted in half of the popular styles.
In this guide you’ll learn how to choose, set up and tweak portrait lighting techniques that work in a studio, on location or in your home.
Comparison of 10 Portrait Lighting Techniques
A practical summary of common portrait lighting styles, showing the key modifier, typical use and the gear needed for each look.
| Technique | Key Modifier | Typical Use Case | Required Equipment | Best For | Source |
|---|---|---|---|---|---|
| Background light | Small reflector | Lights backdrop evenly | Small reflector, grid, gel | Background separation | youtube.com |
| 2 stop lighting ratio | 60 inch silver reflective umbrella | Beauty and fashion portraits | One 60 inch silver reflective umbrella, one umbrella reflector, one 60 inch octabank | Beauty/fashion | decafjournal.com |
| High key | — | Low contrast, bright background portrait | Large key light, bright fill light | Bright, low-contrast portraits | youtube.com |
| Classic headshot lighting | 60 inch strip box | Classic headshot lighting | Two 60 inch strip boxes, neutral density filter | Classic headshots | decafjournal.com |
| Key light | Softbox | Primary illumination of subject's face | Softbox | Primary soft illumination | youtube.com |
| Fill light | Soft modifier | Fills shadows to preserve detail | Soft modifier | Shadow fill | youtube.com |
| Low key | — | High contrast, dramatic portrait | Smaller main light | Dramatic, high-contrast portraits | youtube.com |
| 3 stop lighting ratio | 60 inch octabank | Most flattering lighting setups | Two 60 inch octabanks | Balanced lighting ratios | decafjournal.com |
| Silver reflective umbrella beauty lighting | 60 inch silver reflective umbrella | Ultimate beauty light | 60 inch silver reflective umbrella | Ultimate beauty light | decafjournal.com |
| Rembrandt | Octodome | Artistic portraiture | — | Artistic portraiture | fdphotostudio.com |
Quick Verdict: The 2‑stop lighting ratio stands out as the most versatile , it delivers a dedicated beauty/fashion use case with three pieces of gear. For clean background separation, Background light is the next best choice. Rembrandt, while iconic, offers the fewest equipment requirements and may feel limiting for those seeking more control.
If you want a step‑by‑step look at how different lighting styles affect mood, check out the portrait styles guide on our site.
Understanding Light Basics for Portraits
Portrait lighting techniques start with the way light falls on a face. Light can be hard or soft, warm or cool, front or side.
Hard light creates sharp shadows. It works well for dramatic looks but can hide skin detail. Soft light spreads the light, smooths skin and reduces shadows. A softbox or a window with sheer curtains gives that gentle wrap.
Colour matters too. Morning light is cool‑blue, midday is neutral, and golden hour adds warm orange. You can shift colour with gels or white balance settings.
Direction is the next big factor. Light from the front flattens the face. Light from the side adds depth and shows cheekbones. Light from above creates a triangle of light under the eye , that’s the classic Rembrandt shape.
Understanding these basics helps you decide which portrait lighting techniques to try first.
For a deeper dive into how light works, see the Wikipedia entry on portrait photography. It explains the history and why light is so important.
Practical tip: use a piece of white foam board as a cheap reflector. It bounces light into shadows and keeps the catch‑light alive in the eyes.
Another useful on lighting direction basics. It breaks down how to read shadows and move your source.
When you experiment, note the mood each change creates. Write down the angle, distance and modifiers. That habit makes it easy to repeat a look you like.
Classic Portrait Lighting Setups Compared
Below is a quick compare of the most used portrait lighting techniques. Use the table to pick a set that matches your goal.
Classic Portrait Lighting Setups Compared
A quick-reference table showing common portrait lighting patterns, their practical uses, and the main strengths or drawbacks of each setup.
| Setup | Light Position | Typical Use | Pros | Cons |
|---|---|---|---|---|
| Butterfly (Important) | Directly above, 45° down | Fashion, glamour | Sharp cheek shadow, strong catch-light | Requires precise height, can look harsh |
| Loop | Side, slightly above eye line | Everyday portrait | Easy to set, natural look | Shadow may touch cheek if too close |
| Rembrandt | 45° side, high | Artistic, dramatic | Iconic triangle of light | Hard to get triangle on all faces |
| Split | 90° side, camera-right | Moody, edgy | Strong separation from background | One eye hidden, needs careful pose |
| High Key | Front, bright fill | Bright commercial work | Low contrast, clean look | Can look flat without texture |
| Low Key | Side, low intensity | Drama, mood | Deep shadows, strong mood | Needs controlled spill, can be too dark |
The Digital Photography School article walks through each style with photos and tips.
For a quick cheat sheet, see the Digital Camera World guide. It lists gear and ratios you can copy.
When you choose a setup, think about the story you want to tell. A high‑key portrait says bright and clean. A low‑key portrait says moody and intense.
Try one setup, then switch the key light to a softbox or an umbrella. Notice how the catch‑light changes. That small tweak can turn a simple portrait into a standout image.
Remember to keep your camera on manual mode while you test. That way the exposure stays constant and you can see the pure effect of the light change.
For more ideas, our natural light photography tips page shows how to adapt these studio patterns outdoors.
Using Natural Light for Stunning Portraits
Natural light is free, everywhere, and often the most flattering. The trick is to read it and shape it.
First, find the quality of light. Open shade , under a tree or a roof awning , gives even, soft light. Direct sun creates harsh shadows. Overcast sky acts like a giant softbox.
Second, watch the direction. Light from a window at 45° gives a nice rim on the hair and a soft shadow on the cheek.
Third, add a reflector. A small silver panel bounces light into the shadow side and keeps the eyes bright.
Now a step‑by‑step walk‑through:
Meter the background with your camera’s meter or a handheld meter. Note the f‑stop.
Take a test shot of the subject. Check the histogram for clipped highlights.
If the subject is too dark, add a reflector or move them closer to the window.
When the background is too bright, use a neutral‑density filter or step back a few feet.
Set your ISO low (100‑200) to keep noise down, unless you need faster shutter.
Here’s a short video that shows these steps in action:
When you shoot, keep the shutter at least 1/160 s to avoid motion blur from a moving subject.
The Digital Photography School tutorial explains how to blend ambient light with a fill flash for balanced exposure.
Another useful read is the same site’s guide on using reflectors in open shade. It gives practical tips for the UK weather.
Practice by taking ten shots of a friend at different times of day. Note how the skin tone changes from cool morning to warm evening.
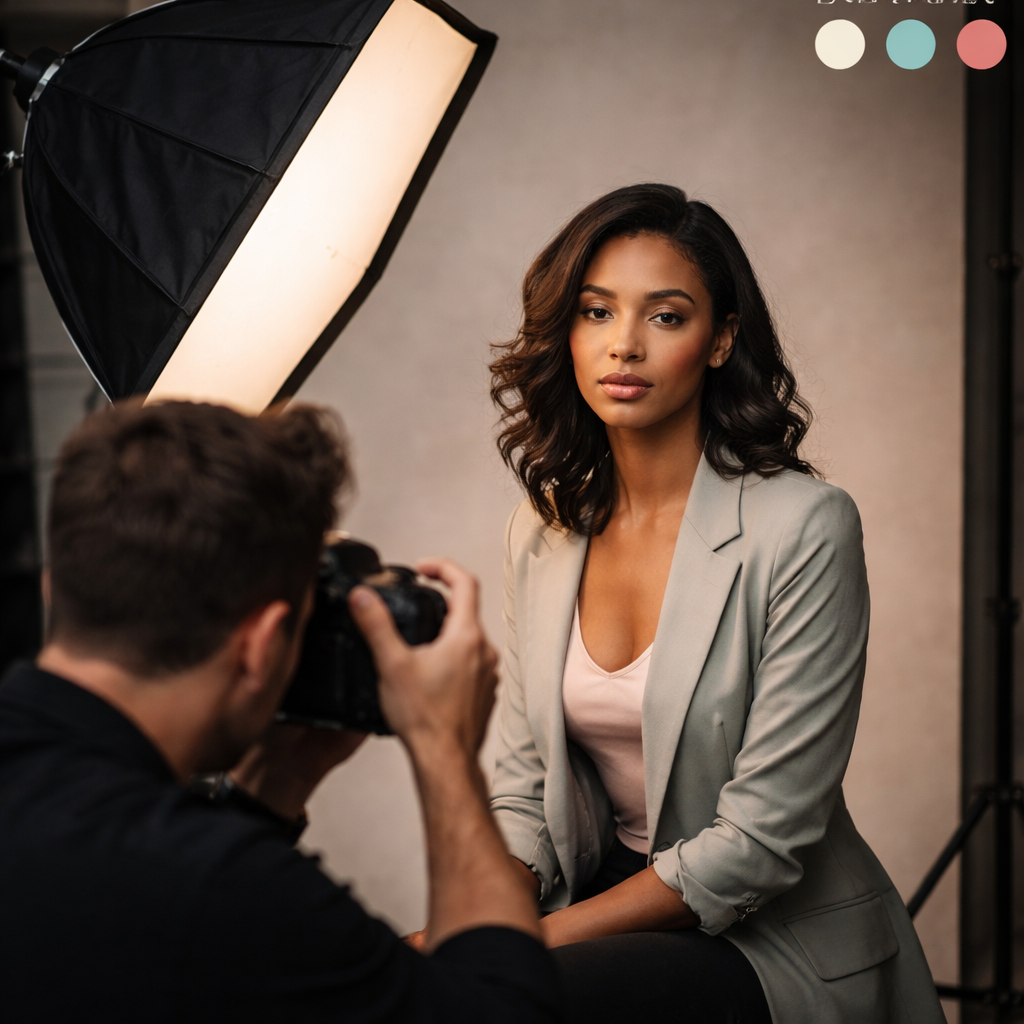
Mastering Artificial Light: Strobes, LEDs & Modifiers
Artificial light lets you control every part of the look. Strobes give punch, LEDs give constant output, and modifiers shape the quality.
A strobe with a softbox is the workhorse of most studios. It creates a soft, wrap‑around light that flatters skin. You can add a grid to the softbox to keep the light from spilling onto the background.
LED panels are great for video or for quick on‑location work. They stay on, so you can see the result instantly. Many LED lights have a colour‑temperature dial , move from 5600 K (day) to 3200 K (tungsten) for mood.
Modifiers are the secret sauce. A 60 inch octabank spreads light wide and soft. A silver reflective umbrella adds a bit of bite while staying soft. A strip box gives a thin, defined edge for classic headshots.
Our own studio uses a 60 inch silver umbrella, a regular umbrella reflector and a 60 inch octabank , the 2‑stop lighting ratio from the research table. That combo gives a beautiful fashion look with control over shadows.
For more on strobe setups, on Decaf Journal. It walks through the 2‑stop and 3‑stop ratios step by step.
If you prefer LEDs, the Glyndewis blog shows how the Westcott L60‑B LED works with a rapid box and a colour checker for accurate skin tones.
When you buy gear, think brand‑agnostic. A Godox flash works with a PocketWizard trigger, and a Photek softlighter can swap between umbrella and octabank.
To keep your budget in check, start with a single flash, a softbox and a reflector. Add the octabank later when you need the extra control.
Looking for a course that dives deeper? Our free portrait lighting course covers these tools in detail.
Creative Lighting Effects: Rim, Hair and Colour Gels
Once you master basic setups, you can add creative flair. Rim light separates the subject from a dark background. Place a light behind the subject, aim it at the edge of the hair or shoulders. Use a grid to keep the spill tight.
Hair light adds a sparkle to the top of the head. A small LED or a hot‑shoe flash with a narrow barn door works well. Position it just above the head and tilt it down a few degrees.
Colour gels let you paint the scene. A blue gel on the background light gives a cool mood. A warm orange gel on the key light adds a golden feel. Keep the colour balance in mind , too much colour can look unrealistic.
Watch this quick tutorial on rim lighting for portrait ideas: YouTube rim lighting demo. It shows how a single light can create a strong edge.
For a deeper dive into hair‑light tricks, check out YouTube hair‑light guide. It explains placement and power settings.
Experiment with one effect at a time. Change the gel colour, shoot a few frames, then move the light. You’ll see how each tweak changes the story.Remember to keep your ISO low when using gels so colour stays pure. If you need extra exposure, open the aperture a stop rather than raising ISO.
Frequently Asked Questions
What are the easiest portrait lighting techniques for beginners?
The simplest portrait lighting techniques are high‑key and soft‑box setups. Use a single softbox placed at a 45° angle, keep the background plain, and set the camera to manual. Add a small reflector opposite the key light to fill shadows. This gives a clean, flattering look without a lot of gear.
How do I choose between natural light and artificial light?
Natural light is free and works well in open shade or overcast days. It gives a soft wrap that flatters skin. Artificial light lets you work any time, any weather, and gives consistent control. If you need reliable repeatable results, go with strobes or LEDs. If you love the look of sunrise or sunset, stick with natural light.
Can I use a single light for a full‑body portrait?
Yes, you can use a single light with a large modifier like a 60 inch octabank. Position the light slightly above and in front of the subject. Add a reflector on the opposite side to bounce some fill. This gives even illumination from head to toe without needing multiple lights.
What is the best way to light a subject with dark hair?
Dark hair can blend into shadows. Use a rim light or hair light to separate the hair from the background. Aim a small LED or flash at the back of the head, and add a slight bounce with a white reflector. This creates a subtle edge that makes the hair stand out.
How do I avoid blown‑out highlights in bright sunlight?
Meter the brightest part of the scene and set the exposure a stop or two under. Use a neutral‑density filter on the lens to cut the light without changing colour. A reflector can also fill shadows so you don’t need to raise ISO too much.
What gear do I need to start learning portrait lighting techniques?
You only need a camera that can shoot in manual, a basic flash or LED, a softbox or umbrella, and a small reflector. Add a tripod and a light meter if you want more precision. All of these items are affordable and let you practise the key portrait lighting techniques.
Conclusion & Next Steps
We’ve covered the core portrait lighting techniques you need to create strong, memorable images. From understanding light basics to mastering studio gear and adding creative gels, you now have a toolbox you can apply on location or in a studio.
Take the next step by practising each setup at least three times. Note the mood each one creates and keep a simple log of settings. When you feel confident, experiment with rim and hair lights to add that extra pop.
If you want structured guidance, our portrait photography tips page offers checklists, pose ideas and post‑process advice that complement the lighting techniques you just learned.
Finally, join our free online course to get feedback on your work and learn how to fine‑tune exposure, composition and editing. With practice, you’ll see a big jump in the quality of your portraits and the confidence to charge higher rates.