
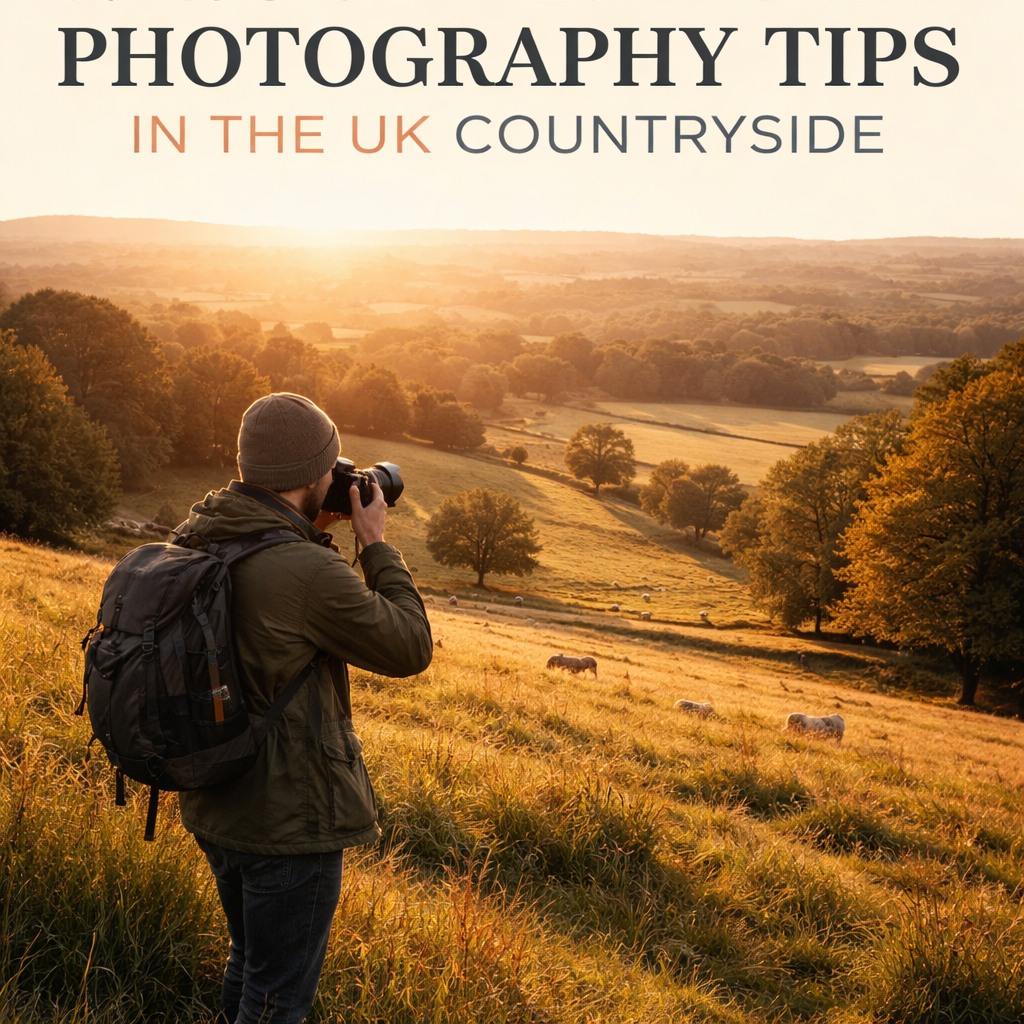
Natural Light Photography Tips for Stunning UK Shots
Table of Contents Show
Natural light looks easy, but most beginners end up with flat or harsh images because they don’t know how to read it. That’s why you need a clear plan.In this guide you’ll learn practical natural light photography tips that work on the streets of London, the hills of the Cotswolds and the coast of Cornwall. We’ll walk through how to assess light quality, pick the right gear, compose with sunlight, edit without losing the feel of the scene, and avoid the common mistakes that waste hours of shooting.
Ready to turn everyday daylight into a creative tool? Let’s get started.
An analysis of 7 well‑documented natural‑light photography tips from 45 sources reveals that only 43% suggest any extra gear and that exposure mistakes appear in 86% of the advice.
Comparison of 7 Natural Light Photography Tips
A practical summary of common natural-light techniques, mistakes, useful settings, and where each approach works best.
| Tip | Description | Common Mistake | Key Setting | Suggested Gear | Best For | Source |
|---|---|---|---|---|---|---|
| Use reflectors, softboxes, or diffusers to soften harsh lighting | If the lighting feels too harsh, use reflectors to bounce available light or softboxes and diffusers to soften it. | Shooting in harsh lighting without modifiers | — | Reflectors, softboxes, diffusers | Lighting control | fujifilm-houseofphotography.com |
| Use back lighting for dramatic effect | Back lighting places the sun behind the subject to create silhouettes or halos, but it often needs careful exposure control. | Losing detail in the bright sky and rendering the foreground completely black | — | Graduated neutral density filters, bracketing | Dramatic silhouettes | medium.com |
| Use side lighting for texture and depth | Side lighting creates long shadows, emphasises texture and shape, and works especially well with strong forms and surface detail. | Blowing the highlights or losing the shadows | — | Graduated neutral density filters, bracketing | Texture and depth | medium.com |
| Fast shutter speed & ISO | Keep shutter speed fast (1/1000+) and raise ISO when needed. Sharpness often matters more than a perfectly low ISO. | Fear of raising ISO | Shutter speed fast (1/1000+), raise ISO as needed | — | Action shots | lookingglassphoto.com |
| If you are shooting outside during the middle of the day, use a lower ISO such as 100 or 200 | Bright daylight usually gives enough light to keep ISO low and preserve cleaner files. | — | ISO 100–200 | — | Low-noise daylight | petapixel.com |
| Use exposure compensation: underexpose by a stop when the sun is behind you, overexpose slightly when the sun is behind the subject | Exposure compensation helps protect highlights or lift facial shadows depending on the direction of the light. | Getting exposures wrong | Exposure compensation (underexpose by 1 stop or overexpose slightly) | — | Dynamic range management | petapixel.com |
| Prefer softer morning or afternoon light for portraits, avoid harsh midday sun | Portraits usually benefit from softer light earlier or later in the day when shadows are gentler and skin tones look more flattering. | Shooting in harsh midday direct sunlight | — | — | Flattering portraits | fujifilm-houseofphotography.com |
Quick Verdict:The top tip is “Fast Shutter Speed & ISO” , it gives the clearest technical guidance for sharp action shots. The next best is “Use reflectors, softboxes, or diffusers” for lighting control with simple gear. Skip the “Prefer softer morning or afternoon light for portraits” tip if you need concrete settings or equipment.
Step 1: Assess Light Quality
Before you point your camera at anything, you need to know what the light is doing. Light changes colour, intensity and direction throughout the day, and each change creates a different mood.
Morning light (the hour after sunrise) is cool‑blue and soft. It wraps around subjects and reduces harsh shadows. Mid‑morning starts to warm up, giving you a subtle golden hue that adds depth without the glare of midday.
Midday sun sits high, casting short, hard shadows that can be dramatic for architecture but often flatten faces. Overcast skies act like a giant softbox , they remove contrast and reveal colour nuance, making them perfect for product shots and portraits where you want even illumination.
The golden hour , the hour after sunrise and the hour before sunset , delivers warm, low‑angled light that creates long shadows, a thin rim of light on edges, and a gentle colour shift toward orange‑pink. The blue hour (the period just before sunrise and just after sunset) gives you cool, muted tones and a smooth sky that works well for cityscapes and silhouettes.
Here’s a quick way to read the sky: if the sun is low, look for long shadows; if the sky is overcast, expect soft light; if the sun is directly overhead, expect hard light and high contrast.
When you scout a location, take a moment to note the direction of the sun relative to your subject. Imagine a line from the sun to the subject , that line tells you where the light will hit first.
And remember: you can always modify the light with a reflector or a diffuser. A simple white foam board can bounce sunlight into the shadows, while a thin sheet of muslin can soften harsh midday light.
In practice, I often start by setting my camera to exposure in photography mode, then I take a test shot and check the histogram. If the peaks are bunched on the right, the light is too harsh; if they sit on the left, you’re under‑exposing.
External resources can help you visualise these concepts. For a deeper dive, on understanding natural light throughout the day. And watch the short video on light direction at Outdoor Photography Guide for a visual explanation.
Why does this matter? Because the quality of light determines the exposure settings you’ll need, the gear you might add, and the mood you’ll convey. If you can read the light first, you’ll spend less time fiddling with settings and more time composing.
Step 2: Choose the Right Equipment
Even though natural light is free, a few pieces of gear can make the difference between a good shot and a great one.
First, a sturdy tripod. When the light is low , early morning, blue hour or a cloudy day , you’ll need longer exposures to avoid blur. A tripod keeps the camera steady, lets you use slower shutter speeds, and frees your hands for a reflector or a remote release.
Second, lenses. For portraits, a prime around 85mm or a short telephoto (70‑200mm) lets you isolate the subject and blur the background. For landscapes, a wide‑angle (16‑35mm) captures the sweep of the scene while still letting you get close to foreground texture.
Third, reflectors. A 5‑ft collapsible reflector with a white surface is cheap and works wonders on overcast days, bouncing soft light onto the subject’s face or product.
Fourth, a polarising filter. When you shoot water, wet stones or glass, a polariser cuts reflections and deepens the sky’s colour. It also helps on bright sunny days by reducing glare.
Finally, a spare battery and memory card. You’ll be out longer when you’re chasing the right light.
Natural Light Photography Gear Guide
A quick-reference table showing the most useful gear additions for working with changing daylight and contrast outdoors.
| Gear | Why It Helps | Best Use Case |
|---|---|---|
| Sturdy tripod | Stabilises long exposures and reduces camera shake. | Blue hour, low light, landscape |
| Fast prime lens (85mm f/1.8) | Creates shallow depth of field and flattering subject separation. | Portraits, headshots |
| Wide-angle zoom (16–35mm) | Captures expansive scenes and emphasises foreground depth. | Landscape, architecture |
| Collapsible reflector (white/silver) | Provides bounce light and fills shadow areas. | Overcast portraits, product photography |
| Polarising filter | Reduces glare and deepens sky colour. | Water, glass, bright sunny days |
When you pick gear, think about the light you’ll be working with. If you often shoot in cloudy British weather, a reflector and a fast lens are essential. If you love sunrise on the coast, a tripod and a neutral‑density filter will let you capture silky waves.
For a deeper look at low‑light gear, read Digital Photography School’s guide to low‑light outdoors. It explains why a tripod, a remote, and a sturdy bag hook can be lifesavers.
Another helpful on camera safety and long exposures which covers the practical side of staying safe while you wait for that perfect light.
Step 3: Compose for Natural Light
Now that you know the light and have the gear, it’s time to think about composition. Light is the first ingredient , it shapes the subject, creates depth, and guides the eye.
Start by locating the main light source. Is it coming from the left? Right? Behind? Front? Each direction changes the mood.
Front light flattens the scene , great for product shots where you want even illumination, but boring for portraits. Side light creates strong shadows that reveal texture , perfect for stone walls, tree bark, or a face with cheekbones. Back light can turn a subject into a silhouette or give a rim of glow , think of a cyclist against the setting sun.
Use the rule of thirds as a starting point, then move the subject to wherever the light hits the most interesting part. If you have a bright rim of light, place the subject off‑centre so the rim becomes a visual hook.
Don’t forget negative space. A bright sky with a small, well‑lit subject can feel powerful. Conversely, a dark foreground with a bright subject can create drama.
Here’s a quick exercise: find a spot with a window, set up a subject, and take ten shots , each time move the subject a little left or right, up or down, and note how the shadows shift. You’ll start to see patterns.
Kevin Mullins reminds us that light, composition and moment are three corners of a triangle. He suggests watching how light moves before you shoot , a tip he shares in his light‑composition‑moment guide. He also recommends using a monochrome view on your camera to see shape and shadow more clearly.
And for a visual walk‑through, check out this video where a photographer breaks down composition with natural light:
Notice how the photographer pauses, frames, and then moves the subject to catch the light at just the right angle. That pause is the moment you want to capture.
Finally, keep an eye on your background. A bright window behind a subject can cause lens flare or spill light onto the subject’s face. Use a flag (a piece of black cardboard) or a simple hand to block unwanted spill.
Step 4: Edit While Preserving Light
Editing is where you can enhance the image, but you must keep the original feel of the natural light. Over‑editing can turn a soft sunrise into a cartoon.
Start by opening the RAW file in Lightroom. Check the white balance , sunrise will be cooler, sunset warmer. Use the white‑balance picker on a neutral area (like a grey card or the sky) to keep colours accurate.
Next, look at exposure. If you under‑exposed to preserve highlights, gently lift the shadows using the “Shadows” slider. Keep an eye on the histogram , you want a smooth curve without clipping on either side.
Contrast can be tweaked, but avoid crushing shadows unless you’re aiming for a dramatic look. A subtle “Clarity” increase can bring out texture in side‑lit subjects without making the image look too harsh.
Colour grading should respect the time of day. A sunrise image benefits from a slight boost in the orange‑red channel, while a blue‑hour shot may need a gentle increase in blues and a reduction in yellows.
One tool that helps preserve the quality of natural light is the “Local Adjustments” brush. Paint over the area where you want a bit more highlight , maybe the rim of a subject’s hair , and increase exposure just for that spot.
For more technical guidance, the aperture in photography article explains how depth of field interacts with light, and the ISO in photography page shows why keeping ISO low in bright conditions helps retain colour fidelity.
External advice on preserving natural light in post‑processing can be found on Petapixel’s tips page and on Looking Glass Photo’s guide. Both stress the importance of subtlety.
When you finish, compare the edited version with the original on the screen. If the light looks harsher or the colours feel off, dial back the adjustments. The goal is to make the image look like what you saw with your eyes.
Conclusion & Next Steps
Natural light photography tips are simple in theory but powerful in practice. By learning to read the sky, choosing gear that works with the light you have, composing with direction in mind, and editing with restraint, you’ll start to see a big jump in the quality of your UK shots.
Remember the three quick take‑aways: assess light first, use a reflector or diffuser when needed, and keep your edits true to what you experienced on location. If you want to dive deeper, our free online photography course walks you through exposure, composition and workflow step‑by‑step.
Next time you head out , whether to a London alley, a Cotswold field or a Cornwall beach , bring a notebook. Jot down the time, the sun’s angle, and any gear you add. Those notes become a personal cheat‑sheet that speeds up your workflow and builds confidence.
Happy shooting, and may the British light be ever in your favour.
FAQ
What is the best natural light for photography?
The best natural light depends on your subject. For portraits, soft morning or late‑afternoon light gives flattering skin tones. For landscapes, the golden hour adds colour and texture, while overcast days act as a giant softbox, perfect for even exposure. Each situation benefits from a different time, so experiment and note what works for you.
Is cloudy weather good for photography?
Yes. Cloudy skies diffuse sunlight, reducing harsh shadows and delivering even, soft illumination. This is ideal for portraits, product shots and macro work where you want detail without strong contrast. Just watch the colour temperature , it can be cooler, so you may need a slight white‑balance tweak.
How do I use window light for photography?
Place your subject near a large window and aim for a 45‑degree angle to the glass. Use a white reflector on the opposite side to fill in shadows. If the light is too harsh, hang a thin white sheet or sheer curtain to diffuse it. A simple foil reflector can also bounce light back onto the subject’s face.
What time of day is best for natural light photography?
Golden hour (just after sunrise and just before sunset) gives warm, low‑angle light that adds depth and colour. Mid‑morning and late‑afternoon provide a balance of warmth and direction. Midday works for architectural or high‑contrast scenes, while overcast days suit portraits and product work because they act like a giant softbox.
How do I avoid harsh shadows in sunlight?
Use a reflector or a diffuser to fill in shadows. Position the subject so the sun hits them at an angle rather than straight on. You can also move them into open shade (under a tree, beside a building) to get even light. If you must shoot in direct sun, a small portable softbox can help.
Can I shoot good portraits in midday sun?
Yes, but you’ll need to manage the harshness. Find open shade to soften the light, use a reflector to add fill, and consider a wide‑aperture lens to blur the background. You can also shoot with a slight over‑exposure compensation (+0.3 EV) to keep skin tones from blowing out.
How do I read natural light on the fly?
Look at the quality (soft vs hard), direction (where the shadows fall) and colour (cool or warm). Ask yourself: Are the shadows long? Is the sky bright or muted? Is the light warm (yellow‑orange) or cool (blue)? Those answers tell you which settings to adjust , ISO, shutter speed, aperture , and whether you need a reflector.
What simple gear can improve my natural‑light shoots?
A 5‑ft collapsible reflector, a lightweight tripod, and a polarising filter are the three most useful tools. The reflector fills shadows, the tripod steadies long exposures, and the polariser cuts glare on water or glass. All three are inexpensive and dramatically lift the quality of natural‑light images.