Travel Photography - A Practical UK Beginner's Guide
Travel Photography: A Practical UK Beginner's Guide
Table of Contents Show
Travel photography is the genre that rewards preparation over gear, storytelling over technical perfection, and the moment over the plan. What separates holiday snaps from a proper travel portfolio isn't the camera — it's knowing when to shoot, what to frame, and what to leave out. This guide covers the kit that packs light, the settings that cope with fast-changing conditions, the compositions that travel well home, and the daily workflow that turns two weeks abroad into a body of work you're proud of.
Why travel photography is its own thing
Most photography genres reward slowing down. Travel photography rewards the opposite — you're moving, the light is moving, the subjects are moving, and you get one attempt at each scene. The photographer who's already framed the shot when interesting light arrives beats the one with the better camera every time. Weight matters more than quality beyond a basic threshold. Batteries die. Cards fill. You miss meals. Preparation is everything.
The other thing that separates travel photography from landscape or street work is breadth. You'll shoot landscapes, architecture, food, portraits, street, interiors, and probably a sunset or two, all within three days. No other genre demands such a wide toolkit, which is exactly why the photographer who carries less and knows their kit well comes home with the portfolio.
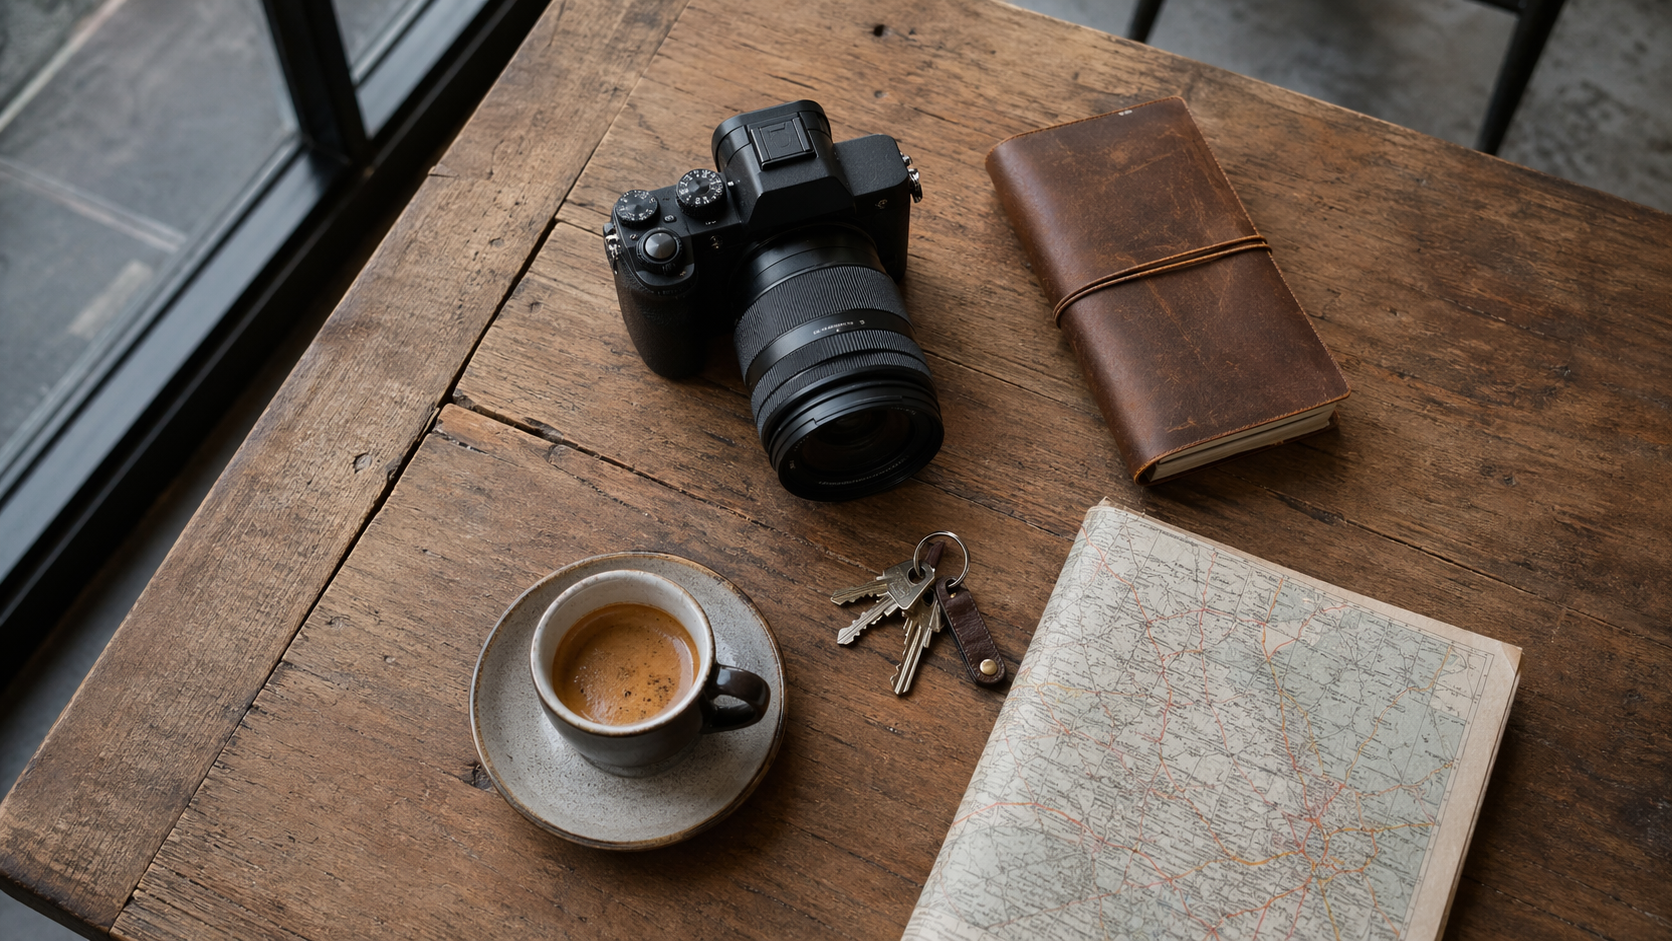
The kit philosophy: carry less
You can shoot brilliant travel photography on any camera from the last ten years. What matters more than sensor size is the weight on your shoulders at hour ten of a walking day, and how quickly you can bring the camera to your eye when something happens. A travel photography kit follows different rules from a studio kit.
Travel photography kit tiers — the realistic options, from phone-only to full mirrorless kit. Weight and versatility matter more than absolute image quality beyond the second tier.
One body and at most two lenses — weight compounds over a 12-hour day on foot. Fast enough to handle low light — museums, restaurants, dawn cityscapes all happen below f/2.8 or above ISO 3200. Versatile enough not to need changing — a single 24–105mm or 24–120mm covers around 90% of travel scenes. Reliable — backing up is hard on the road, and a body that dies in Tangier isn't covered by warranty.
The best travel camera is the one you already know. Don't buy new kit two weeks before a trip. You'll spend the holiday learning buttons instead of seeing.
Settings: readiness over perfection
Travel lives in three exposure worlds: bright outdoor, dim indoor, and the fast transitions between them. Beginners try to match camera settings to each scene perfectly. Seasoned travel photographers set a camera that's almost-ready-for-anything and adjust in seconds.
Travel photography settings by scenario — starting points, not rules. Aperture Priority with Auto-ISO handles most of these if you cap ISO at 6400 and set a shutter floor of 1/250s.
Aperture Priority mode with Auto-ISO (max 6400) and a shutter floor of 1/250s covers most travel scenarios without thought. Exposure compensation handles the tricky lighting. You fire and move on. Learn the three buttons on your camera that matter — aperture, exposure compensation, ISO cap — and you can adjust for any scene without taking your eye off the viewfinder.
The compositions that travel well
Four compositions carry the bulk of every strong travel portfolio:
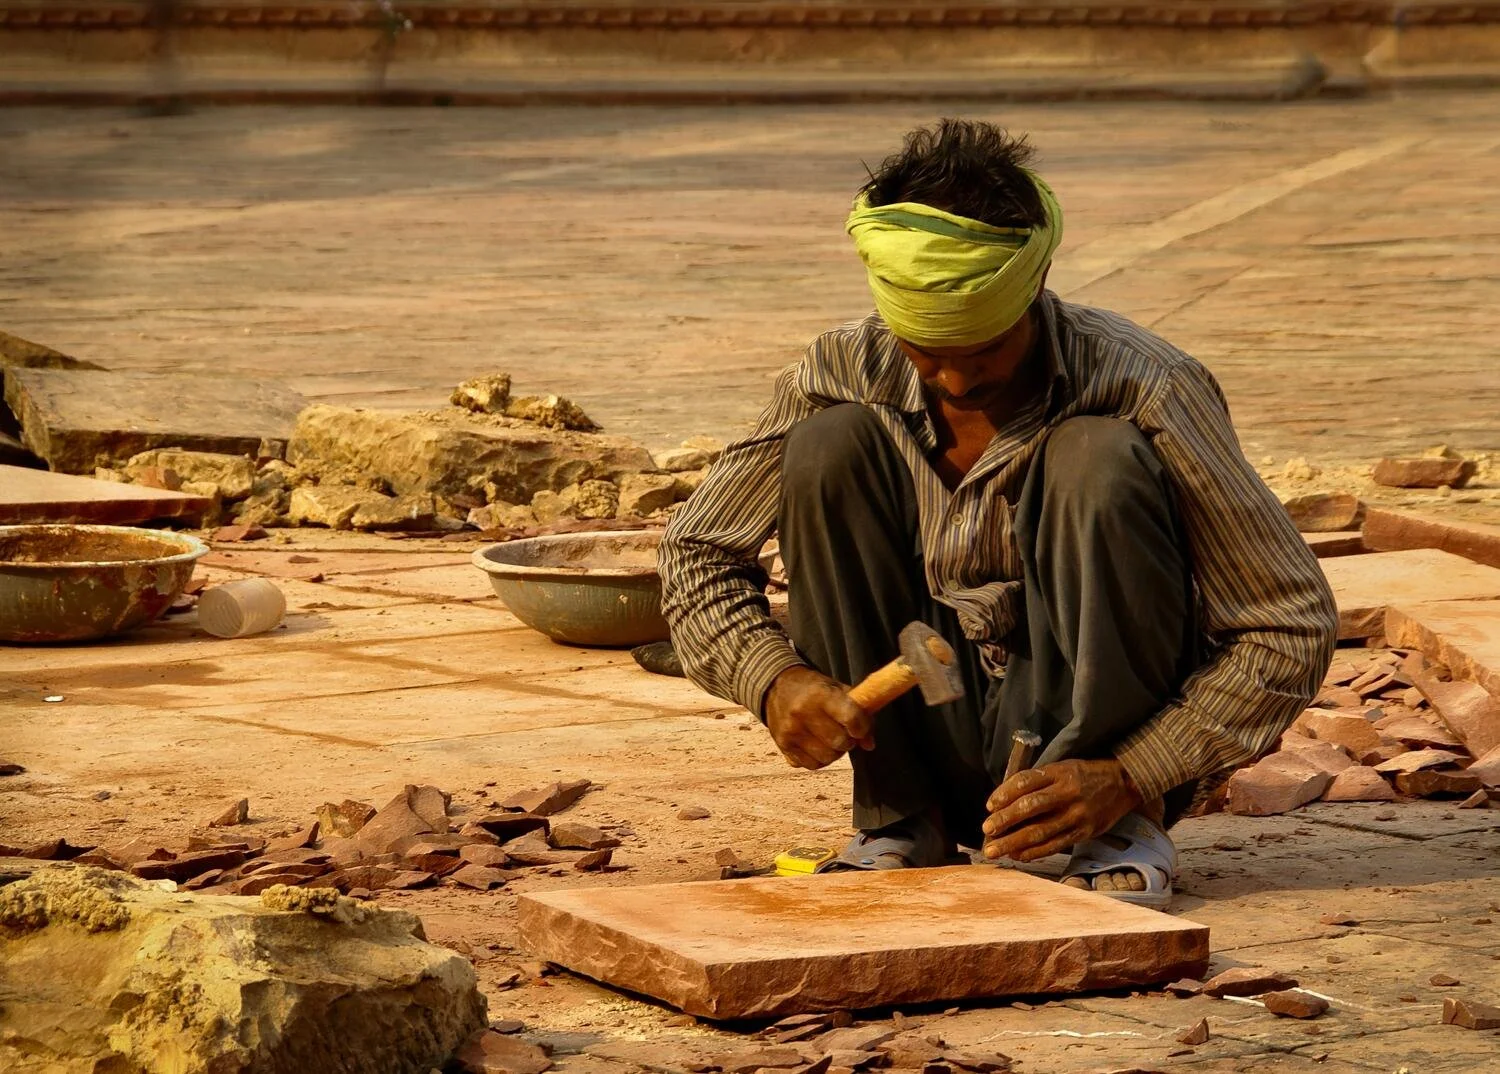
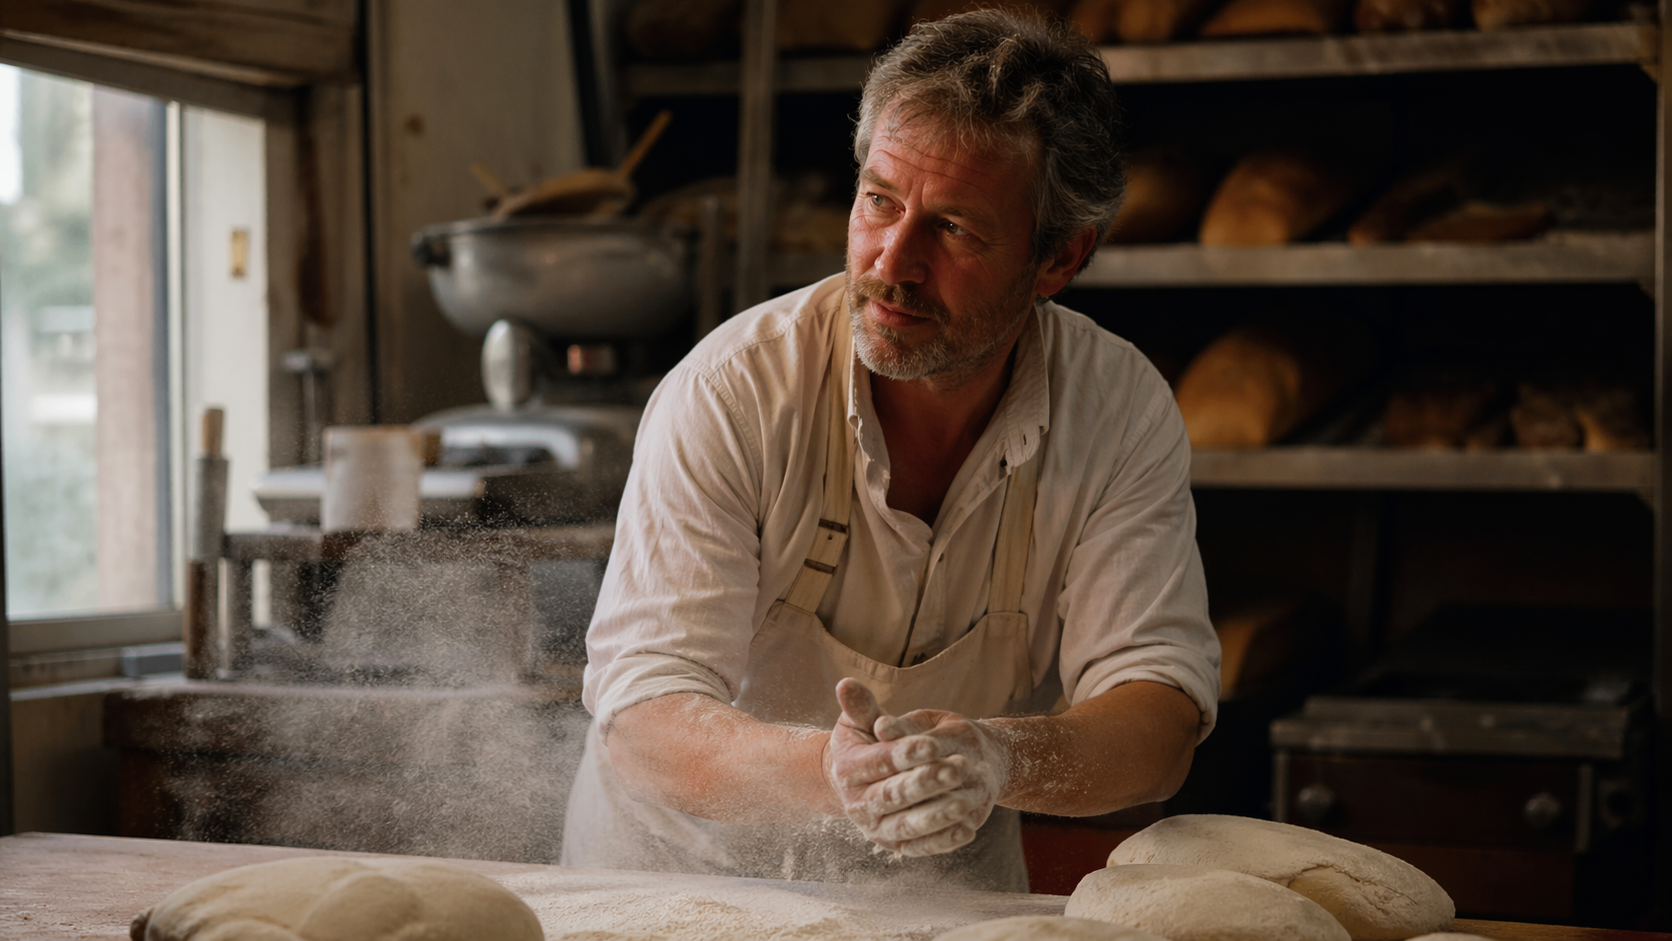
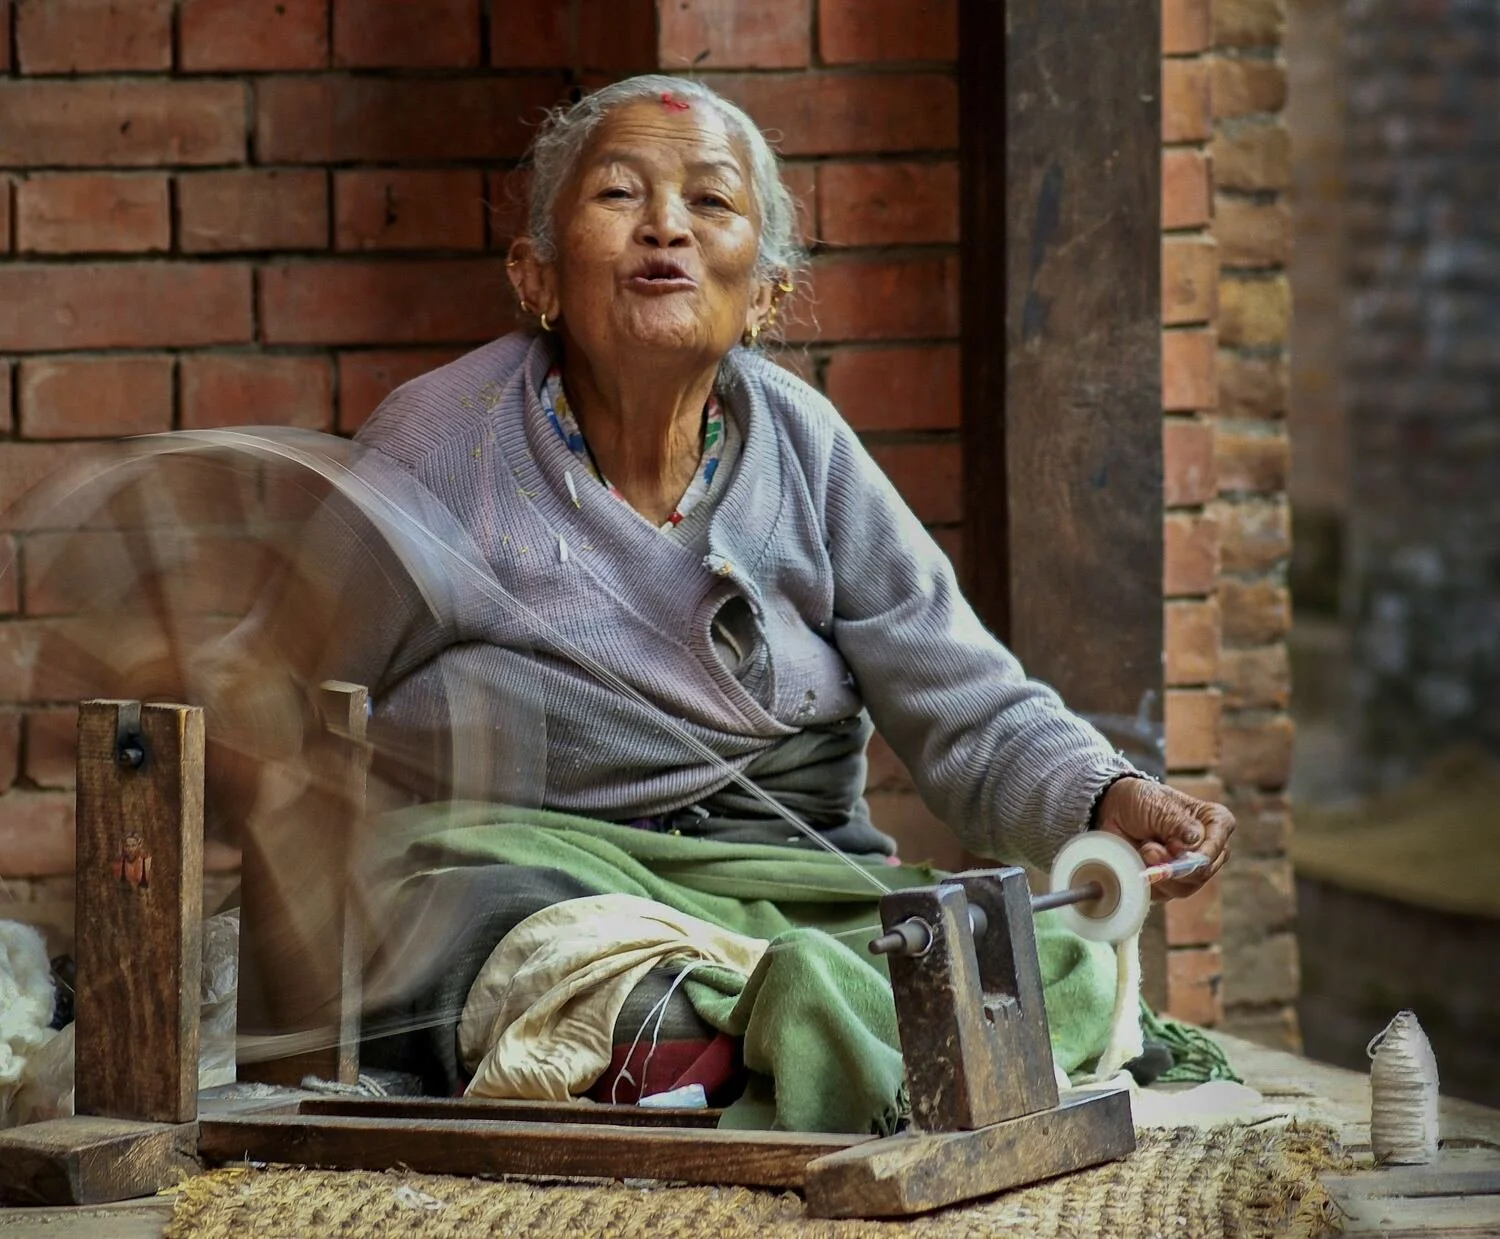
Environmental portrait. A person doing something characteristic, in the place they do it — the baker, the fisherman, the market stallholder — framed so the place is as visible as the person. Establishes story and character.
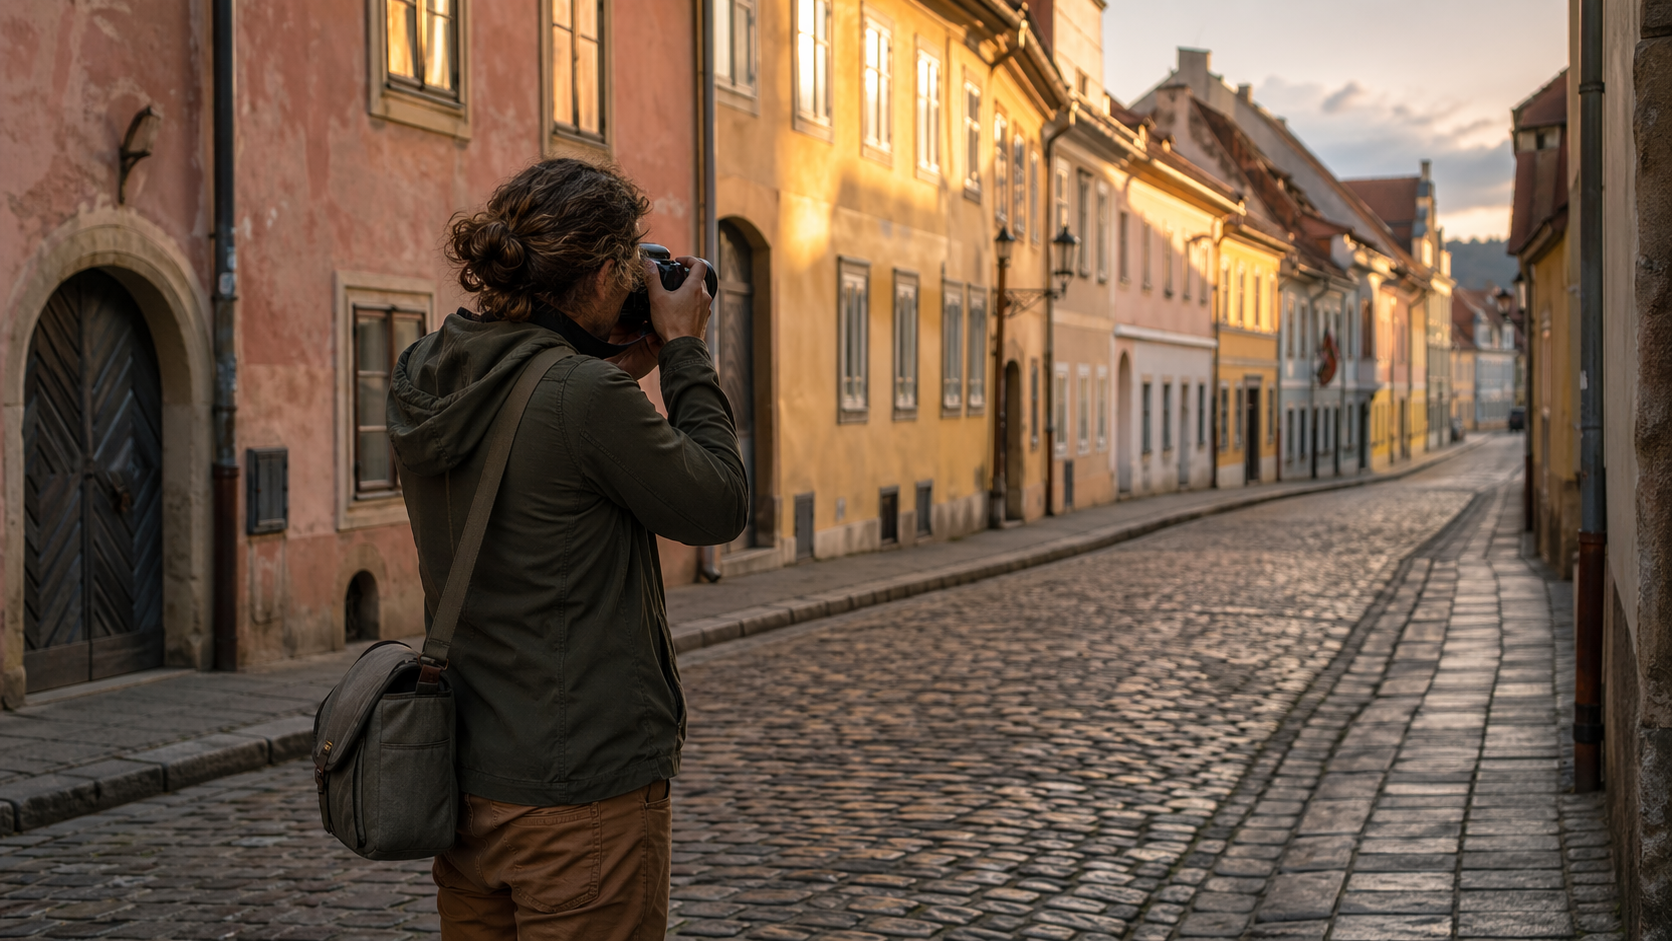
Leading lines into landmarks. The alley that ends on the cathedral. The rail track that leads to the mountain. The canal that frames the bridge. More interesting than the landmark alone.
Layered street scene. Foreground, middle, and background each doing something — a cyclist in front, a couple mid-distance, a shopkeeper in a doorway behind. Depth reads as sophistication.
Detail on texture. A close-up of hands, of tilework, of a weathered door. Between the big scenes, the details carry the feeling of the place.
Architecture for its own sake rarely survives the edit. Sunsets at famous beaches have been done to death. Look instead for the specific — what makes this place itself, not what makes it look like any beautiful place.
The daily travel photography workflow
A good day of travel photography runs on a rhythm, not a schedule. The rhythm is: shoot the hard light early, use the flat middle of the day for interiors and markets, come alive again as the light softens, and back everything up before bed. Skip any step and the whole week suffers.
Common travel photography mistakes
The common mistakes are obvious only in retrospect:
Shooting too much, reviewing too little. A thousand frames a day, none reviewed until you're home. Review each night; apply lessons tomorrow.
Bringing too much gear. You carry it all day for the 5% of scenes where it matters. Often those scenes don't come.
Forgetting the people. Landscapes without people read as stock. People make a travel portfolio memorable.
Firing fast after asking "can I take your photo?" Chat first. Take the photograph after a real moment of connection. The difference shows.
Not backing up. Drop a card reader, lose a bag, one corrupt card — you lose the trip. Back up every night to a second device or cloud.
Over-editing at home. The heavy-contrast, over-saturated look has aged badly. Lighter, cleaner edits age better.
Travel photography FAQ
Key takeaways
Carry less than you think you need. One body, one versatile zoom, a spare battery. Weight kills photographs by hour ten.
Set a camera that's ready for anything — Aperture Priority, Auto-ISO (cap 6400), shutter floor 1/250s. Adjust exposure compensation on the fly.
Shoot the rhythm of the day: landmarks at first light, markets and interiors in the flat middle, people and architecture as light softens, blue hour last.
Photograph people with real connection. A short conversation before the shot is the difference between a portrait and a snapshot.
Back up every single night. One corrupt card or lost bag ends the trip. Two-device rule minimum.
Edit light. Edit late. Don't process aggressively on the laptop in the hotel. Let the images breathe, edit at home when you're rested.