
Bird Photography Guide for UK birders - Settings for Birds
Bird Photography Guide: AF, Shutter & Settings for UK Birds
Table of Contents Show
Bird photography has a reputation for being expensive and technically difficult. It's neither, or rather, it only is if you start by buying the wrong kit. The technical picture is simpler than most beginners think — once the autofocus mode, shutter speed, and a handful of settings are sorted, the bulk of the skill is fieldcraft and patience, not gear.
This guide covers the settings that actually matter for UK bird photography, which autofocus modes to use in which situations, the fieldcraft that separates a sharp portrait from a blurry smudge, and the seasonal calendar of UK species worth photographing. No brand-specific instructions — the principles apply whether you shoot Canon, Sony, Nikon, Fuji, or OM System.
The three settings that decide whether the shot is sharp
Three variables do most of the work in bird photography: shutter speed, autofocus mode, and focus point selection. Get those three right for the situation and the rest is noise.
Shutter speed needs to be fast enough to freeze wing movement plus any camera shake from a handheld telephoto. That means minimums of 1/2000s for small birds in flight, 1/1600s for larger birds in flight, and 1/500s for a static perched bird. Go slower than these and you'll produce a smudged wingtip or a soft eye, neither of which is recoverable.
Autofocus mode is continuous AF (AF-C on Nikon/Sony/Fuji, AI Servo on Canon, C-AF on OM System). Single-shot AF locks focus at the moment of half-press and will miss a bird that moves — which is all of them.
Focus point selection is a small-area AF group, not the full array, not single-point. A small group (typically 9–25 points depending on brand) gives the camera enough latitude to track movement without the risk of a full-array system grabbing a distant tree instead of the bird. If your camera has bird-detection AF, turn it on — it's genuinely useful for 2024-era mirrorless bodies.
Bird photography kit tiers — the realistic starting points for UK beginners. Focal length matters more than brand or sensor size; most of these are secondhand bargains.
Lens choice: the one that matters, and the myths that don't
The useful bird photography range is 400mm to 800mm (full-frame equivalent). Shorter than 400mm and you'll crop too hard in post; longer than 800mm and you'll struggle with atmospheric shimmer and handheld stability.
The three practical options for UK bird photography are:
A 100–400mm zoom — the most versatile starting point. Works for garden birds, hide work, and occasional wildlife trips. Typically £1,200–£2,000 new, significantly less used.
A 150–600mm zoom — the serious amateur's choice. Third-party options (Sigma, Tamron) are a fraction of the price of manufacturer super-teles and genuinely capable. £800–£1,500 new.
A fixed 500mm or 600mm prime — sharpest and fastest (f/4 or f/5.6) but heavy and expensive. £3,000 upwards, often £6,000+.
For a first bird photography lens, a used 150–600mm on a decent APS-C or full-frame body will cover 80% of what you want to shoot. The myth is that you need a £10,000 setup to start — you don't. You need a 600mm-equivalent lens and enough time in the field.
Autofocus explained simply
The AF system is the single biggest technical improvement in mirrorless cameras over the last decade, and bird photography benefits more than any other genre. There are three practical modes to understand.
Single-point AF. You choose one small point and the camera focuses exactly there. Best for perched birds when you can place the point on the eye and recompose isn't needed. Not useful for flight.
Zone or small-group AF. A cluster of points (typically 9 to 25). The camera picks the closest target within that zone and tracks it. This is the everyday mode for bird photography — it's forgiving enough to hold onto a moving bird without being so wide that it picks up background.
Bird eye-detection AF. The 2023-onward flagship mirrorless cameras (Sony A1, Canon R5, Nikon Z8/Z9, OM-1) include dedicated bird-detection autofocus that identifies a bird's eye and holds focus on it regardless of where you've placed the AF point. When it works, it's transformative. When it fails (cluttered background, rear-view bird, heavy overcast), fall back to small-group AF.
Fieldcraft: the invisible skill that matters more than gear
The biggest improvement most birders can make isn't a better lens — it's better fieldcraft. A photographer with a £500 lens and good fieldcraft will out-shoot a photographer with a £5,000 lens and none.
Approach slowly, then more slowly than that. Birds pick up rapid movement from 50 metres away. Move in stages, pausing every few steps. Never approach head-on — angle yourself so you're walking slightly past the bird, not directly at it.
Wear neutral clothing. Greens, browns, and greys. High-vis jackets, white t-shirts, and red hats end the shoot before it starts.
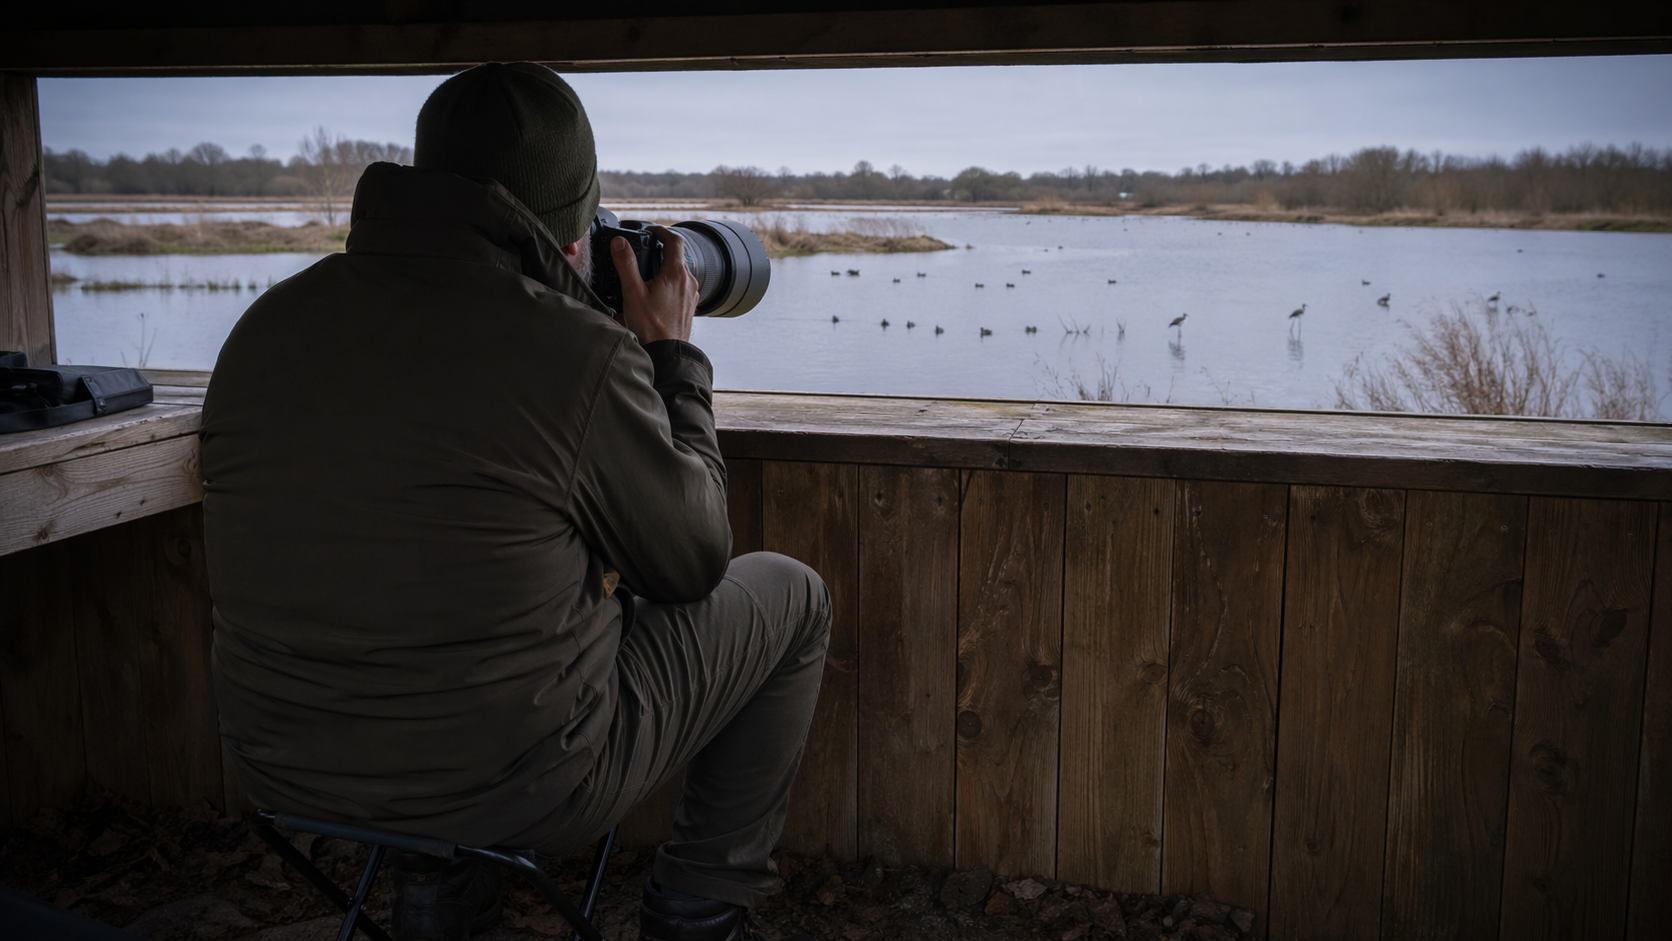
Use hides when you can. The Wildlife Trusts operate dozens of purpose-built bird hides across the UK, and RSPB reserves (Minsmere, Leighton Moss, Bempton Cliffs, Fairburn Ings) have some of the best in the country. A public hide gives you hours at close range with birds that would never tolerate an open-field approach.
Learn light direction. The sun over your shoulder is a cliché because it's true — front-lit birds show colour and eye detail. Side-light is usable but harder; back-light is a deliberate creative choice, not a default.
Get low. Eye-level with the bird transforms ordinary shots. A garden bird on a feeder photographed from standing is a record shot; the same bird photographed from knees-on-the-ground with a clean foreground is a portfolio image.
UK birds worth photographing by season
The UK has a richer bird photography calendar than most photographers realise — every month of the year offers something worthwhile. A rough guide to the best-value species by season:
Bird photography settings by scenario — starting points, not rules. Adjust for your actual light and lens speed, but these get you in the right neighbourhood.
None of these require long-haul travel or expensive hides. All can be photographed within a day trip of most UK postcodes, and most have RSPB reserves with public hides nearby.
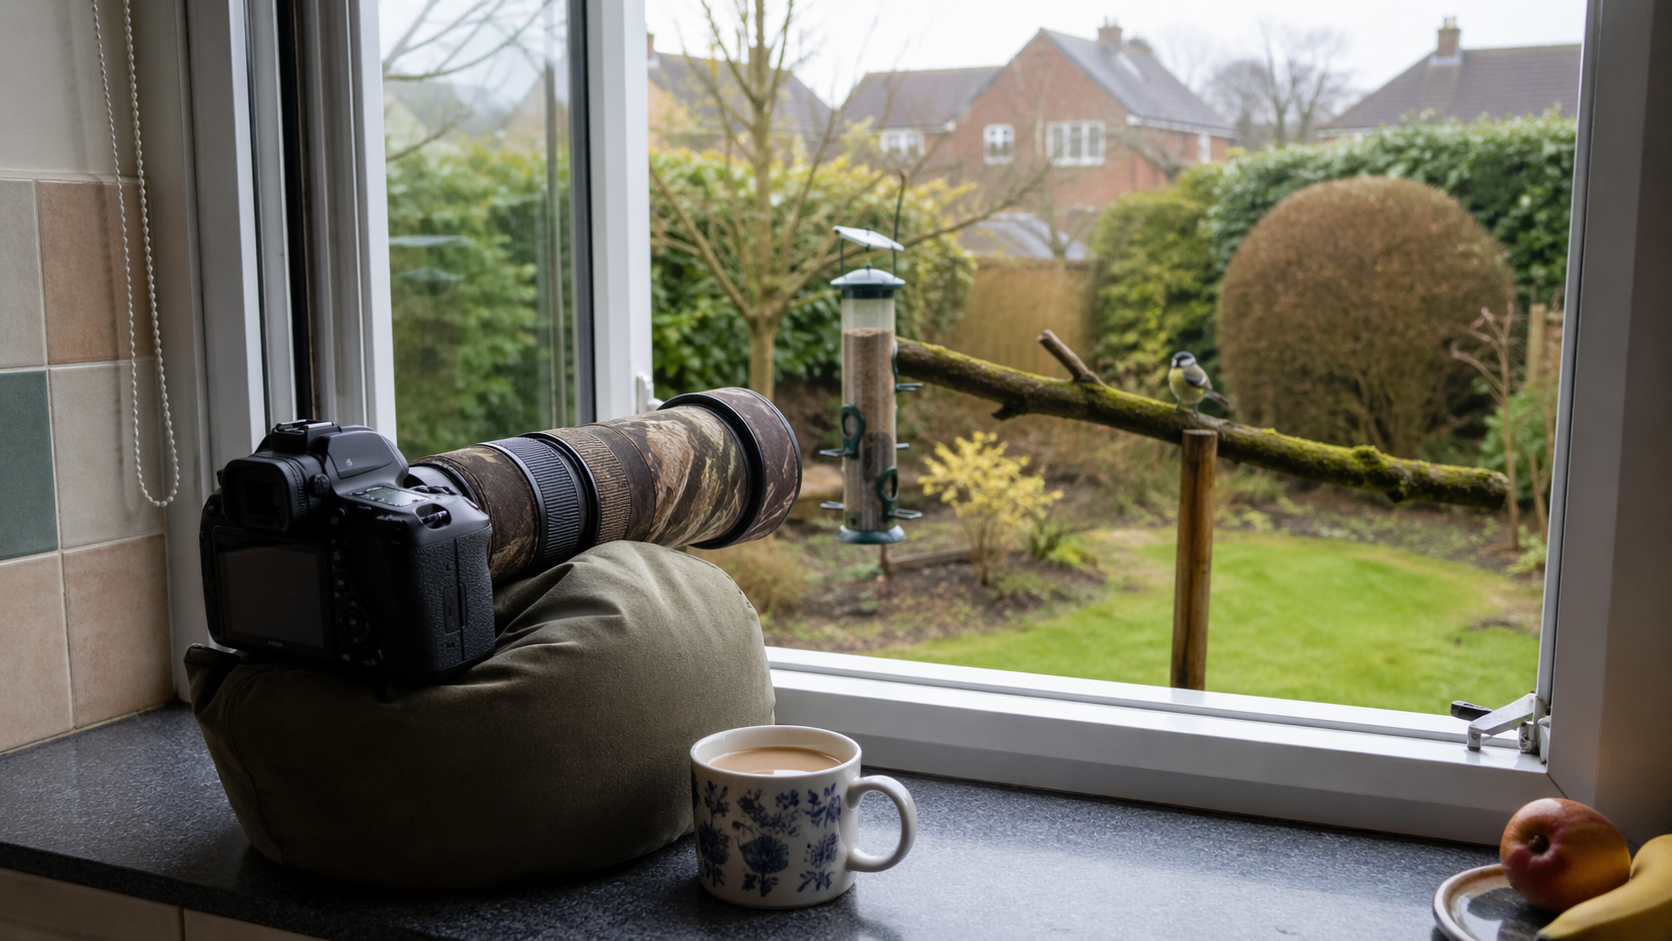
Garden bird photography: the easiest starting point
If you're new to bird photography, your garden is the best teacher you'll ever have. Birds visit on a reliable schedule, the distance is constant, the background is controllable, and you can experiment with settings without wasting a field trip.
Three practical setups for garden bird photography:
Feeder-adjacent perch. Hang a feeder, then drill a small hole in a nearby log or branch and insert it in the ground two metres from the feeder. Birds queue on the perch before hopping to the feeder. Photograph the perch, not the feeder — feeder-in-frame shots look staged.
Ground-level water bath. A shallow water bath at ground level attracts species that don't come to hanging feeders (blackbirds, song thrushes, dunnocks, occasionally wrens). Shoot from a camera laid on the ground, pointed slightly upward.
Pop-up hide or open window. An open patio door or a cheap pop-up hide (£40 from Wex or WildlifeKate) gives you proper concealment and a stable shooting position. Garden birds within two metres become trusting in about an hour.
Common mistakes
Shutter too slow. By far the biggest cause of soft bird photographs. If you're shooting below 1/1000s of a moving bird, the shot is unlikely to be tack-sharp regardless of how good your technique is. Push the ISO if needed — modern sensors handle ISO 3200 cleanly.
Focused on the body, not the eye. Eye-focus is non-negotiable in bird portraiture. If the eye is soft, the shot fails even if the wings are perfect.
Shooting from standing. Eye-level makes ordinary shots extraordinary and extraordinary shots iconic. Kneel, squat, or lie down.
Cluttered backgrounds. The background matters as much as the bird. Move three steps left or right before pressing the shutter and check: is there a clean backdrop (sky, distant water, out-of-focus foliage) or a messy one (near branches, people, buildings)?
Over-cropping in post. A bird occupying less than a third of the frame rarely survives aggressive cropping. Get closer in the field, or accept the shot isn't a keeper.
Ready to go further
Bird photography rewards time in the field more than any other genre. Here are three practical next steps.