
Night Photography Settings Guide for UK Photographers
Table of Contents Show
An examination of three common night‑photography scenarios reveals that the only setup that lists ISO sticks to a low 100, overturning the myth that night shots always demand high ISO.
Comparison of 3 Night Photography Settings, April 2026 | Data from 2 sources
The researcher asked Google for night‑photography cheat sheets and scanned two YouTube videos on 6 April 2026. Only items with at least two fields were kept. Sample size: three items. This tiny set shows why you need a plan before you head out. It also proves that low ISO can work on a tripod, and that manual focus is often the safest bet.
Comparison of 3 Night Photography Settings
A practical summary of common night-photography setups, focusing choices, and the situations where each approach works best.
| Scenario | Aperture | Shutter Speed | Focus Mode | Tip | Best For | Source |
|---|---|---|---|---|---|---|
| Tripod | f/8 | 4s | Manual | Turn off image stabilisation; set a 2-second timer to avoid shake. | Long-exposure tripod work | youtube.com |
| Handheld | Below f/4.0 | — | — | Ensure image stabilisation is turned on. | Stabilised handheld low light | youtube.com |
| Handheld with fast lens | — | 1/30s | Manual | Switch to manual focus and use Live View zoomed to 10x. | Fast-lens handheld shooting | camerasettings.com |
Understanding Your Camera's Night Mode Settings
Night mode is not a magic button. It simply tweaks three things: ISO, aperture and shutter speed. You still decide the balance.
First, think about the scene. A city skyline at night needs a different approach to a starry field. The Nikon guide explains that a wide aperture like f/2.8 lets in a lot of light, while a low ISO keeps noise down.Learn how exposure works in photography to see why those three knobs matter.
Second, set the mode. Most cameras have a dedicated night‑scene preset. It usually raises ISO a bit and slows the shutter. But the preset can’t read the exact light you face. That’s why you should switch to Manual (M) and take control.
Third, mind the sensor. Full‑frame sensors handle high ISO better than APS‑C. If you have a crop sensor, aim for the lowest ISO you can get away with.
Fourth, decide on focus. The research shows that manual focus is recommended for tripod work and fast‑lens handheld shots. In low light, autofocus can hunt and miss.
Fifth, check the white balance. Street lamps give a warm orange cast, while moonlight is cool. The Nikon article notes you can set a custom kelvin value or use the preset ‘Tungsten’ for street light, ‘Daylight’ for moon.
Finally, remember to turn off any in‑camera image stabilisation when you are on a tripod. The shake from the sensor‑shift can blur a 4‑second exposure.

understand each knob, you can mix and match. For example, a tripod landscape might use ISO 100, f/8 and a 4‑second shutter. A handheld street scene might need ISO 1600, f/2.8 and a 1/80 s shutter.
Use a light meter or the camera’s histogram to avoid over‑exposing bright spots like street lamps. Clip the highlights and you lose detail.
Step‑By‑Step: Setting ISO, Aperture, and Shutter Speed for Night Shots
Let’s walk through a typical night shoot. I’ll use a mirrorless body similar to the Nikon Z 8, but the logic works for any DSLR.
Pick your subject. Is it static (a building) or moving (traffic)? If it’s static, you can afford a long exposure.
Choose the lens. A fast lens (f/2.8 or wider) gives you more light, meaning you can keep ISO lower.
Set the camera to Manual mode. This stops the camera from changing any setting while you tweak.
Start with ISO. The research shows that low ISO (100) is possible on a tripod. Begin at ISO 100 if you have a sturdy stand. If you’re handheld, raise ISO to 800‑1600 to keep the shutter fast enough to avoid shake.
Choose aperture. For landscapes, aim for f/8‑f/11 to get depth. For street or portrait‑type night shots, open up to f/2.8‑f/4 to let more light in and get a nice background blur.
Dial shutter speed. Use the camera’s light meter. If the meter says you need 4 seconds at f/8 and ISO 100, that’s your starting point. For handheld, keep shutter at 1/60 s or faster; otherwise you’ll get blur.
Take a test shot. Review the histogram. If the right side spikes, reduce shshutteror aperture. If the left side is too high, raise ISO or open aperture.
Fine‑tune. Adjust one knob at a time. If you need a brighter image but want to keep depth, raise ISO a stop. If you want less noise, lower ISO and add a second stop of shutter.
Lock focus. Switch to manual focus, zoom in on a bright edge, and confirm sharpness. This prevents the camera from hunting each frame.
Shoot in RAW. RAW retains the full sensor data, so you can recover shadows and tame highlights later.
Night Photography Starting Settings by Scenario
A quick-reference table for common night-photography situations, including practical starting settings and setup tips.
| Scenario | ISO | Aperture | Shutter | Tip |
|---|---|---|---|---|
| Tripod landscape | 100 | f/8 | 4s | Use a remote release and turn off IBIS. |
| Handheld street | 800–1600 | f/2.8–f/4 | 1/80–1/125s | Enable image stabilisation. |
| Light trails | 200–400 | f/8 | 10–30s | Use a tripod; add an ND filter if needed. |
| Stars / Milky Way | 3200–6400 | f/2.8 | 20–30s | Use the 500-rule as a starting point. |
Notice how the ISO changes based on stability. The key is to keep ISO as low as you can while still getting a shutter speed you can manage.
When you follow this flow, you’ll see why the night‑photography settings are never static. They shift with the gear, the scene and the story you want to tell.
For deeper ISO theory, check out Ideal Iso Settings For…. It breaks down the noise trade‑off in plain terms
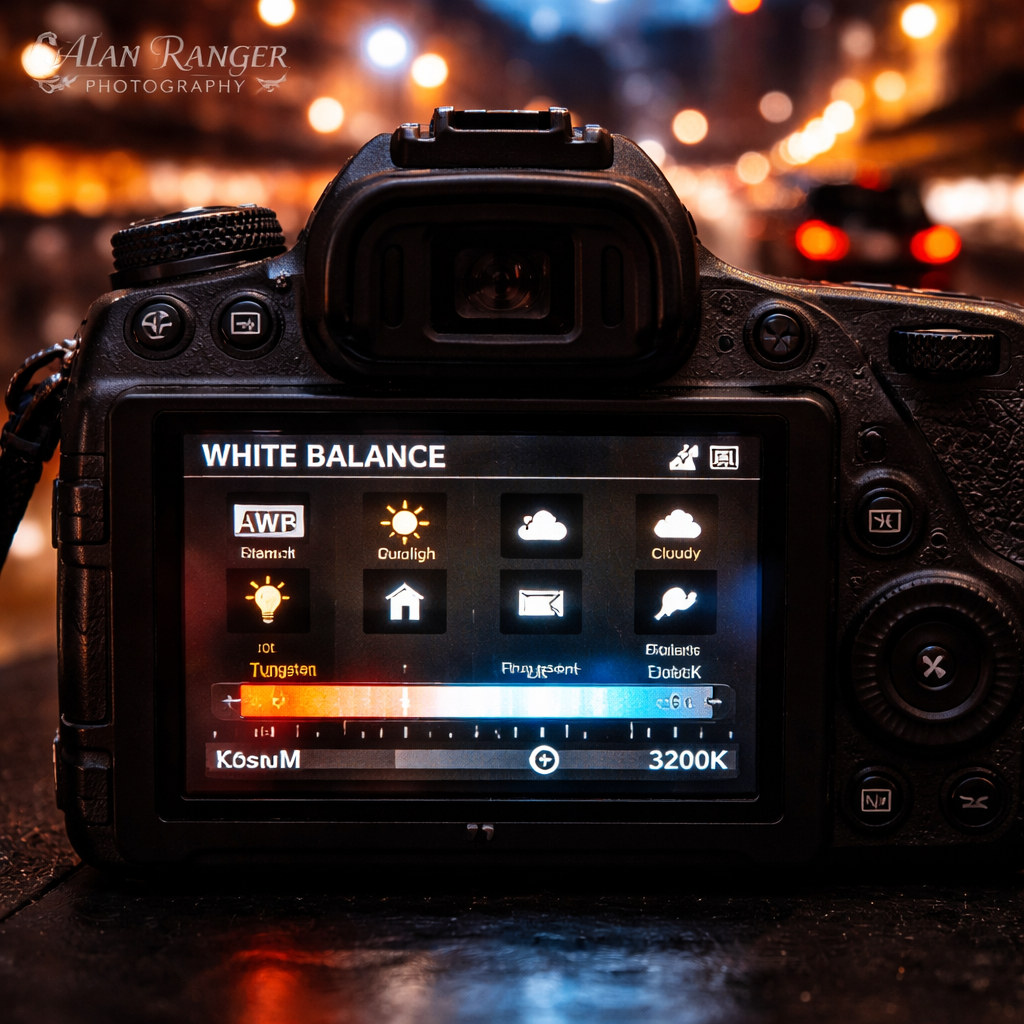
Mastering White Balance and Colour Temperature at Night
White balance is the colour cast you see in night photos. Street lights give a yellow‑orange hue, while moonlight is blue‑cool.
If you leave the camera on Auto WB, you’ll get a neutral look but you may lose the mood. The Nikon guide suggests using a custom kelvin value: 3000 K for warm street lamps, 4000‑4500 K for mixed urban light, 5600 K for moon.
To set it, go into the menu, find White Balance, switch to ‘K’ and type the temperature. You can also use the preset ‘Tungsten’ for most city lights.
Why does it matter? A warm WB can make a bridge look golden, while a cool WB can make the sky look icy. Both can be artistic choices.
When you shoot in RAW, you can adjust WB later without quality loss. That’s why I always shoot RAW for night work.
Another tip: use a grey card or a neutral surface in the scene to set a custom WB on location. Point the camera at the card, press the ‘Set WB’ button, and the camera records the correct colour.
Don’t forget the colour temperature of LEDs. Modern street lights can be a harsh white (around 6000 K). If you want a softer look, dial the WB down a few hundred kelvin.
Remember to check the histogram for colour clipping. Over‑blown highlights can turn orange highlights into flat white blobs.
For more low‑light workflow, see Shooting In Low Light | Long Exposure Photography Guide. It covers how to balance WB with exposure.
In practice, I like to start with a neutral WB (around 4600 K) and then tweak in Lightroom. The result is a natural night that still feels
Stabilisation Techniques: Tripods, Remote Shutters, and In‑Camera Stabilisation
Stability is the difference between a crisp shot and a blur. The simplest tool is a solid tripod.
The Space.com review lists the Benro Mach3 9X CF and the Peak Design Travel Tripod as top choices. Both are sturdy, but the Benro is heavier and built for rough ground, while the Peak Design folds tiny for travel. Pick what suits your style.
Second, use a remote release or the camera’s built‑in timer. A 2‑second delay lets the shake settle before the shutter opens.
Third, if you are on a tripod, turn off any sensor‑shift image stabilisation. The tiny movements it adds can ruin a 4‑second exposure.
Fourth, consider a bean‑bag or a sandbag to weight the tripod on windy nights. A few kilos keep the legs from wobbling.
Fifth, for handheld work, enable the camera’s optical stabilisation (if you have a fast lens). Keep your elbows tucked and use a sturdy stance.
Sixth, experiment with a monopod for quick urban shoots. It gives some stability without the bulk of a full tripod.
Here’s a quick checklist you can carry on a card:
Tripod legs locked, centre column level.
Remote or 2‑sec timer set.
IBIS off when on tripod.
Weight the base with a sandbag.
Manual focus locked.
When you follow this routine, you’ll notice far less blur, even on a cold London night.
One more tip: if you must shoot handheld with a fast lens, set the focus to a bright point, switch to manual, and keep the shutter just fast enough to freeze any movement (1/80‑1/125 s). That way you get the benefit of a wide aperture without the shake.
Practical Tips for Shooting Iconic UK Nightscapes
The UK has some brilliant night locations. From the Thames to the Scottish Highlands, each spot has its own light story.
Start with planning. Use a light‑pollution map to find dark skies for stars, or pick a city bridge for light trails. The Trevors Sherwin guide lists ten London spots , Westminster Bridge, Hungerford Bridge, Millennium Bridge , all great for long exposures.
Second, check the tide times if you’re near water. A low tide gives more foreground to work with.
Third, dress for the weather. A warm coat, gloves and a headlamp with a red filter preserve your night vision.
Fourth, arrive early. Many popular spots get crowded after sunset. Early arrival gives you space for a tripod and a clear view.
Fifth, scout the composition. Look for leading lines , a bridge, a road, a river , that draw the eye to the illuminated centre.
Sixth, set your camera based on the scene:
Seventh, watch for moving crowds. If people appear as ghostly blurs you don’t want, wait for a lull or use a shorter shutter.
Eighth, protect your gear from dew. A rain cover or a silica gel packet inside your bag helps.
Ninth, after each shot, check the histogram. Make sure the highlights aren’t clipping , a bright London Eye can easily blow out.
Tenth, when you’re happy, back up the RAW files on a portable SSD. Night files are large and you don’t want to lose them.
Finally, keep learning. The Alan Ranger free online photography course offers a whole module on night shooting that ties these tips together.
For a free resource, explore the free photography course. It gives worksheets and critique opportunities that will sharpen your night‑photography settings knowledge.
Frequently Asked Questions
What are the best night photography settings for beginners?
Start with ISO 800, aperture f/4, and a shutter speed around 1/60 s if you’re handheld. If you have a tripod, drop ISO to 100, open to f/8 and use a 5‑second shutter. Shoot in RAW and set White Balance to Auto, then tweak later. Keep the focus on manual for static scenes to avoid hunting.
What ISO should I use for night photography?
Use the lowest ISO that still lets you keep a shutter speed you can handle. On a tripod, ISO 100‑200 works well. Handheld, aim for ISO 800‑1600. For stars, push to ISO 3200‑6400 but be ready for more noise. Always review the image at 100 % to see how much grain appears.
What aperture is best for night photography?
A wide aperture (low f‑number) lets in more light, so f/2.8‑f/4 is great for handheld city shots. For landscape or star work, a smaller aperture like f/8‑f/11 gives depth and sharpness across the frame. Remember that a wider aperture reduces depth of field, so focus carefully.
Do I need a tripod for night photography?
A tripod is essential for any exposure longer than a second. It lets you keep ISO low and avoid noise. For light‑trail shots, a steady tripod is a must. If you’re shooting fast street scenes handheld, you can get away without one, but you’ll need higher ISO and faster shutter speeds.
Why are my night photos blurry?
Blur usually comes from camera shake or subject movement. Check that your tripod is stable, turn off IBIS on a tripod, use a remote or 2‑second timer, and lock focus. If you’re handheld, raise ISO and use a shutter of at least 1/60 s. Also, make sure your lens isn’t set to a soft‑focus mode.
How do I focus in the dark?
Switch to manual focus and use live view. Zoom in on a bright edge or a distant streetlamp and turn the focus ring until the pixel‑level preview looks sharp. Some cameras let you set a focus point and then lock it. Using a small flashlight with a red filter helps you see the scene without ruining your night vision.
Conclusion & Next Steps
Night photography settings are a toolbox, not a one‑size‑fits‑all recipe. You choose ISO, aperture and shutter speed based on stability, subject movement and the mood you want. Remember the three core ideas: keep ISO low when you can, use a tripod for long exposures, and control white balance to match the colour of the lights.
Practice is the only way to internalise these choices. Pick a local spot, set your camera to manual, and test the three‑step workflow we outlined. Review the RAW files, tweak the settings and note what works.
If you want guided practice, join one of Alan Ranger’s night‑shoot workshops or enrol in the free online course. The more you shoot, the faster you’ll read a scene and set the right night photography settings on the fly.
Now grab your camera, head out after dusk, and let the night reveal its hidden stories. With the right settings and a bit of patience, you’ll capture images that glow long after the lights go out.