
Photo Essay Planning and Photography for College Students
Guest post disclaimer
This article was contributed by an external author and reviewed by Alan Ranger Photography before publication
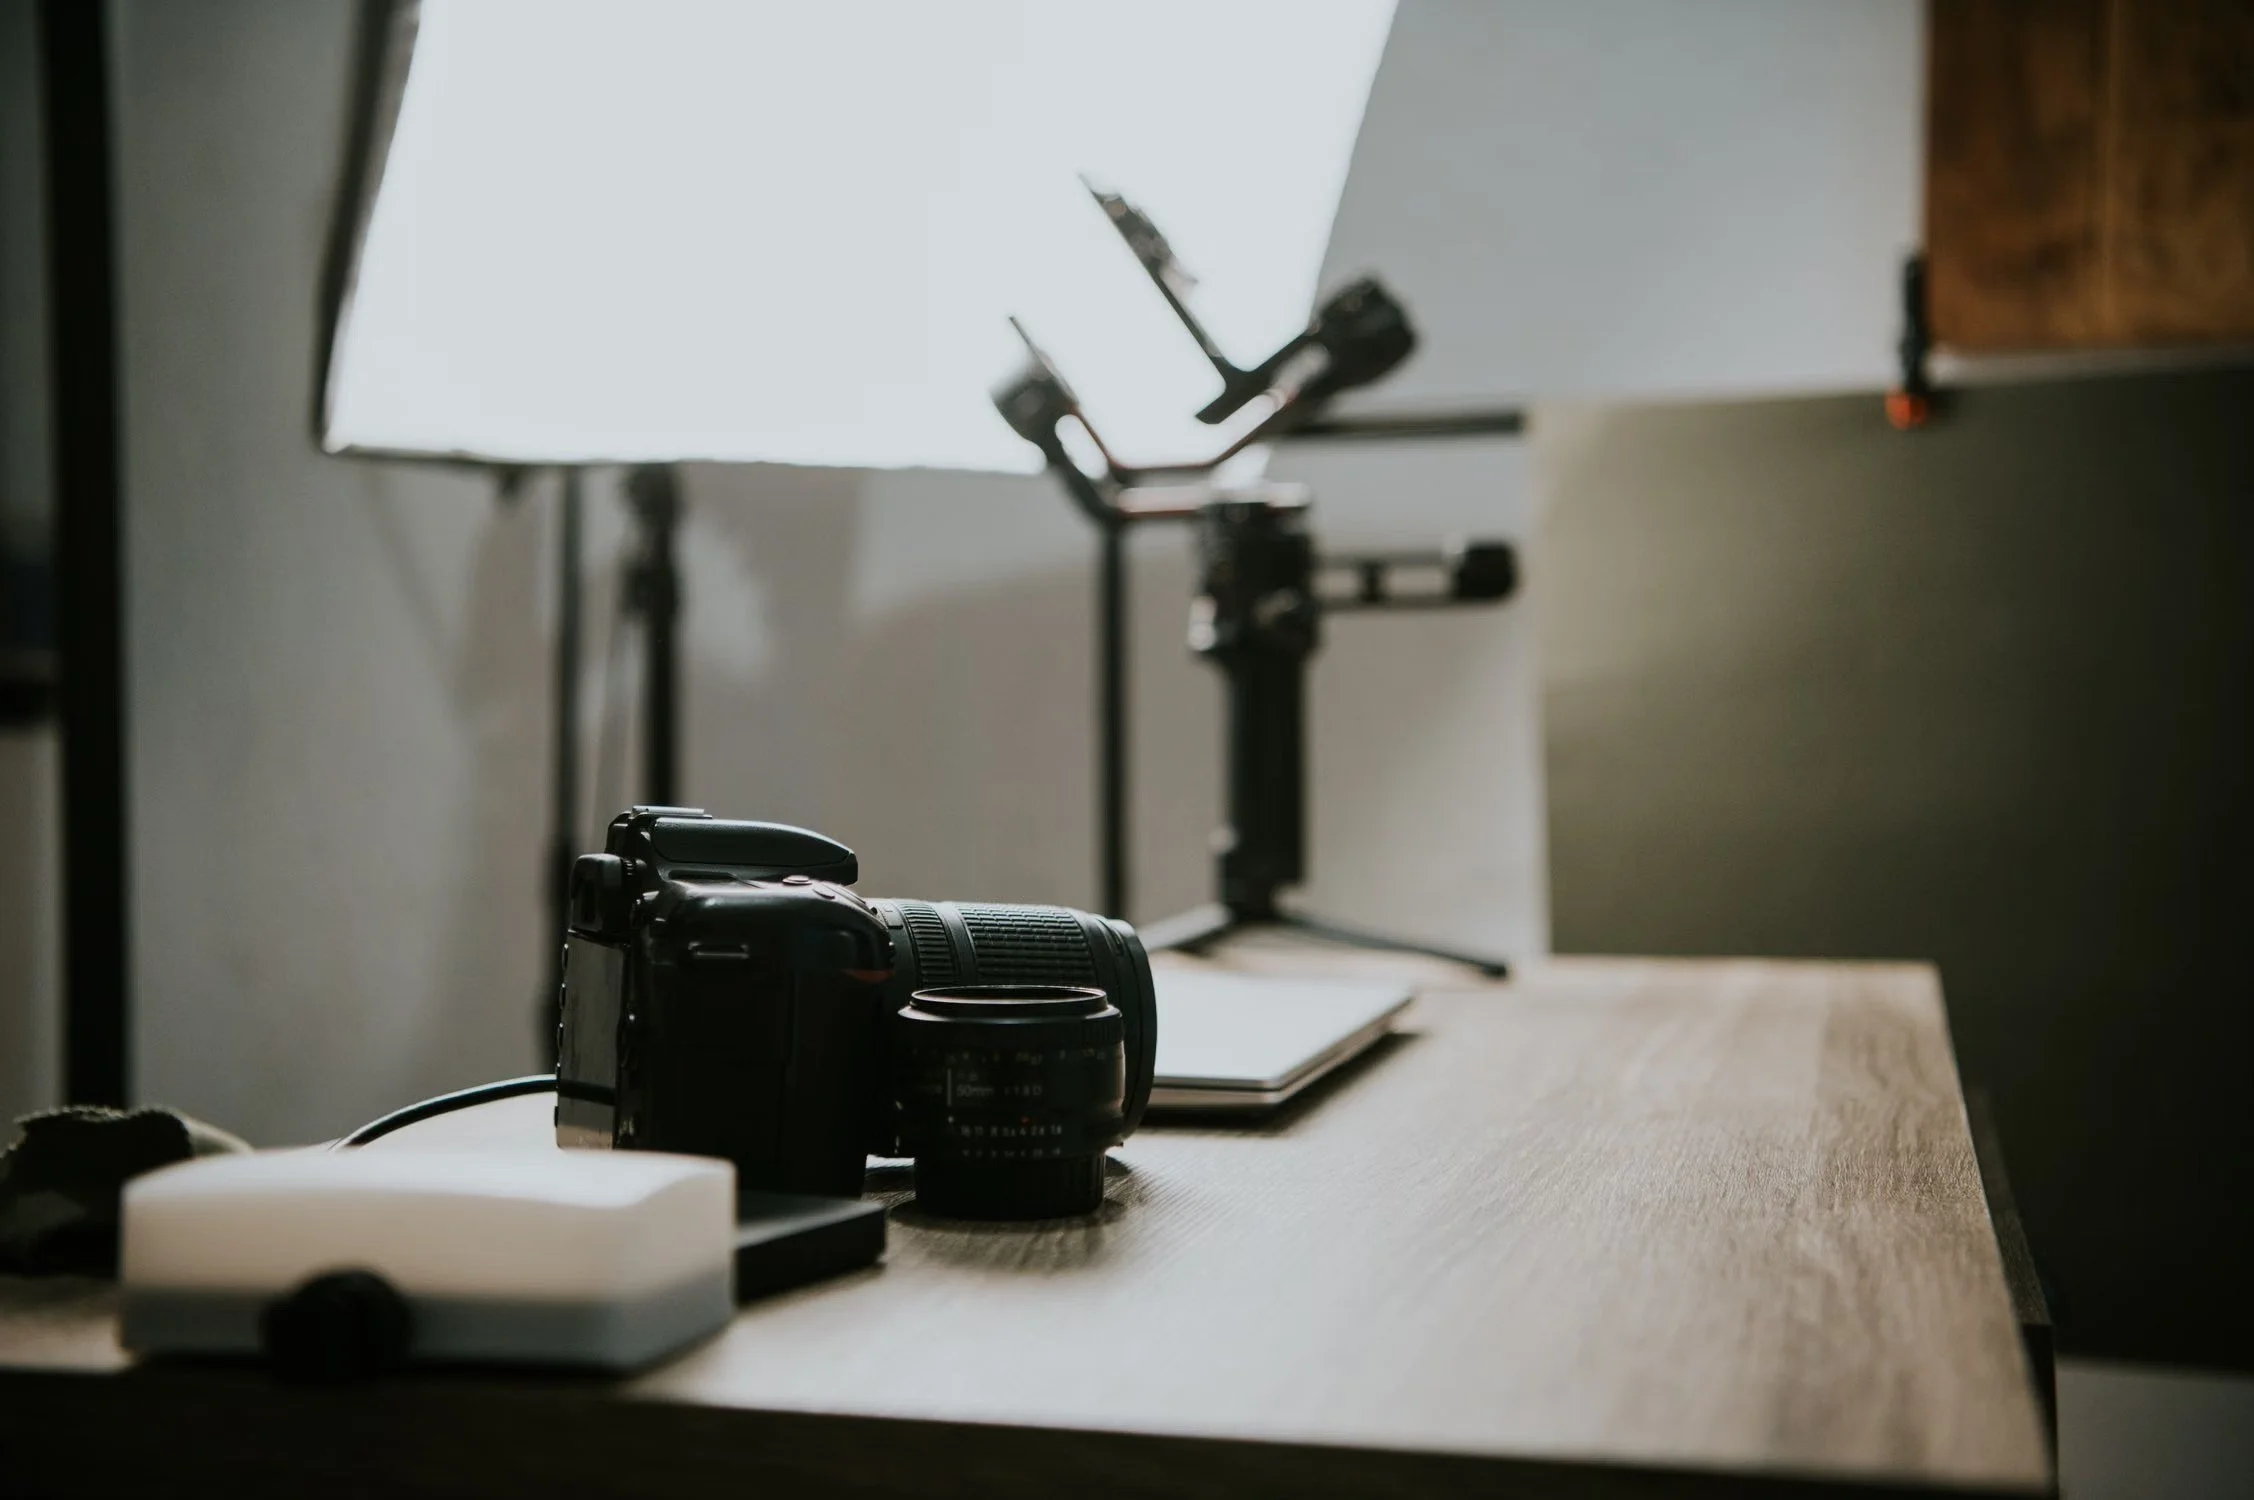
A photo essay brings photographs together to explore a subject, document an experience or communicate a story. For students, the assignment may also include research, captions and a written reflection explaining the work.
The challenge is to make these elements support each other. Research helps you understand the subject, photographic decisions shape what you show, and editing determines how the viewer experiences the final sequence.
Start with a Question You Can Explore
Choose a subject you can realistically photograph within the time available. A local repair shop, community garden or student theatre production may offer more opportunities for observation than a broad topic such as “working life”.
Give the project a question. How does a repair shop keep old equipment useful? What happens before a theatre audience arrives?
Your question provides direction without deciding every photograph in advance. Leave room for what you discover while shooting.
Check the assignment brief for the required number of images, supporting text, submission format and deadline. Arrange access and permission where needed.
Connect Research with Your Photographs
Research can help you identify important activities, understand unfamiliar situations and prepare useful questions. Look at how other photographers have approached related subjects, but develop your own viewpoint.
Some students exploring support for written coursework encounter services where they can buy a research paper. Before purchasing or using such material, check your institution’s academic-integrity rules. Do not submit purchased writing as your own or assume that its claims and references are accurate.
For a photo essay, direct observation, reliable sources and your own notes provide a stronger foundation for explaining the work. Record dates, names and relevant details during the project. Keep factual information separate from your interpretation.
Choose Equipment That Suits the Situation
You do not need several lenses to produce a varied photo essay. A single prime lens or a standard zoom can be enough.
Variety can come from changing your position, distance, viewpoint and timing. Photograph the setting, the people involved, their activities and significant details.
A wider lens can include more of the surroundings when space is limited. A longer lens can help you frame a distant subject more tightly. Choose equipment for the access and perspective you need, rather than treating particular focal lengths as compulsory.
Carry a manageable kit so equipment does not distract you from observing the subject.
Set Exposure for the Photograph You Want
There is no single correct exposure mode for documentary work.
Manual exposure can be useful when the light is stable and you want consistent settings. Aperture priority can help when light changes and depth of field is your main concern. Shutter priority can be useful when movement determines the result.
Choose a shutter speed appropriate to the subject. Around 1/250 second may be a useful starting point for ordinary human movement, but faster action may require a shorter exposure. Deliberate movement blur may call for a slower one.
Select the aperture according to how much of the scene needs to appear sharp. Adjust ISO as necessary to support those choices.
Check important highlights and review your results when conditions change. Settings that worked outdoors may need adjusting when you move inside.
Match Focus to the Subject
Single autofocus can suit a stationary subject. Continuous autofocus is often useful when the subject moves, particularly towards or away from the camera.
Face and eye detection can help, but performance depends on the camera, lighting and scene. Check that focus is landing where you intend.
A sharp photograph is not automatically an effective one. Expression, gesture, composition and timing should also support the story.
Photograph Connections and Details
Build a selection that gives the viewer different kinds of information.
For a repair-shop essay, you might photograph the workshop, a technician examining a fault, worn components, a repair in progress and the finished item returning to its owner.
Avoid photographing people only as illustrations of an idea you have already decided upon. Observe what they do and allow their actions to influence the project.
Take notes for captions, and avoid presenting staged moments as unposed documentary photographs.
Protect the Files
Back up your photographs regularly and check that the copies can be opened. Keep a separate copy away from the equipment you carry where practical.
Do not erase memory cards until you have verified your backups. Storage needs depend on your camera, file format and shooting volume; there is no universal card capacity for a photo essay.
Select, Sequence and Export
Begin by choosing photographs that contribute something meaningful. Remove unnecessary repetition, then experiment with the order.
Chronological order may work for a process or event. Other projects may benefit from grouping images by theme or moving between wider scenes and closer details.
Write concise, accurate captions where needed. Ask someone unfamiliar with the project what they understand from the sequence.
For web delivery, follow the required pixel dimensions, use an appropriate colour profile—commonly sRGB—and balance file size with image quality. For print, follow the printer’s specifications for dimensions, resolution and colour.
Finally, inspect the exported files. Your photo essay should communicate through a considered relationship between photographs, research and supporting text.