
How to Photograph Fireworks: Camera Settings Guide
Table of Contents Show
How to Photograph Fireworks
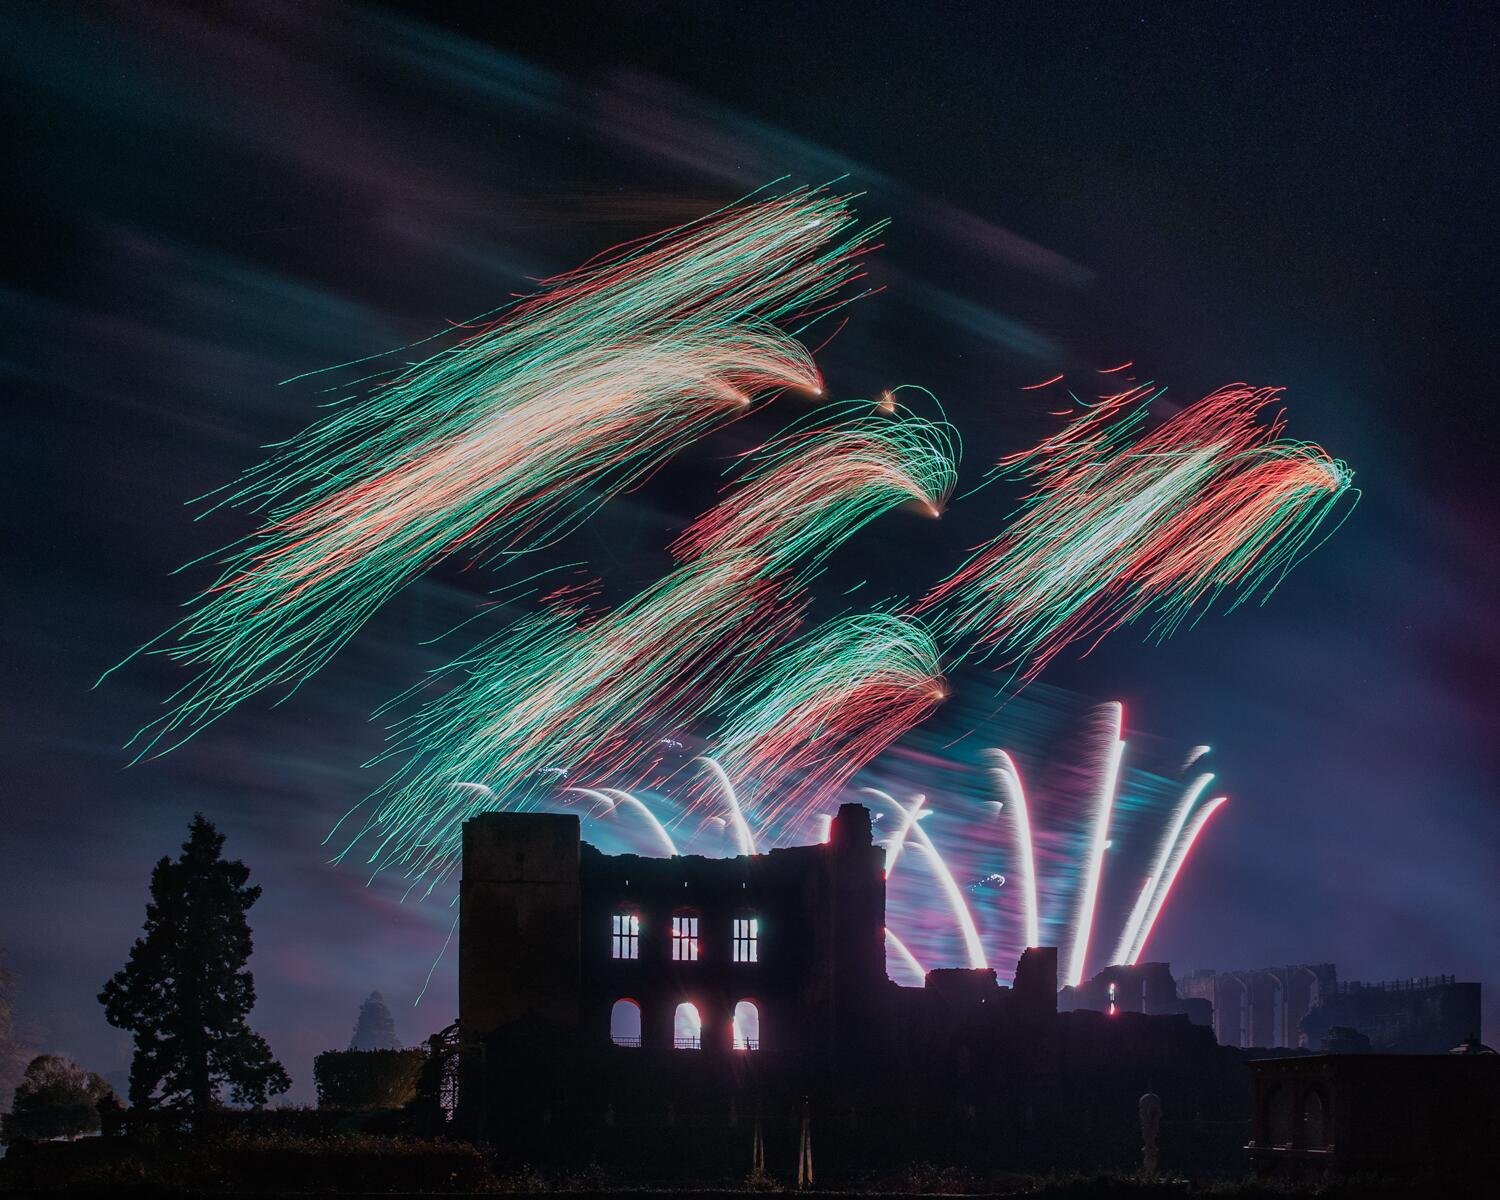
Fireworks are one of the most exciting things to photograph, but they can also be one of the easiest subjects to get wrong. The bursts are bright, fast, unpredictable and often surrounded by smoke, haze and distracting background light. That is why the best fireworks images usually come from preparation rather than luck.
The good news is that you do not need an overly complicated setup. A stable tripod, a low ISO, manual control, careful timing and a bit of patience will take you a long way. Once you understand how the brightness of each burst changes during the exposure, photographing fireworks becomes far more straightforward.
This guide will show you how to photograph fireworks properly, from scouting your location and setting up your camera to timing the exposure and adjusting as the display changes. It is designed to be practical, easy to follow and useful whether you are photographing a local village display or a large organised event.
Comparison of Fireworks Photography Starting Approaches
Comparison of Fireworks Photography Starting Approaches
A practical summary of common starting points for photographing fireworks, showing how aperture and timing change as the display becomes brighter or busier.
| Approach | Aperture | Shutter Method | ISO | Main Idea | Best For |
|---|---|---|---|---|---|
| Standard tripod start | f/8 | Bulb or 2–5 sec | 100–200 | Clean file, flexible timing, easy to adjust as the display changes. | Most displays |
| Sparse early bursts | f/9–f/10 | Longer bulb exposure | 100–200 | Smaller aperture lets you hold the shutter open longer when the sky is not too busy. | Opening phases |
| Busy finale | f/6.3–f/8 | Shorter bulb exposure | 100–200 | Wider aperture means you close sooner and avoid a blown, cluttered frame. | Dense finales |
| Foreground-led wide view | f/8 | Bulb | 100–200 | Leave more space in frame for landmarks, water or silhouettes. | Storytelling shots |
| Handheld fallback | f/4–f/5.6 | Around 1/200 sec | 800+ | Not ideal for classic trails, but usable if you cannot bring a tripod. | Casual record shots |
Step 1: Choose the right location
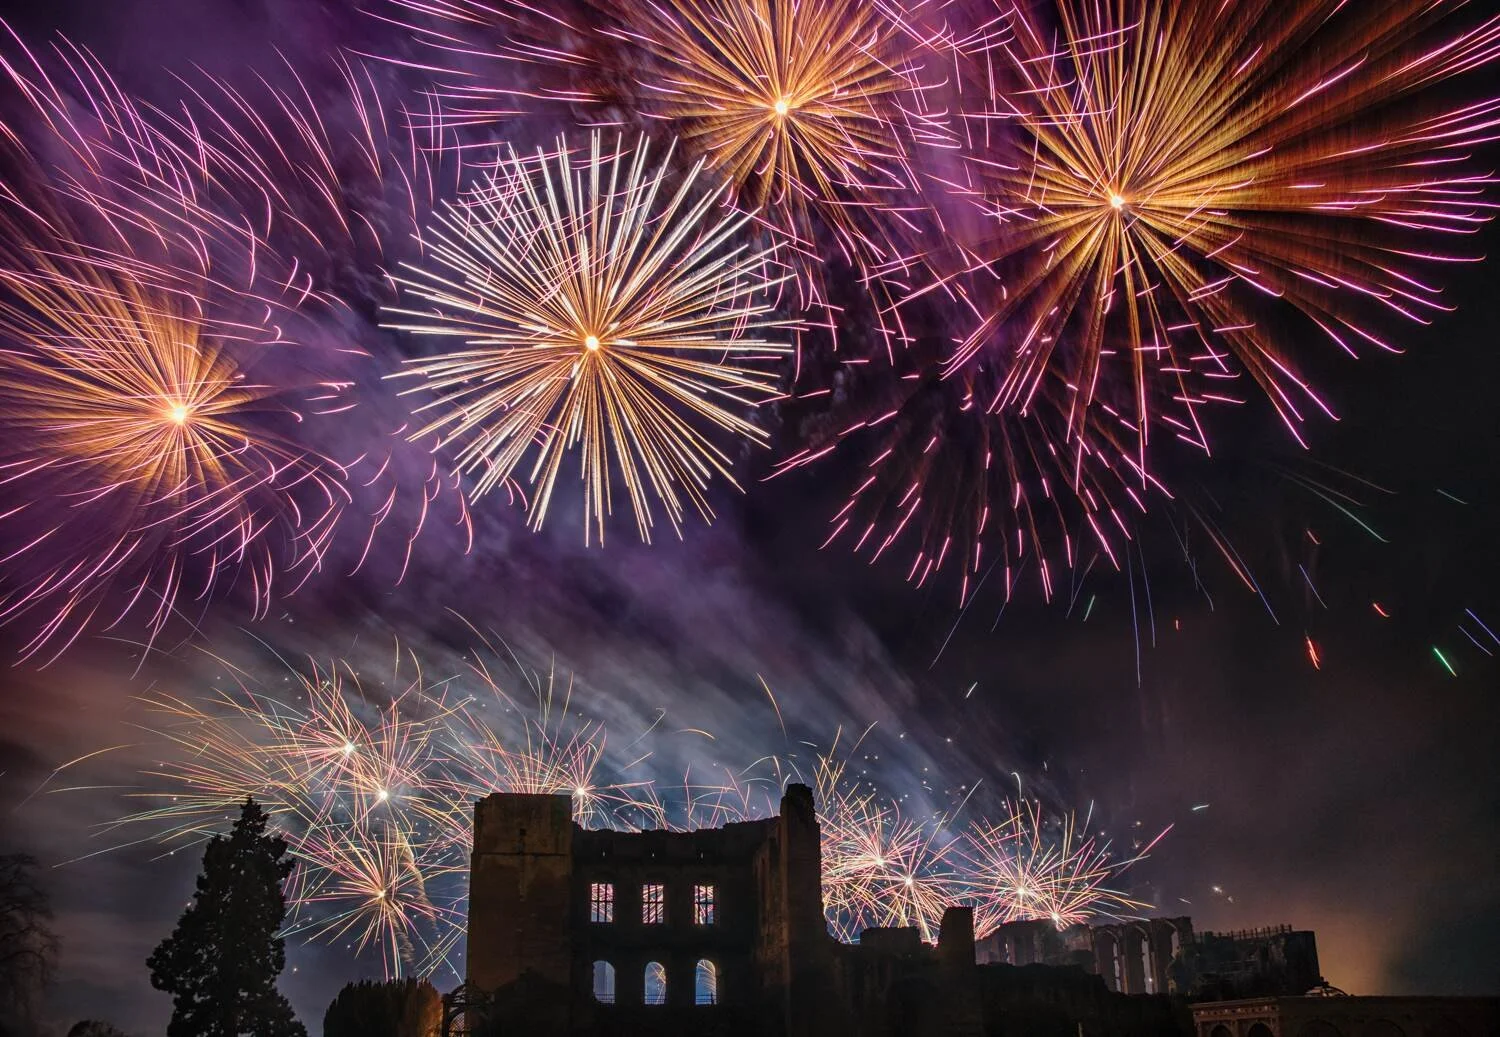
The location matters more than many people expect. A good angle can give you clean sky, an attractive foreground and less smoke. A poor angle can leave you fighting bright street lamps, trees in the wrong place, or heavy haze blowing straight across the frame.
Try to arrive early enough to walk around and find a better viewpoint. If possible, position yourself upwind so the smoke drifts away from you rather than across the fireworks. Think about whether you want a simple sky-only image or a stronger composition that includes a castle, skyline, water or trees.
It is usually safer to frame slightly wider than you think you need. Fireworks can rise higher and spread wider than expected, especially when the display becomes more dramatic later on.
Step 2: Set the camera before the display starts
Fireworks are one of the clearest examples of why manual control matters. The light is not constant, so automatic metering modes are rarely reliable. Instead, switch to manual exposure and set the camera up before the first burst goes up.
A strong starting setup is:
Manual exposure mode
Bulb mode
Aperture around f/8
ISO 100 on full frame, ISO 200 on crop
White balance on Auto
RAW capture
Flash off
Image stabilisation off when on a tripod
The exact aperture can move between roughly f/6.3 and f/10 depending on how dense the display becomes. Smaller apertures are useful when there are fewer fireworks and you want longer exposures. Wider apertures are useful when the sky gets busy and you need to close the exposure sooner.
Bulb mode is especially useful because it gives you direct control over the length of the exposure. You decide when the shutter opens and closes rather than hoping the camera guesses correctly.
Quick Fireworks Settings Guide
Quick Fireworks Settings Guide
A simple settings reference to help you start strong and then adjust as the display gets brighter, busier or smokier.
| Setting | Recommended Start | Adjustment | Why It Matters |
|---|---|---|---|
| Mode | Manual + Bulb | Stay in manual throughout | Gives you full control over timing and exposure. |
| Aperture | f/8 | Close to f/9–f/10 for sparse bursts, open to f/6.3–f/7.1 for busy skies | Controls how long you can leave the shutter open before the image gets too bright. |
| ISO | 100 full frame / 200 crop | Keep low unless absolutely necessary | Helps keep files cleaner and preserves colour. |
| Focus | Manual | Pre-focus before the display and leave it alone | Stops the camera hunting in the dark and missing the burst. |
| White Balance | Auto | Fine-tune later in RAW if needed | Fireworks create many colours, so Auto is usually the most practical choice. |
| File Type | RAW | Keep it consistent | Gives more flexibility for highlight recovery and colour adjustments later. |
Step 3: Focus properly
Autofocus is one of the most common reasons people miss the best part of a fireworks burst. By the time the camera tries to find focus in the dark, the trail has already gone.
The simplest solution is to focus before the display starts, then switch to manual focus and leave it there. If you have a distant building, tree line, castle wall or skyline in roughly the same distance zone, focus on that during the setup stage. If you are shooting sky-only, focusing near infinity is usually the safest route.
Once focus is confirmed, do not touch the focusing ring again. A single accidental change can ruin the rest of the sequence.
Step 4: Time the exposure
The actual timing is where experience starts to matter.
With bulb mode, a simple working method is:
Open the shutter just before or as the rocket rises
Keep it open as the burst blooms
Close it as the trails fade
Review the result and adjust on the next one
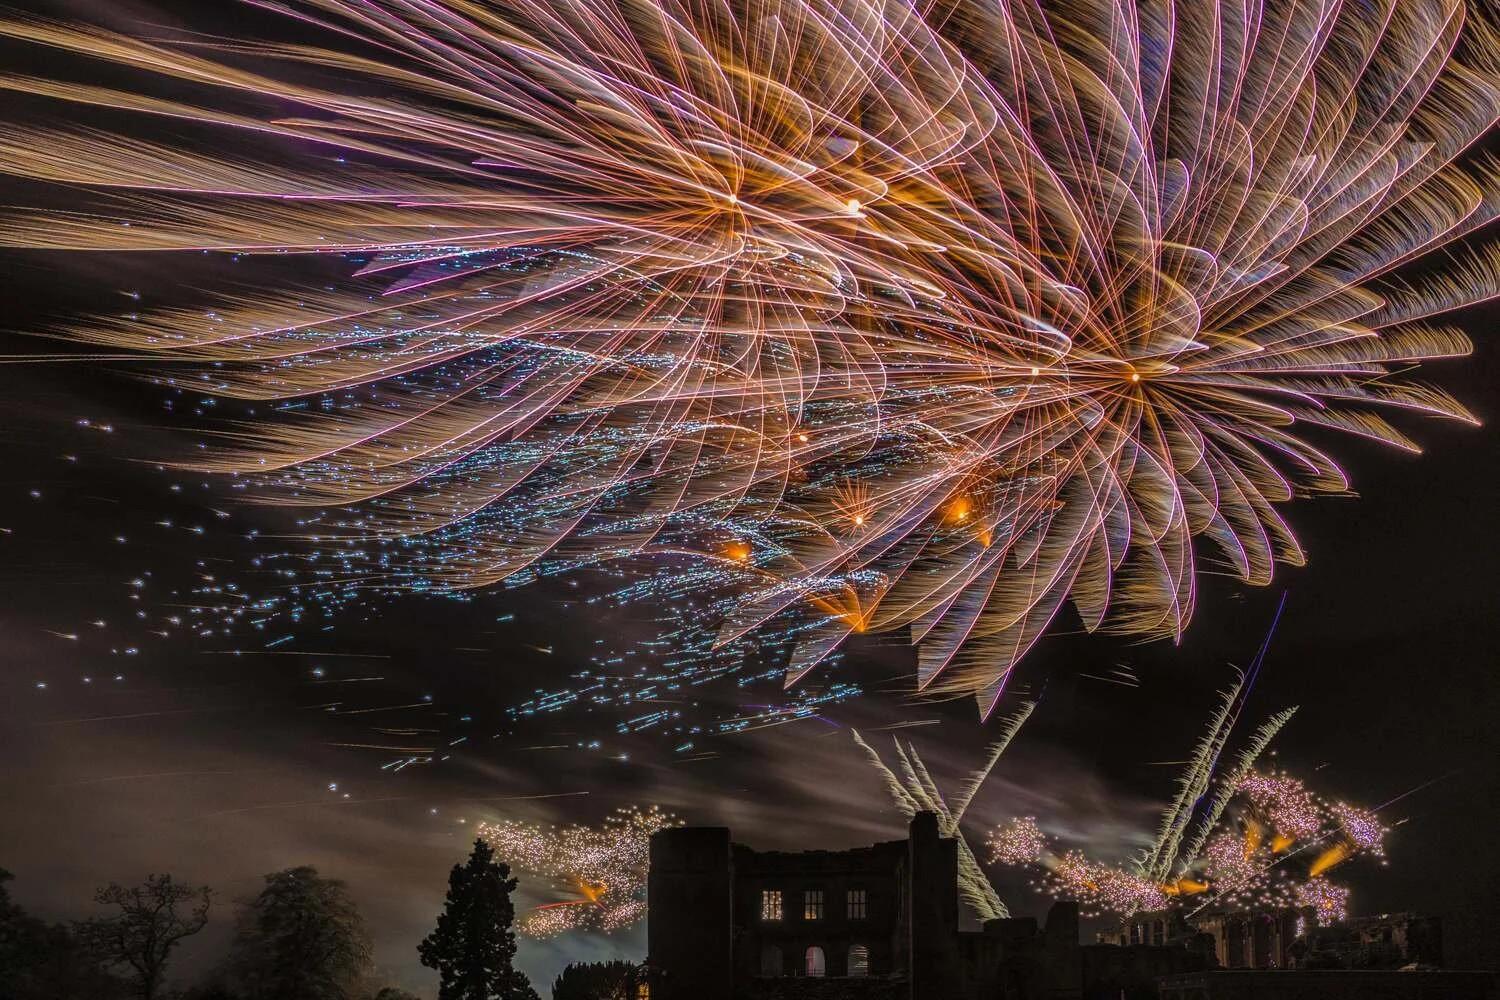
If there are only occasional bursts, you can hold the exposure slightly longer and build more into the frame. If the display becomes very busy, you need to close the exposure sooner before the image turns into a blown, messy cluster of overlapping trails.
This is why fireworks photography often feels like guesswork at first. In reality, it is more accurate to call it judgement. You cannot meter the scene in advance because the brightness keeps changing, so you learn to read the pace of the display and react accordingly.
Step 5: Adjust as the display changes
The settings that work well in the first minute may not be right near the finale.
As the display gets denser, the sky becomes brighter and the smoke builds. That usually means you need to shorten exposures or open the aperture slightly so you can close the shutter sooner. If the sky is quieter and the bursts are spaced out, you can afford to keep the shutter open longer.
Pay attention to:
The histogram
Blown highlights in the brightest parts of the burst
Smoke building in front of the fireworks
Whether the frame feels too empty or too crowded
Whether your foreground is still working well
Some of the strongest frames often come earlier in the display before the smoke gets too heavy. That is another reason not to spend the first ten minutes fumbling with menus.
Step 6: Edit the final images
Fireworks images usually need a light touch in post-processing rather than heavy editing.
A simple workflow is:
Straighten the frame if you included foreground
Fine-tune exposure
Pull highlights back slightly if the centres of the bursts are too hot
Add a small amount of contrast or dehaze if smoke has flattened the image
Crop more tightly if you intentionally framed wide
Sharpen carefully without making noise obvious
RAW files are especially helpful here because they give you more room to recover highlight detail and refine colour without the file falling apart.
Frequently Asked Questions
What mode should I use to photograph fireworks?
Manual mode is the safest choice, ideally with bulb mode. Fireworks change brightness constantly, so relying on automatic exposure usually gives inconsistent results.
What aperture is best for fireworks photography?
A good starting point is around f/8. If the display is sparse, you may move towards f/9 or f/10. If the finale becomes dense and bright, f/6.3 to f/8 can be more practical.
What ISO should I use for fireworks?
Keep ISO low. ISO 100 on full frame and ISO 200 on crop is a strong starting point. Low ISO helps keep the sky clean and the colours stronger.
Do I need a tripod for fireworks photography?
Yes, for the classic long-exposure fireworks look a tripod is essential. It gives you stability, sharper trails and proper control over bulb exposures.
Should I use autofocus for fireworks?
No. Pre-focus before the display starts, then switch to manual focus. Autofocus often hunts in the dark and causes missed shots.
Why do my fireworks photos look smoky and dull later in the display?
Because smoke builds up as the display continues. It can soften contrast, flatten colour and make the sky look muddy. Earlier frames are often cleaner.
Can I photograph fireworks handheld?
You can, but it gives a different result. Handheld shooting is more useful for quick documentary-style images rather than classic flowing light trails.
What lens is best for photographing fireworks?
A wide-angle lens is often the best starting point, especially if you want foreground and a sense of place. It is usually better to frame slightly wider and crop later than clip the top of the burst.
Conclusion
Fireworks photography does not need to be complicated, but it does need control. If you arrive early, frame carefully, use manual exposure, pre-focus properly, keep ISO low and learn to time the exposure in bulb mode, your results will improve very quickly.
The real skill is reading the display as it changes. A quieter sky needs a different approach from a packed finale, and smoke will always influence your choices. Once you understand that, photographing fireworks becomes far less random and much more enjoyable.
If you want this next as a full Squarespace-ready post with image placeholders, branded callout boxes and a matching FAQ schema block, that’s the next clean step.