
Shooting In Low Light | Long Exposure Photography Guide
Shooting In Low Light | Long Exposure Photography Guide
Shooting In Low Light – My Top Tips
You might think that photography is limited to the times of day or when we utilise the man-made lights. Daylight isn’t the limit though and there are plenty of ways you can discover the beauty of photography in the darkness of night and poorly lit areas.
Here are my top tips to shooting quality images without relying on daylight.
Open your aperture
The aperture is the opening inside your lens that opens and closes based on the F number you set to control how much is in focus in the picture - with low light you may need to open your aperture to wider hole (lower F number) to balance depth of focus over exposure time.
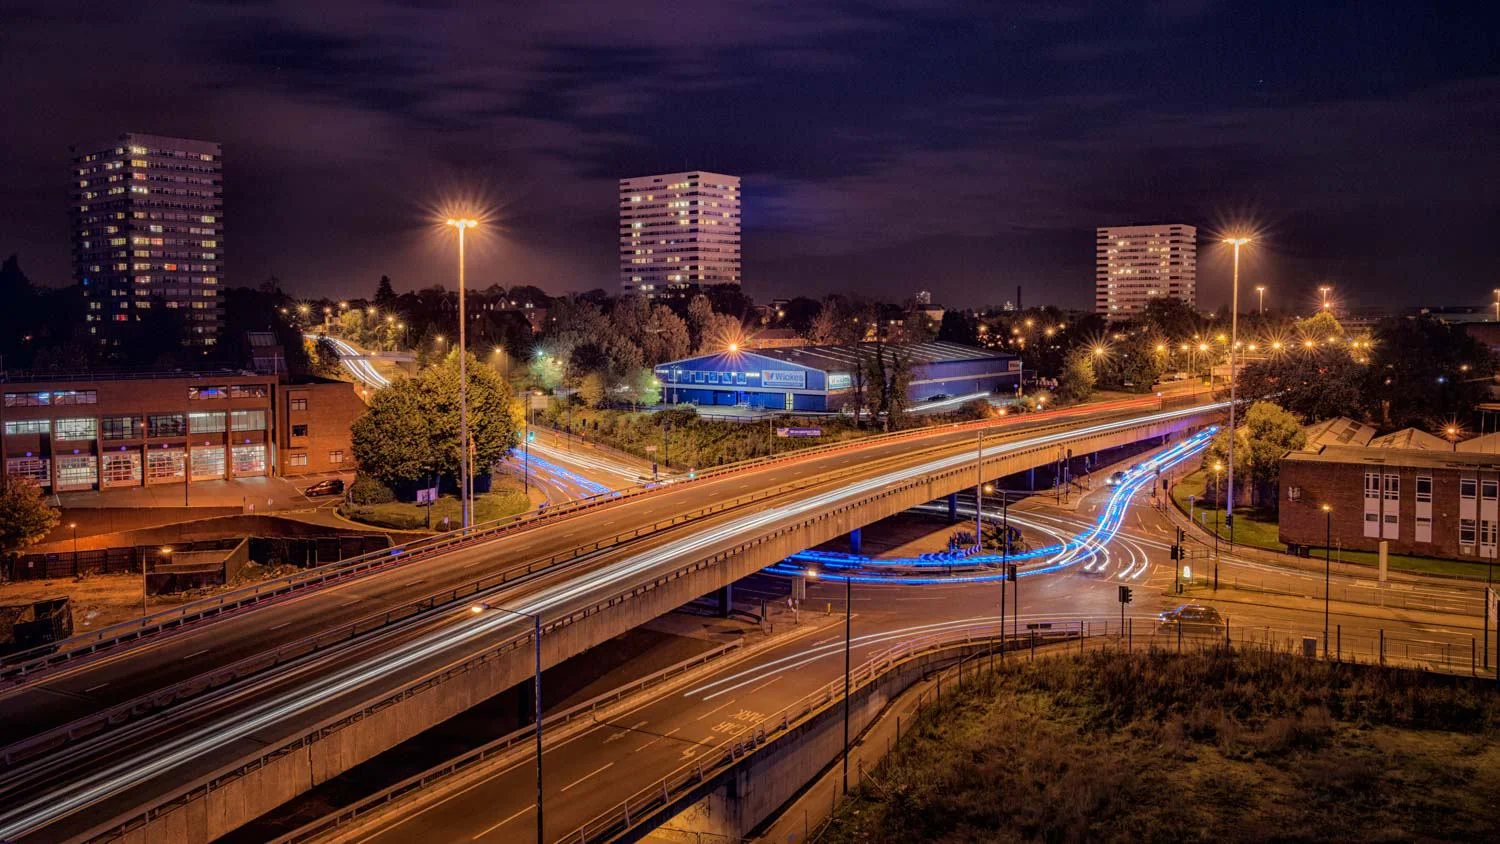
Experiment with shutter speed
The exposure time is determined by length of time required to capture enough light to expose the photo correctly - this is a calculation based on the Aperture, Shutter Speed and ISO setting you set. In Aperture Priority mode (A or AV) the camera meters the frame you are shooting and calculate the shutter speed for you based on the aperture you have set. In S or TV mode you set the shutter speed and the camera calculates the aperture for you.
You have to decide which is more important and balance the exposure between aperture and shutter speed according to your requirements for depth of focus and length of exposure - You can of course use ISO to decrease the exposure time but at the cost of increased noise/grain in your image.
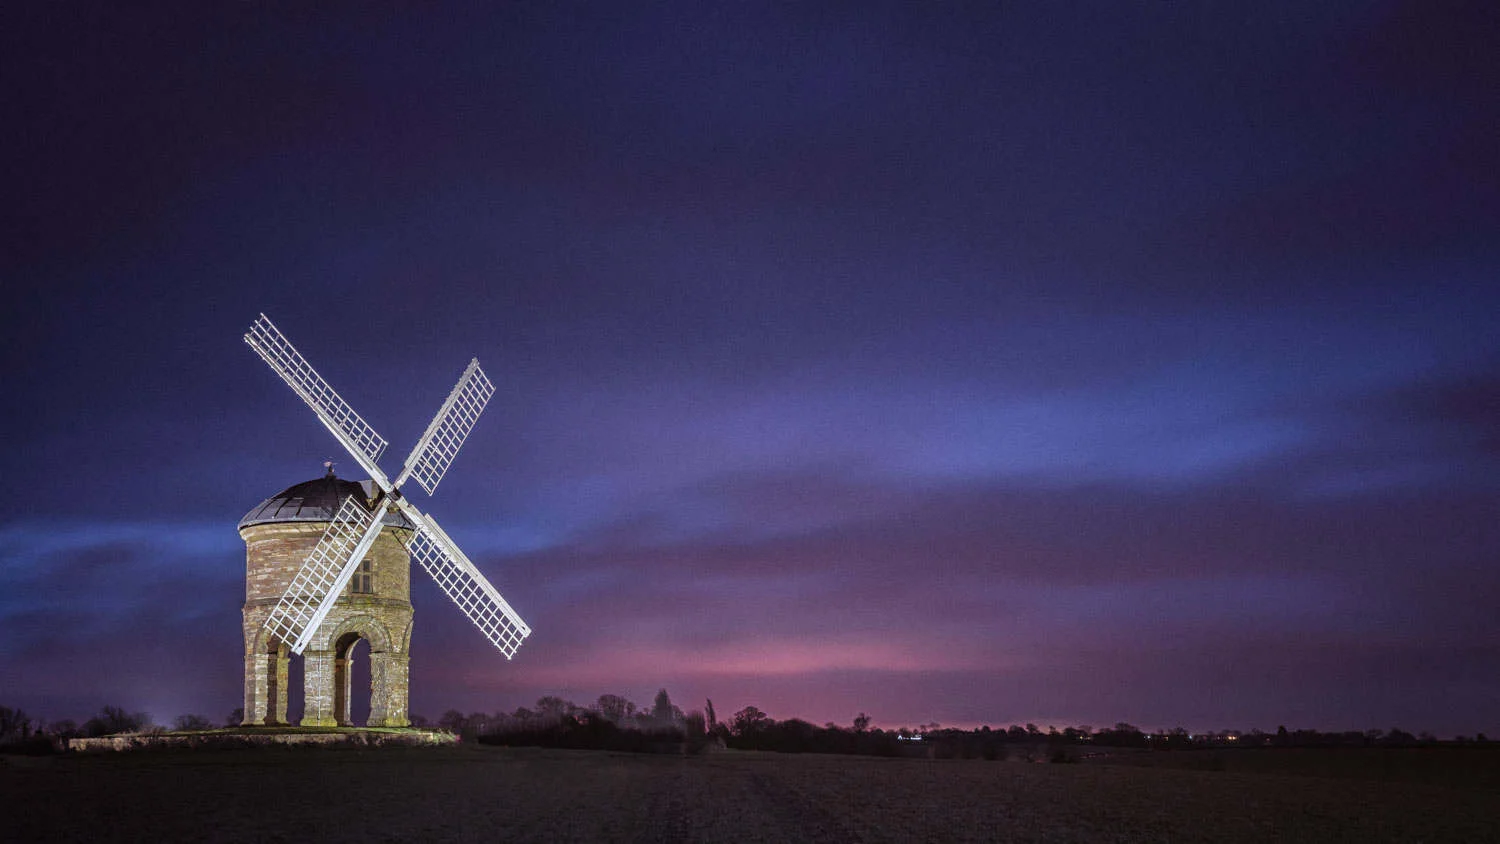
Naturally low light, night images require longer exposures - this can reveal a dramatic image in a way the human eye doesn't see. Both the light and movement in a shot will not be as your eyes witness the scene.
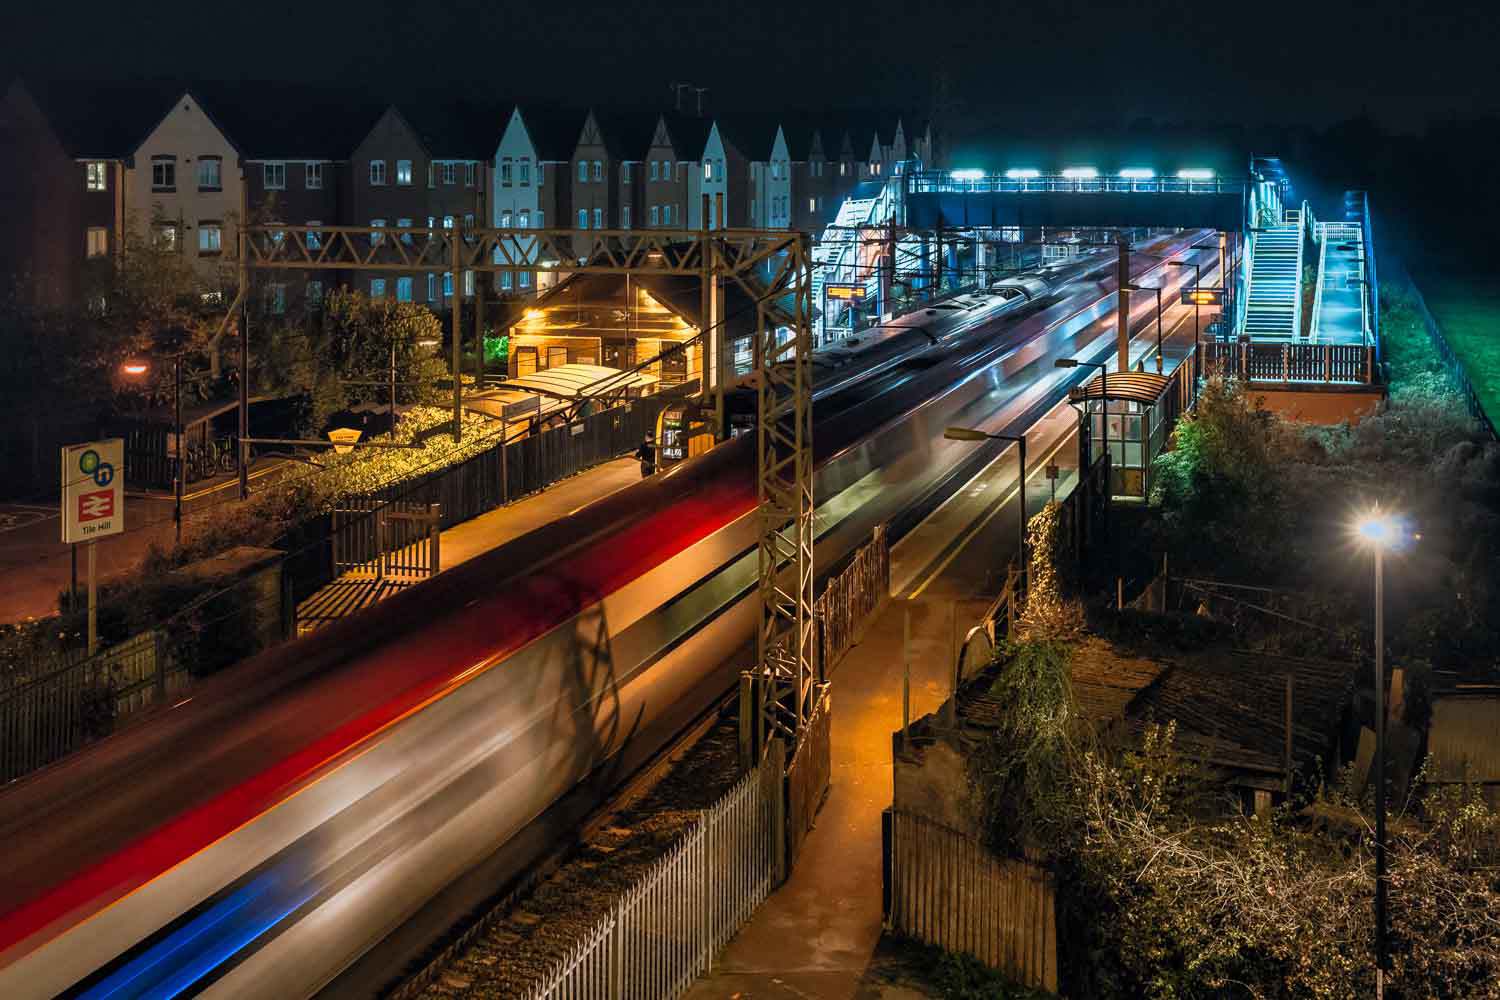
To decide on what shutter speed to select, the best way is to keep experimenting, examine the results and then develop from there. We all have our own views on what makes a beautiful image, so as well as taking my advice, go out there and see what works best for you!
One thing to remember is to monitor the exposure on your view finder and tweak settings when needed. The beauty of digital photography is that you can see a shot right after you’ve taken it! Don’t like the shots you’re creating? Take them again and again until you’re happy.
Try a higher ISO
Even though this is a somewhat complicated way to combat the troubles of low light, tinkering with the ISO settings can help you reach the results you’re aiming for. Setting the ISO yourself will give you more control over how your shots look. Even so, it may be better to try adjusting your aperture and shutter speed before meddling with the ISO settings.
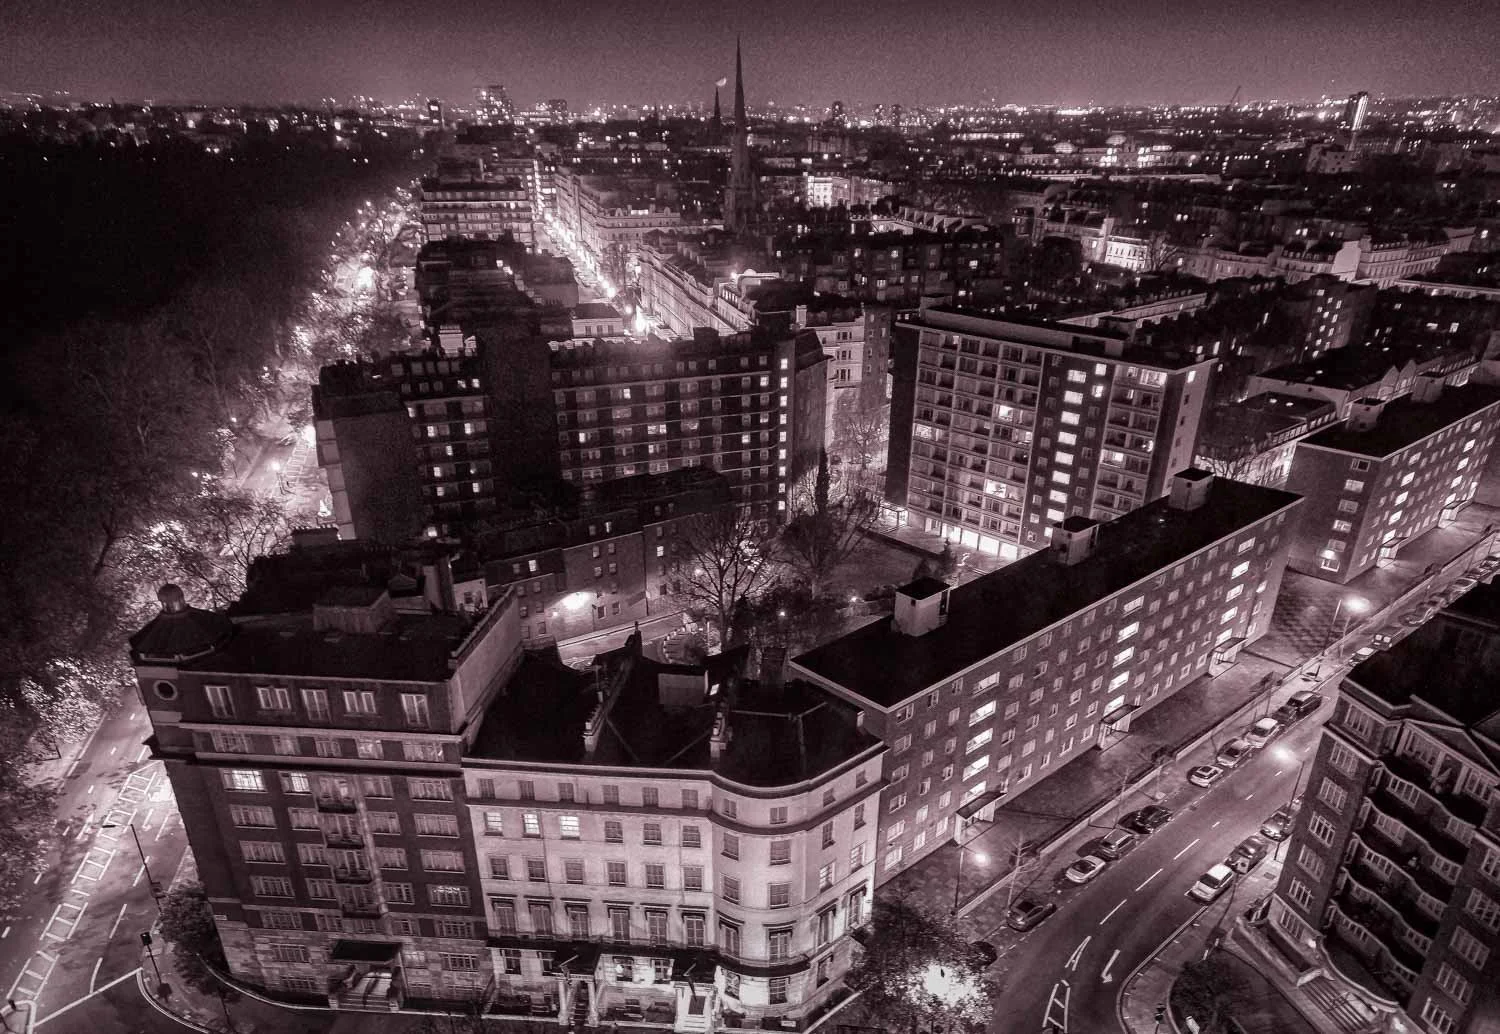
You could try and combine black and white shots with a higher ISO to give a more vintage feel to your photos; just as beautiful as vibrant and colourful images. I love seeing how photographers portray emotions and stories without relying on colour. In black and white photography you need to only focus on the light you have available and the unique shapes that can be made with various shades of black, grey and white.

Now you know how to take stunning photos in any level of light, you can get out there and put your knowledge to the test. If you feel as though you want to look deeper into the potential of low light photography, why not join me on an evening photography workshop in March or April in Kenilworth? I look forward to seeing your skills grow and develop.